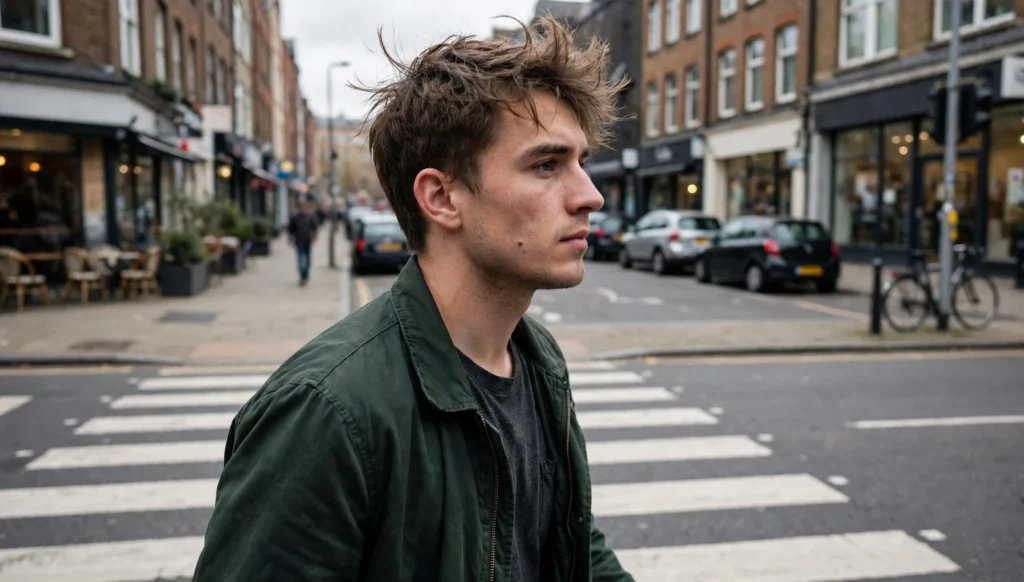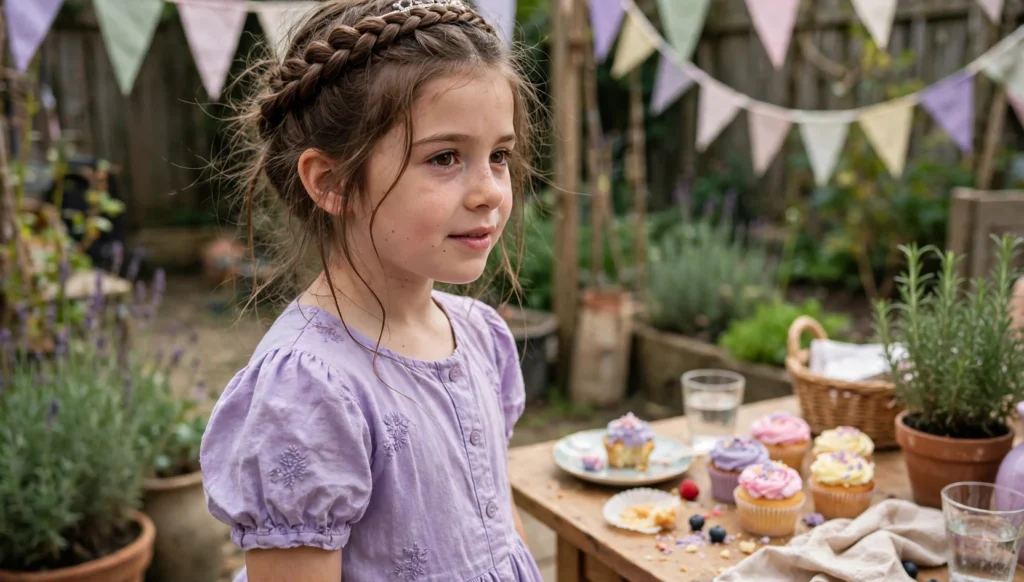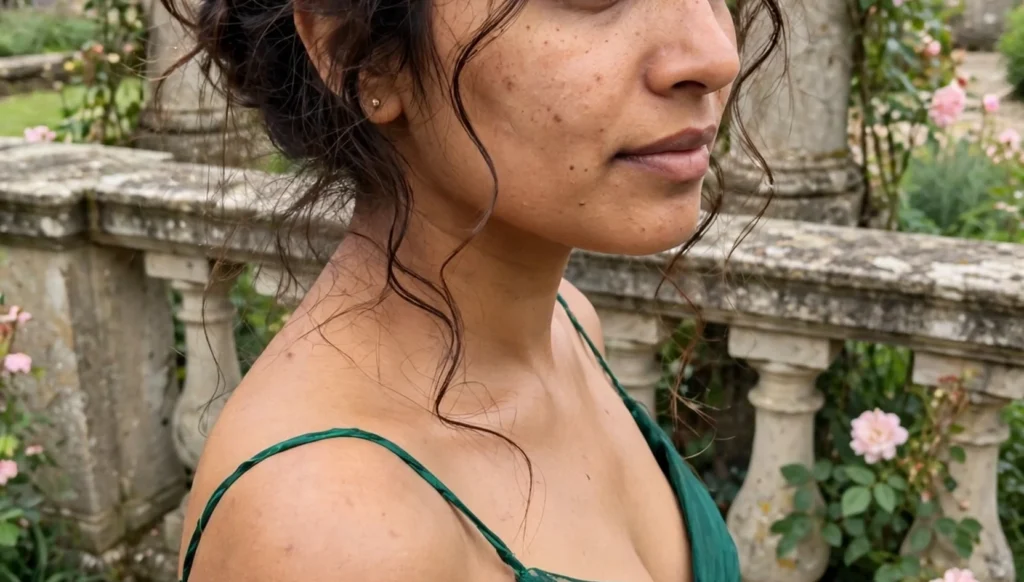

Free-hand hairstyles are beautifully effortless, shaped with your fingers instead of hot tools and fussy equipment. These 42 free-hand hairstyles prove that hands, a little product, and a bit of patience can create waves, twists, curls, and updos that look soft, modern, and completely natural.
1. Finger-Wave Bob
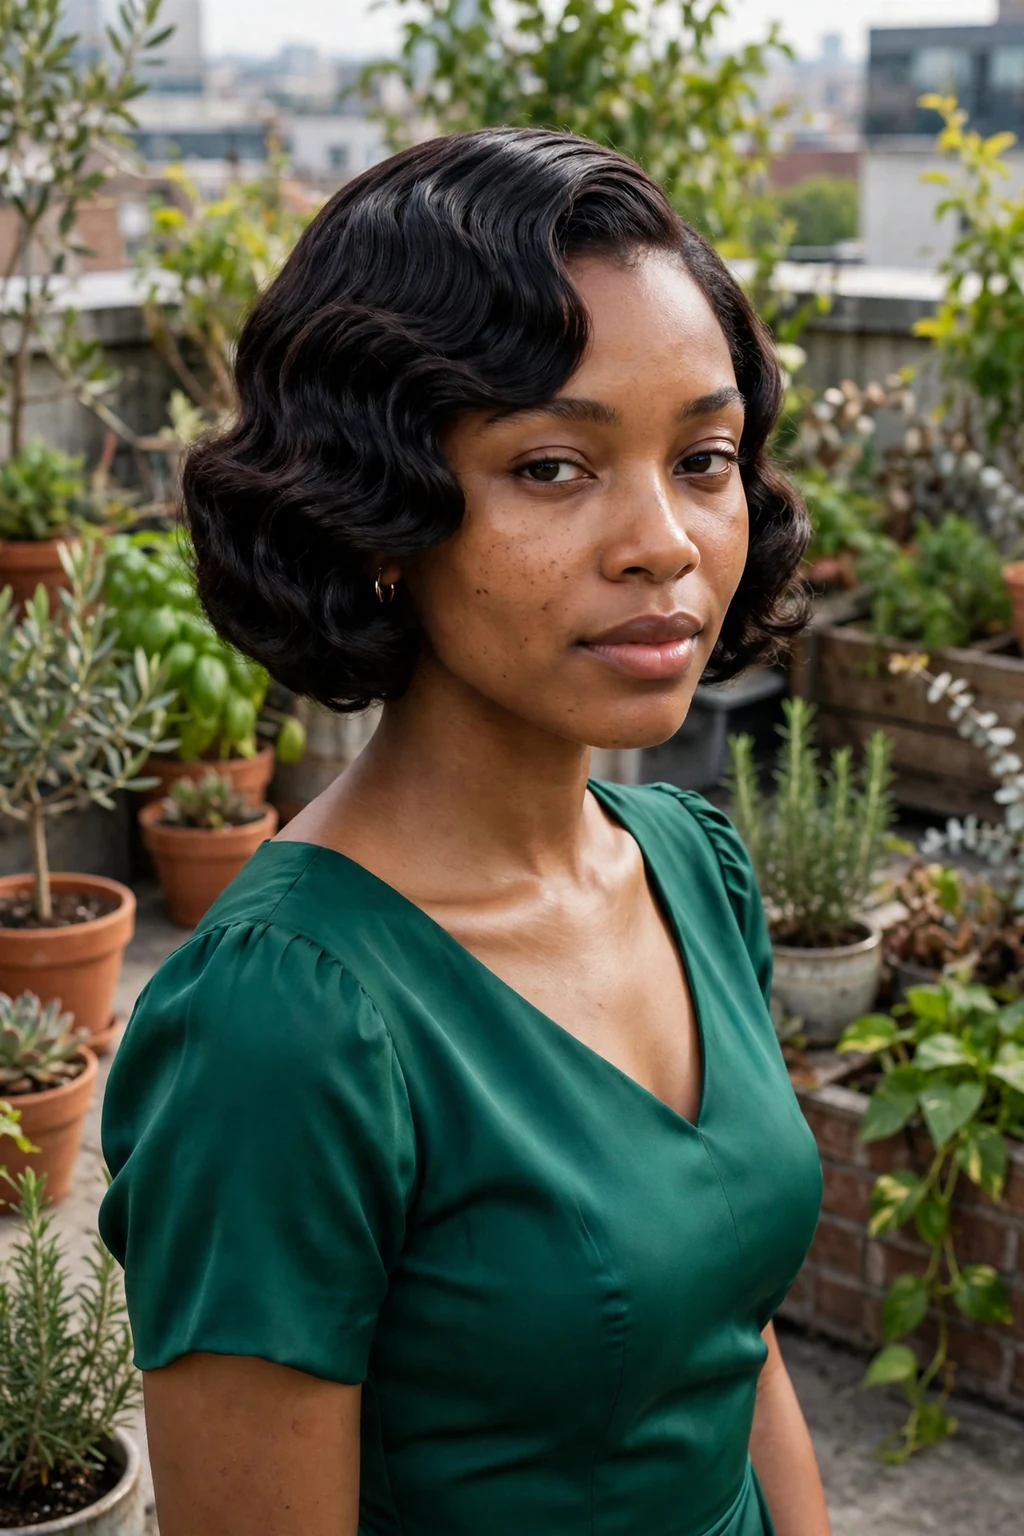
The finger-wave bob is a timeless, sculpted style shaped entirely by hand, with deep S-shaped waves pressed close to the head and a polished, vintage-inspired finish. Its silhouette is neat and rounded, falling just below the jawline, while the waves themselves create rhythmic movement that catches the light from every angle. The texture is smooth and glossy rather than fluffy, with each wave deliberately moulded by fingers and setting product so the pattern reads clearly without looking stiff or helmet-like. It feels both retro and thoroughly modern, especially when the ends are left soft instead of sharply curled under. For a softer daytime version, press the waves a little less deeply and leave the ends flicking outward, which keeps the vintage reference without making the style feel costume-like. The pattern also photographs beautifully, since each ridge catches light differently as you turn your head, giving the bob dimension even in flat daylight.
This style suits women in their twenties and thirties with straight to wavy hair and fine to medium density, and it flatters oval, heart, and square faces by softening the jawline and drawing attention to the cheekbones. To create it, work a strong-hold styling gel or wave lotion through damp hair, then press and mould each wave into place with your fingers and a tail comb handle, pinning sections flat until dry. A light shine spray finishes the look, while a silk scarf at night preserves the pattern. Trim every six to eight weeks to keep the bob line crisp, and grow-out softens gracefully into loose waves. Choose it when you want hand-crafted elegance with real staying power. On second-day hair, revive the waves by dampening the top layer, re-pressing the front wave with your fingers, and misting lightly with shine spray rather than starting over. The style pairs naturally with simple earrings and a clean neckline, and it adapts well to fine hair when a volumising mousse is worked through the roots before setting.
2. Hand-Twisted Crown
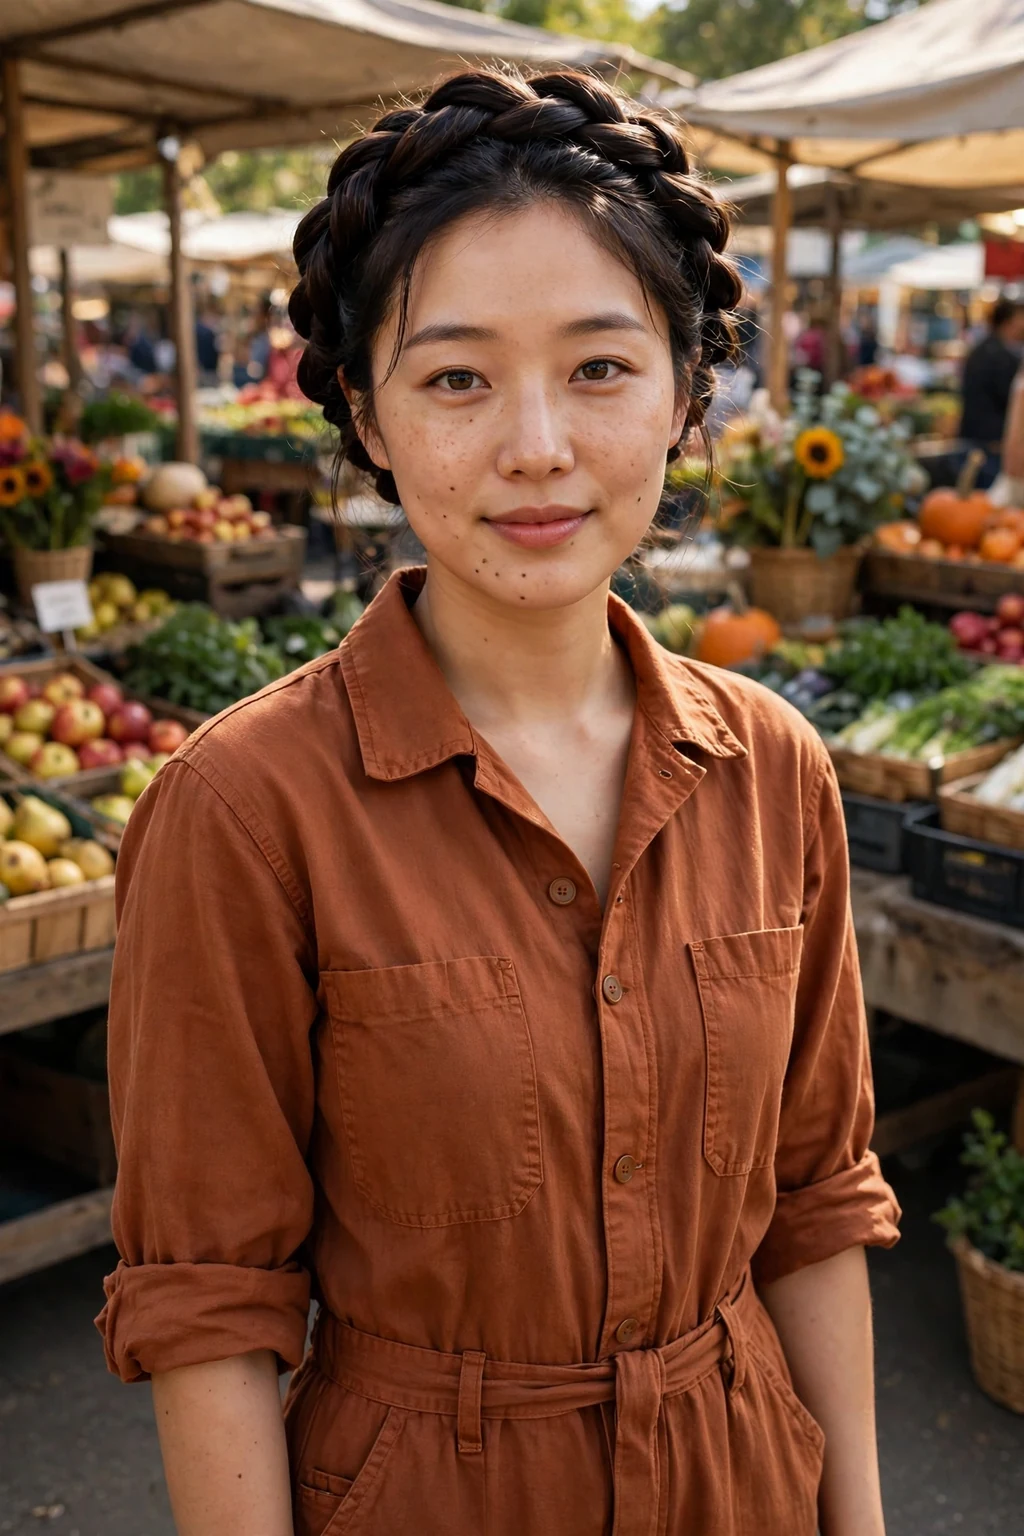
The hand-twisted crown wraps two rope twists around the head like a soft halo, creating a romantic updo that looks intricate but is made only with fingers, pins, and patience. Its shape is airy and slightly undone, with twisted sections sitting above the ears and meeting at the back, while a few loose strands frame the face for softness. The finish is textured rather than slick, so the twists show their hand-made character, with gentle volume at the crown and a relaxed, bohemian feeling that suits both daytime outings and evening occasions beautifully. The crown can be worn higher for a more formal effect or lower and looser for a relaxed, festival feeling, and pulling the twists slightly apart makes them look fuller without any extra hair. Small decorative pins or a single fresh flower tucked at the back turn the same technique into an evening style, while leaving the nape hair loose keeps it comfortable on warm days.
This crown suits women with medium to long hair in straight, wavy, or loosely curled textures, and it flatters round, oval, and heart-shaped faces by lifting the eye upward and opening up the face. To style it, part the hair down the middle, twist each front section back along the hairline, pinning as you go, then cross and secure the ends at the nape. A texturising spray gives grip, while bobby pins matched to your hair colour keep the style invisible. It lasts all day with minimal touch-ups and needs no trim schedule beyond your usual six to eight weeks. Choose this crown when you want a special-occasion updo without heat, tools, or a salon visit. If your hair is slippery, braid the very ends of each twist before pinning so the pins have something to grip, and carry two spare pins for touch-ups. The crown also works beautifully on second-day hair, when natural texture gives the twists more hold, and it pairs well with both flowing dresses and structured jackets.
3. Freehand Finger Curls
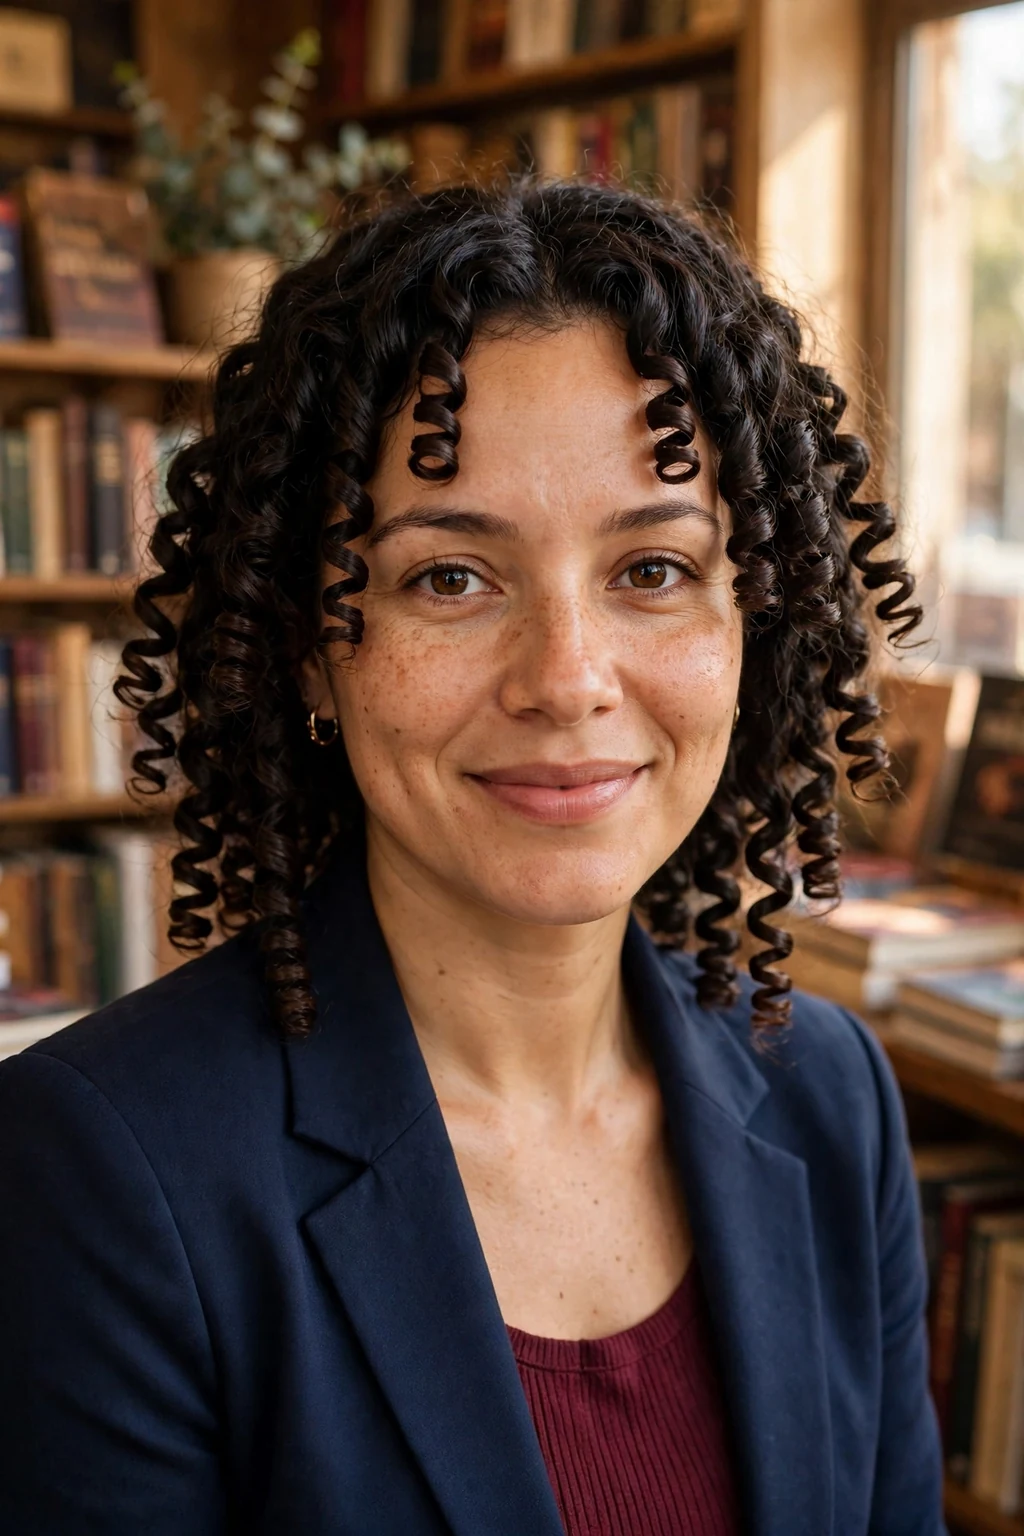
Freehand finger curls are defined spiral curls shaped by wrapping damp sections around your fingers, giving a bouncy, polished curl pattern without a curling iron or rollers. The overall shape is full and rounded, with curls that spring in different directions for a natural, dimensional finish rather than a uniform, manufactured look. Each curl holds its own shape while still moving freely, and the texture is touchably soft when a curl cream is used, avoiding crunch or stiffness. It is an ideal way to revive natural curl or to coax waves into a more deliberate, glamorous pattern. The result is most flattering when curl sizes vary slightly, with smaller curls near the face and larger ones through the back, which prevents the style from looking too uniform or wig-like. A little shine oil smoothed over the surface once dry adds a healthy glow, while leaving the roots untouched preserves lift and stops the curls from falling flat by midday.
This style suits women with naturally wavy or curly hair best, though straight hair with good hold can also take finger curls with the right product, and it flatters oval, round, and diamond faces by adding width and balance at the sides. To create it, apply curl-defining cream to soaking-wet hair, divide it into small sections, and wrap each one around a finger, holding briefly before releasing and letting it air-dry untouched. A diffuser is optional, but true freehand styling means air-drying and then gently shaking the roots for volume. Trim every eight to ten weeks to keep the curls springy, and grow-out simply adds length. Choose finger curls when you want defined, heat-free glamour. To refresh the curls on day two, mist them lightly with water mixed with leave-in conditioner, re-twirl only the flattened front sections, and let them dry again untouched. Avoid brushing at all costs, since a brush breaks the curl pattern into frizz, and sleep on a satin pillowcase to keep the definition intact overnight.
4. Loose Hand-Scrunched Waves
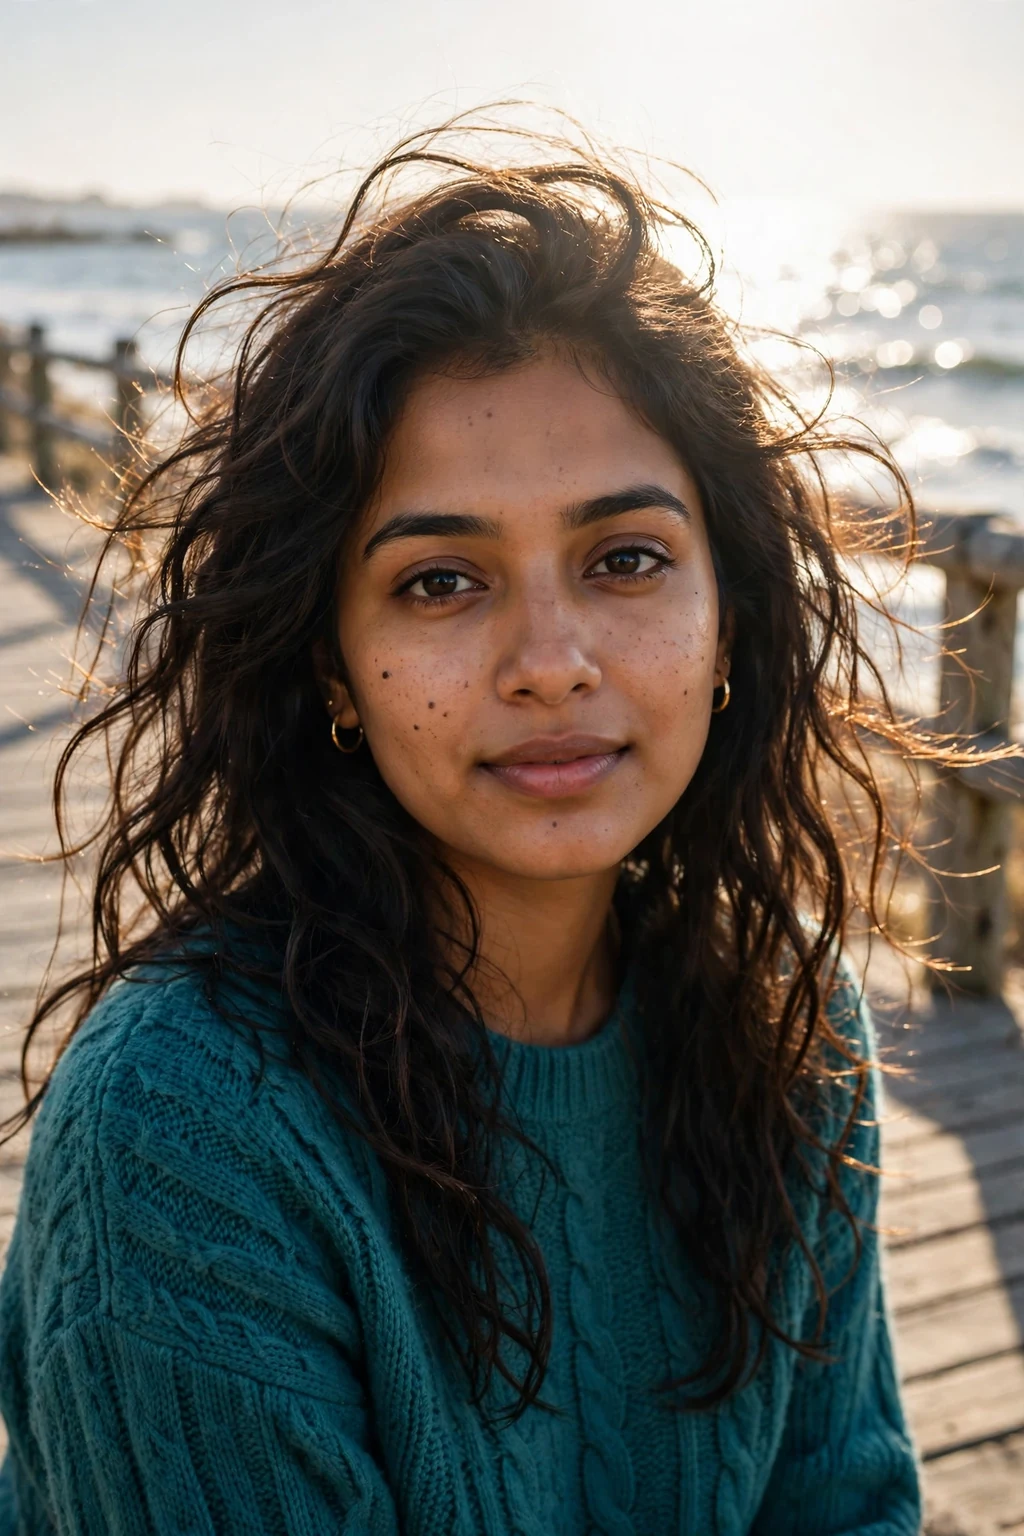
Loose hand-scrunched waves are the ultimate off-duty hairstyle, created by scrunching damp hair upward with your hands until soft, irregular waves form on their own. The silhouette is relaxed and slightly tousled, with movement concentrated through the mid-lengths and ends while the roots stay relatively smooth and natural. The finish is matte and touchable, never crunchy, with waves that look as though they formed during a day outdoors rather than in front of a mirror. It carries an easy, sun-kissed energy that works beautifully with casual clothing and minimal makeup. The waves look best when they are deliberately uneven, with some sections forming clear bends and others staying almost straight, which is what separates hand-scrunched hair from a heat-styled wave. Keeping the roots relatively flat also stops the style from looking puffy, while a matte finish keeps it modern rather than crunchy or overly product-heavy. A middle part gives a balanced, symmetrical wave, while a side part adds extra volume and drama.
This style suits women with naturally wavy hair most readily, but straight hair can hold a scrunched wave with sea-salt spray or a light mousse, and it flatters oval, oblong, and heart-shaped faces by adding soft width. To style it, mist damp hair with salt spray or scrunch in a golf-ball of mousse, then cup sections upward toward the scalp and hold for a few seconds before releasing. Air-dry without touching the hair further, then break up any stiff pieces with your fingers. Trim every eight to twelve weeks to keep the ends healthy, and grow-out is entirely forgiving. Choose scrunched waves when you want beautiful hair in under ten minutes, with no tools at all. For extra hold on very straight hair, twist a few random sections before scrunching and let them dry twisted, then shake them out for a more defined wave. The style is ideal for travel, since it can be revived with a quick scrunch of damp hands, and it needs no mirror check beyond a final shake at the roots.
5. Finger-Coiled Afro
The finger-coiled afro is a celebration of natural texture, with small sections of coily hair wound around a finger to create springy, defined coils in a gloriously rounded silhouette. Its shape is full and balanced, with coils that cluster together for density while still showing individual definition and movement. The finish is soft and cloud-like at a distance, yet richly detailed up close, with a healthy sheen that comes from proper moisture rather than heavy product. It is a style that honours the hair's natural pattern while giving it intentional, polished structure. The coils look most striking when they are uniform in size through the front and allowed to be slightly larger at the back, which creates a balanced, rounded silhouette from every angle. A light oil sealed over the curl cream adds shine without weighing the coils down, and the style gains beautiful dimension as light moves across the different coil directions.
This style is made for women with tightly curled or coily hair, and it flatters round, oval, and heart-shaped faces by framing the face with beautiful, even volume. To create it, work a leave-in conditioner and curl cream through freshly washed, damp hair in small sections, twirling each section tightly around your index finger from root to tip. Allow the hair to air-dry fully before gently separating coils for fullness, taking care not to disturb the definition. A satin bonnet or pineapple wrap at night preserves the coils for several days. Trim every eight to twelve weeks to remove split ends and keep the shape rounded. Choose finger coils when you want definition, volume, and pride in your natural texture. Between wash days, revive flattened coils by spritzing them with water and re-twisting only the outer layer, which restores the shape without redoing the whole head. Protective styling at night is essential, and a weekly deep-conditioning treatment keeps coily hair soft, strong, and ready to hold its coil pattern.
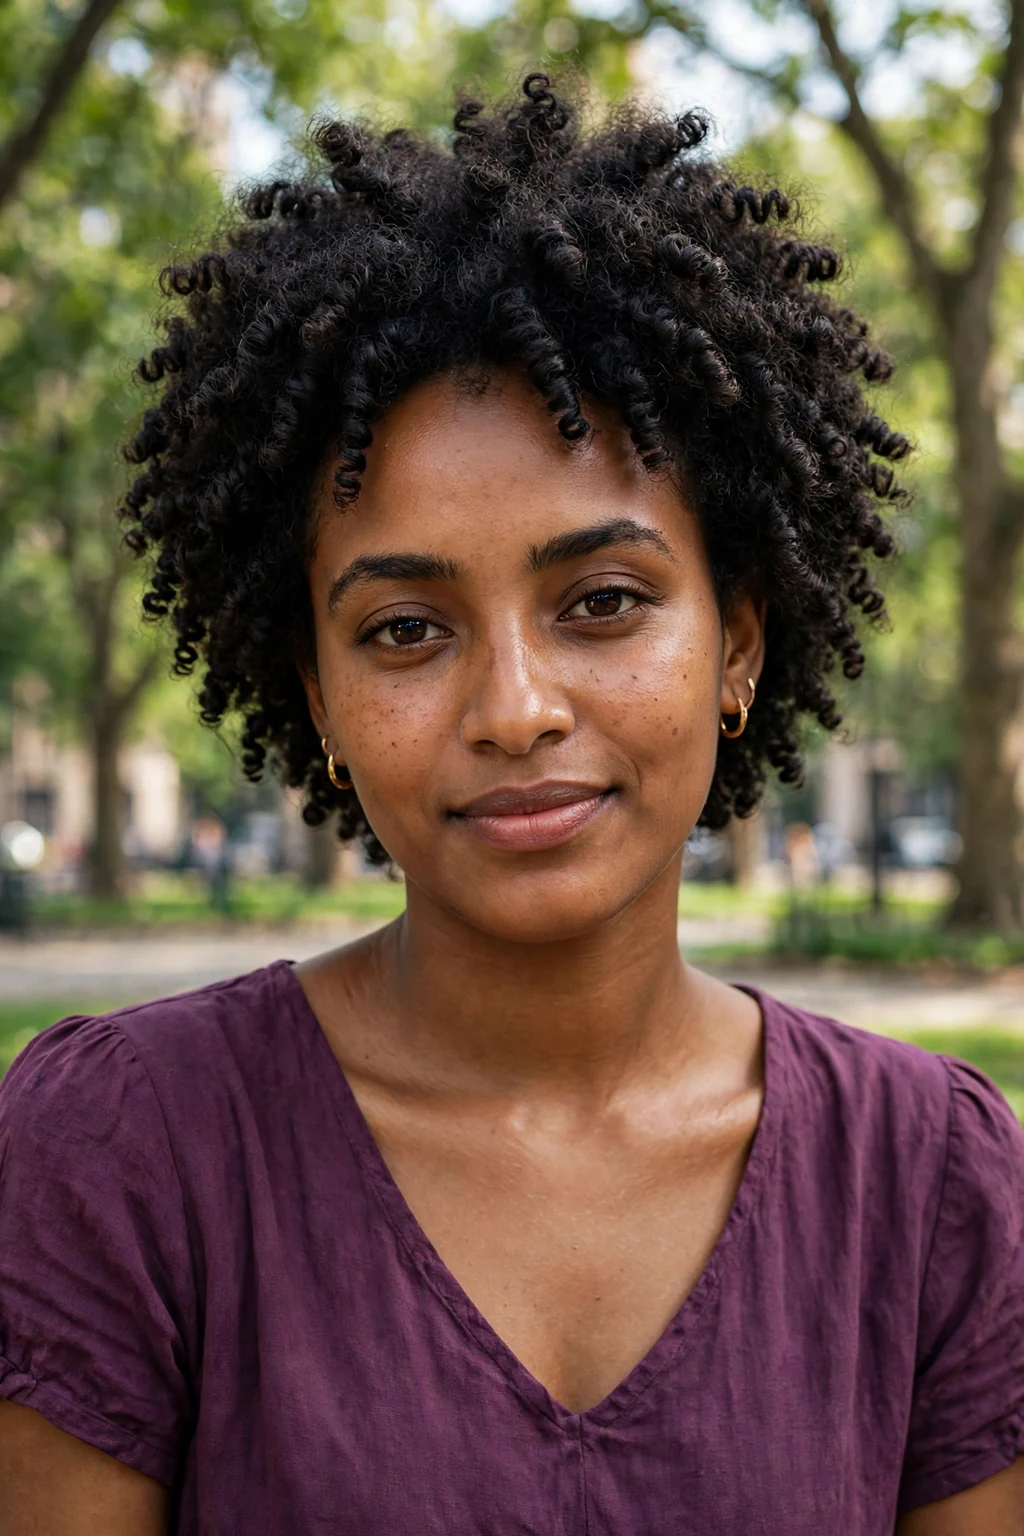
6. Hand-Swept Side Part
The hand-swept side part is deceptively simple: a deep side part created with your fingers, with the heavier side swept across the forehead and falling in a smooth, glossy cascade. Its appearance is polished yet relaxed, with a dramatic sweep that adds instant glamour and asymmetry without any cutting or heat styling. The texture is smooth and flowing, with the sweep held softly in place by the hair's own weight and a touch of cream, while the shorter side stays tucked neatly behind the ear. It transforms even a basic haircut into something red-carpet ready in seconds. The sweep can be adjusted to suit the occasion, falling just past the cheekbone for a subtle effect or sweeping dramatically across the forehead for evening glamour. Adding a gentle bend to the ends with your fingers stops the heavy side from looking flat, while keeping the tucked side smooth behind the ear maintains the clean, asymmetrical line that makes the style so striking.
This style suits almost every face shape, particularly round and square faces, which benefit from the diagonal line that lengthens and slims the face, and it works on straight, wavy, and relaxed hair of medium to long length. To create it, part damp or dry hair deeply to one side using your fingers for a softer line than a comb gives, then smooth the heavy side over with a little styling cream and tuck the lighter side behind the ear. A single decorative pin can secure the sweep, and a light-hold spray keeps it in place. Trim every eight weeks to maintain your base cut, and grow-out does not affect the style at all. Choose it when you need instant polish with zero effort. If your hair tends to fall back into its natural part, train it by wearing the deep part overnight in a loose braid or with a clip holding the sweep in place. The style also works as a quick fix for growing-out bangs, since the sweep disguises uneven fringe lengths while adding instant polish to any outfit.
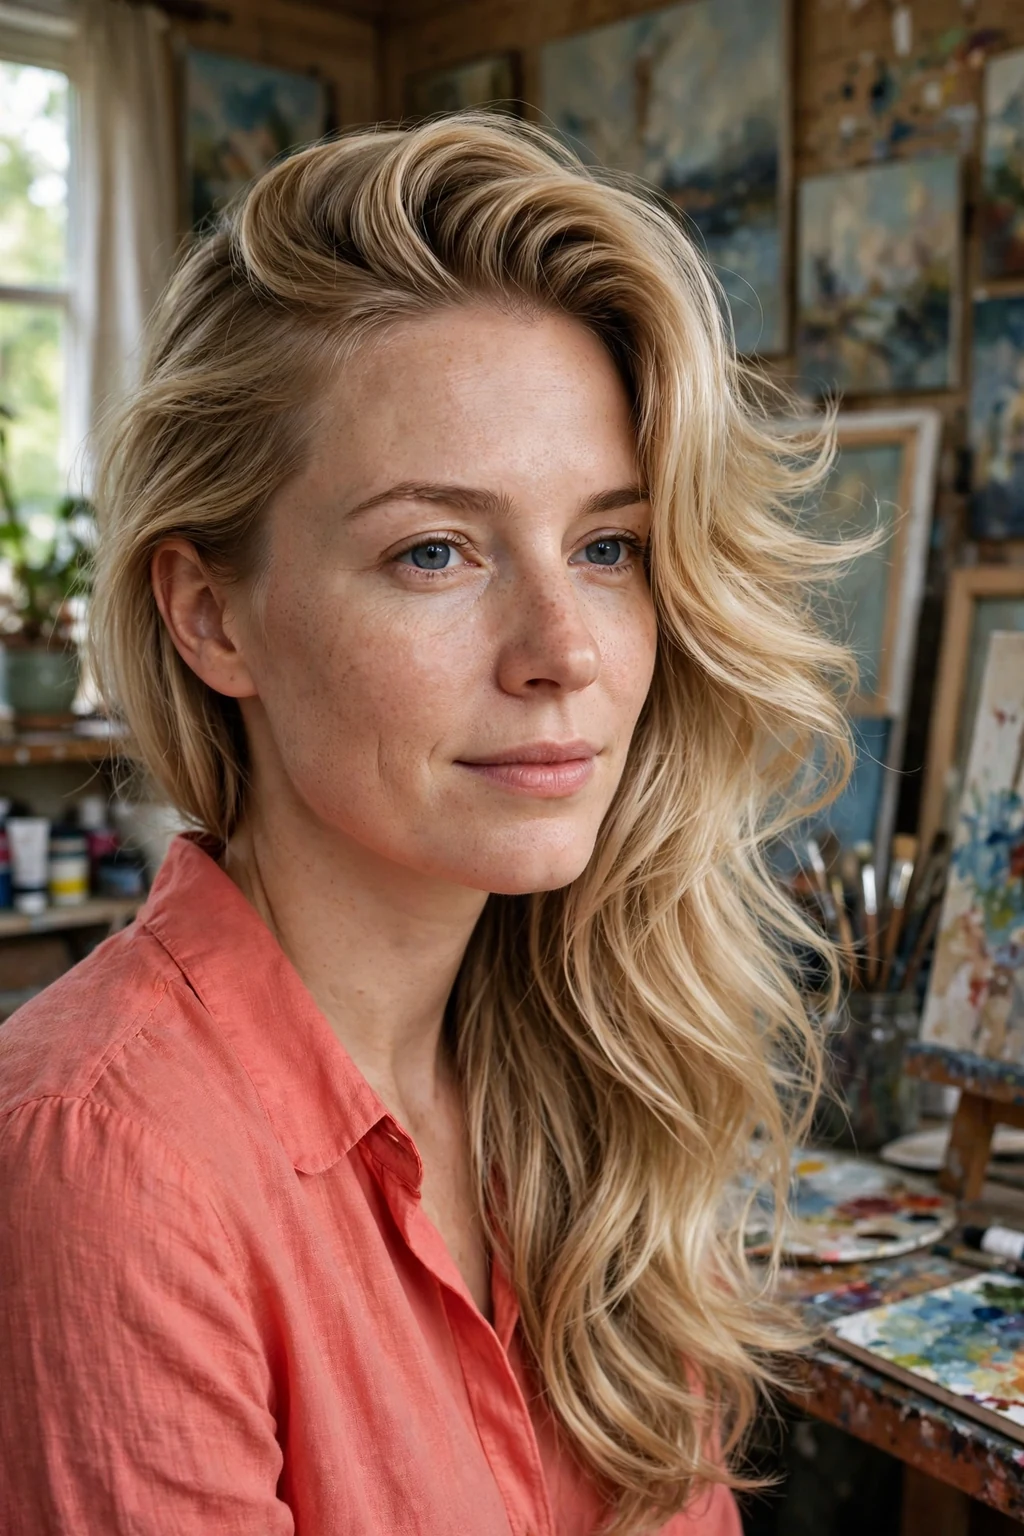
7. Twisted Top Knot
The twisted top knot gathers the hair high on the crown and twists it into a compact, sculptural bun that looks chic from every angle. Its silhouette is tall and clean, lifting the face and elongating the neck, while the twisted texture gives the knot visible detail instead of a plain, flat bun. The finish can be sleek or deliberately messy, with wispy strands pulled loose around the face for softness, making it equally at home at the gym, in the office, or out for dinner. It is one of the fastest genuinely polished updos you can create entirely by hand. The knot can be positioned slightly forward for a playful look or further back for a more refined silhouette, and wrapping the twist loosely gives a softer, larger knot while a tight twist creates a compact, sculptural one. Leaving the ends fanned out rather than tucked in adds a modern, textured finish, while pulling out a few wisps around the temples keeps the whole style from looking severe.
This knot suits women with medium to long hair of any texture, and it flatters oval, round, and heart-shaped faces by drawing the eye upward and opening the features. To create it, gather hair into a high ponytail with your fingers, twist the length tightly, coil it around the base, and pin securely, leaving the ends tucked in or fanned out for texture. A little texturising powder at the roots adds grip for slippery hair, while a light spray holds flyaways. It needs no special trim schedule beyond your usual cut, and grow-out only makes the knot fuller. Choose the twisted top knot when you want height, polish, and a style that survives a long day. For workouts or long days, anchor the knot with two crossed pins at the base plus the hair tie, which stops it from sliding. On fine hair, a little dry shampoo at the roots before gathering adds the grip and volume the knot needs, and the style doubles as a protective updo that keeps ends tucked away.
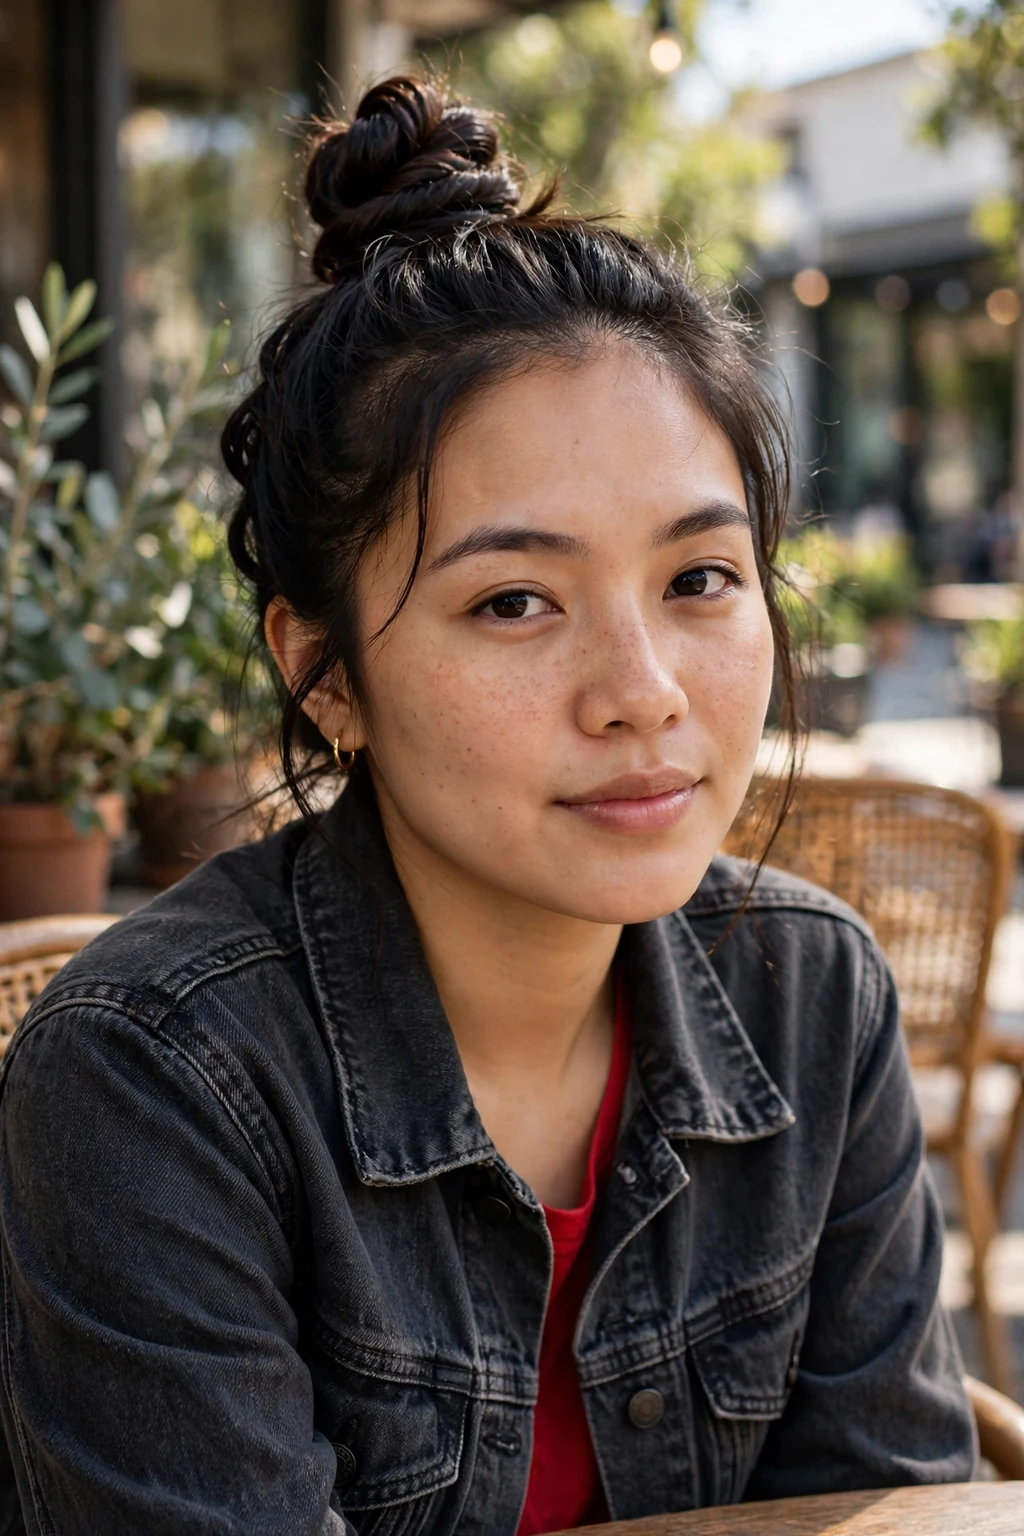
8. Freehand Messy Bun
The freehand messy bun is the art of looking perfectly undone, with hair gathered loosely, looped, and pinned by hand into a soft, textured bun that never looks stiff or overworked. Its shape is relaxed and slightly asymmetrical, with volume at the crown and loose pieces escaping around the face and nape to keep the whole effect gentle. The texture is key: slightly grippy, second-day hair holds the bun best, giving it a lived-in fullness that freshly washed, slippery hair cannot match. Done well, it looks effortless rather than accidental, which is exactly its charm. The bun sits best slightly above the nape or at the mid-crown, where it gives the face a gentle lift without pulling tightly, and its deliberately imperfect shape is what makes it look stylish rather than rushed. A few shorter layers escaping at the sides add to the charm, while keeping the crown softly voluminous stops the bun from looking flat against the head.
This bun suits women with medium to long hair in any texture, and it flatters oval, square, and heart-shaped faces when a few face-framing pieces are left loose to soften the hairline. To create it, flip the head forward, gather the hair loosely with your fingers, twist it once, and wrap it around itself, securing with pins and a scrunchie or hair tie hidden underneath. Pull gently at the crown for volume and tug a few strands free around the face. A dry texturising spray adds grip and staying power. Trim every eight to ten weeks to keep the ends neat, and grow-out is irrelevant to this forgiving style. Choose the messy bun for busy days when you still want to look intentional. To keep the bun secure without stiffness, use a scrunchie for the base and pins only where needed, rather than a tight elastic that causes headaches. If pieces slip out during the day, simply tuck them back loosely instead of redoing the whole bun, since the style is meant to evolve and soften as the hours pass.
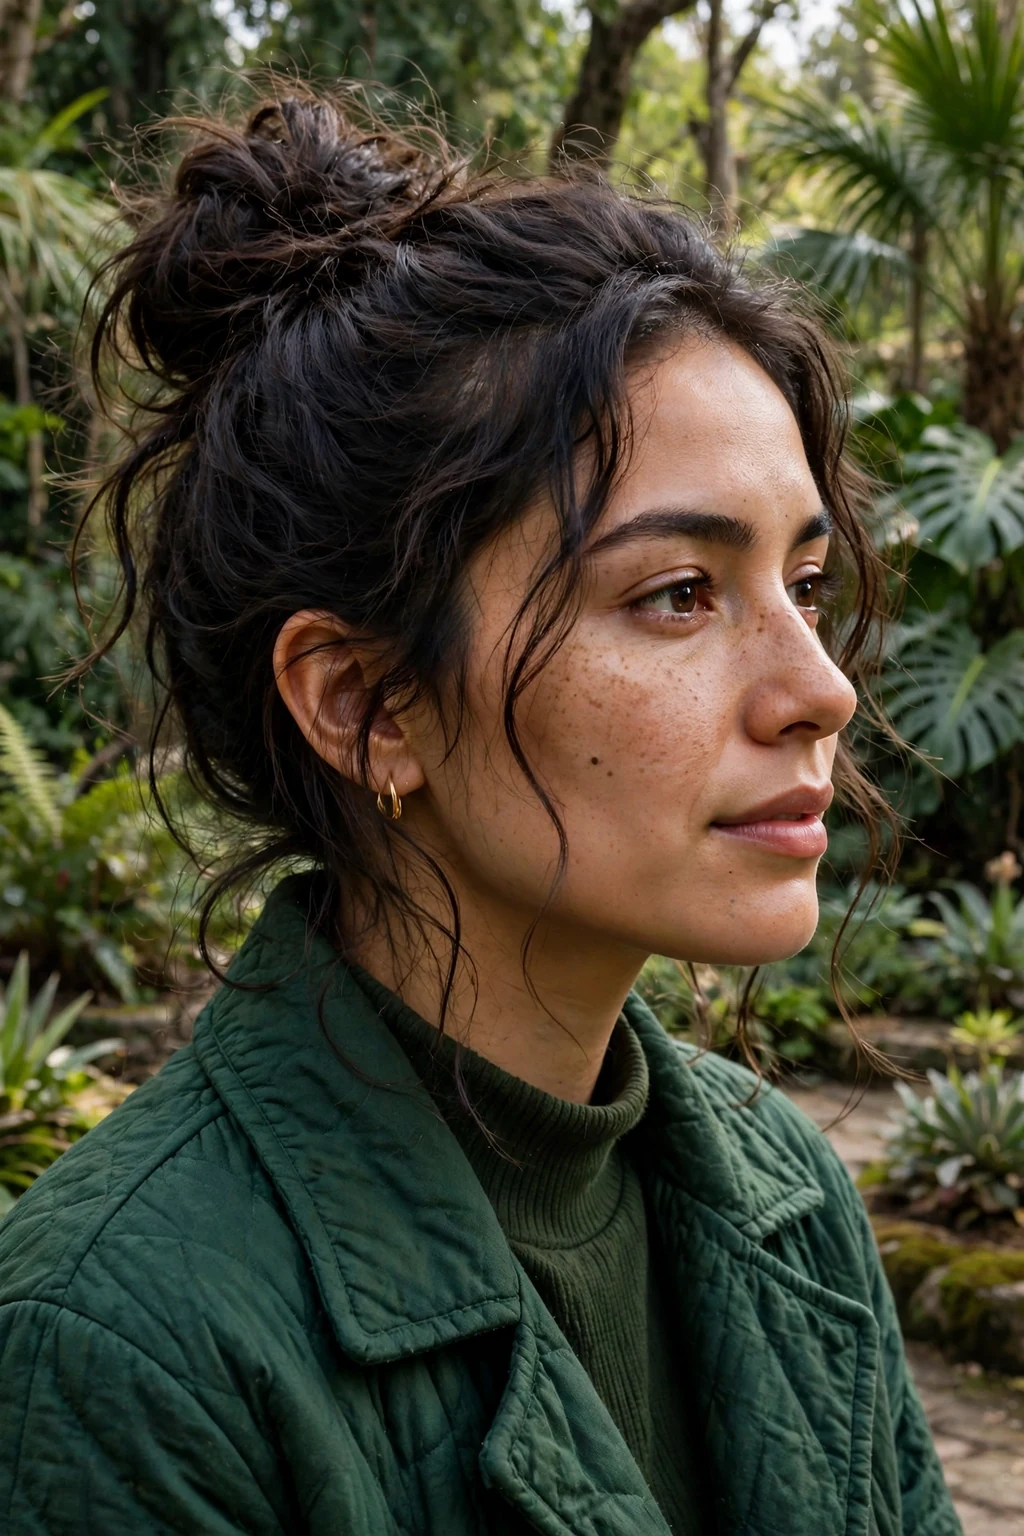
9. Hand-Pinned Chignon
The hand-pinned chignon is a low, elegant bun rolled and pinned at the nape by hand, with a smooth, refined silhouette that suits weddings, work, and formal dinners alike. Its shape is low and compact, sitting just above the neck, with hair folded under itself to create a neat roll that looks far more difficult than it actually is. The finish is polished but soft, with a centre or side part and gentle volume at the crown preventing any hint of severity. It is the quiet, confident updo that never dates and never distracts from the face. The roll can be made wider and flatter for a classic, understated effect or rounder and fuller for a more dramatic evening shape, depending on how much hair is folded under. A side part gives the chignon a softer, more romantic feeling, while a centre part makes it look sharper and more formal, so the same technique adapts easily to different occasions.
This chignon suits women with medium to long hair in straight or wavy textures, and it flatters oval, oblong, and diamond faces by keeping the profile sleek and the neckline visible. To create it, gather hair low at the nape, twist it upward, fold the ends under, and pin in a criss-cross pattern for a hold that lasts for hours. A smoothing cream tames flyaways, while a few pins matched to your hair colour disappear completely. For a softer version, pull out two face-framing strands before pinning. Trim every eight weeks to keep your base length tidy, and grow-out only adds fullness to the roll. Choose the chignon when you want timeless, hand-made elegance without a single hot tool. For all-day events, pin the roll in a criss-cross pattern and finish with a medium-hold spray, which holds the shape without making it stiff. The chignon also works beautifully on hair that is not freshly washed, since second-day texture grips pins better, and it pairs naturally with statement earrings that the low bun leaves fully visible.
10. Finger-Parted Curtain Waves
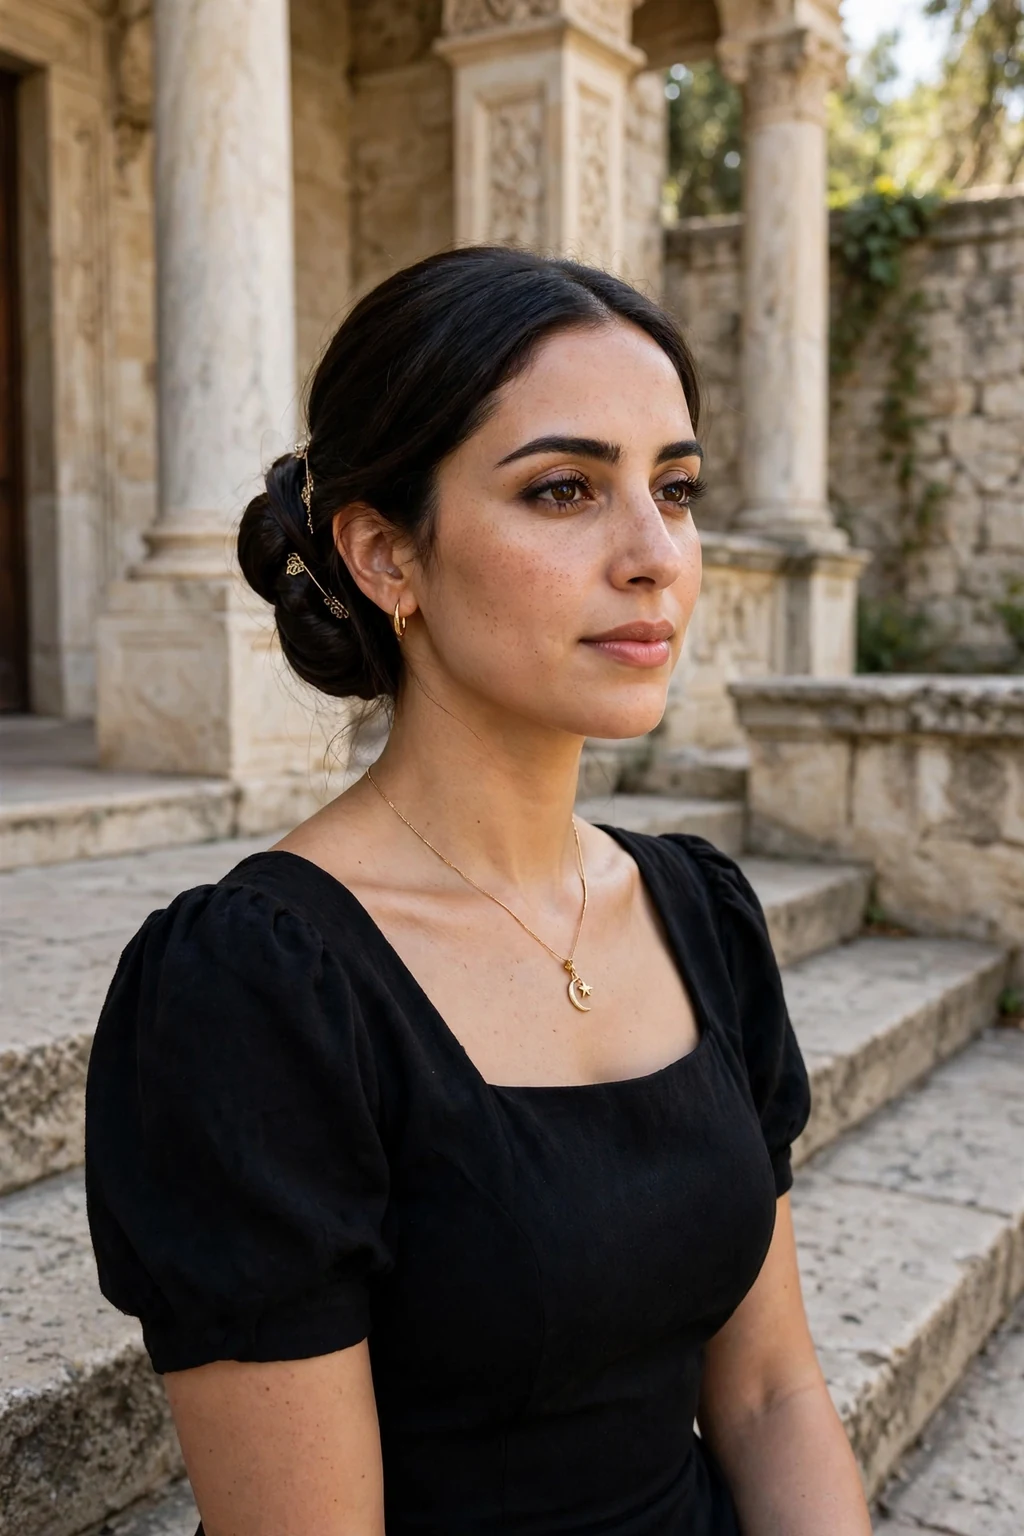
Finger-parted curtain waves combine a soft centre part made with your fingers and long, face-framing waves that sweep outward like curtains on either side of the face. The silhouette is balanced and romantic, with the waves opening the face and falling past the shoulders in gentle, undulating lengths. The finish is soft and touchable, with a slightly tousled texture that keeps the style modern rather than overly retro, and the centre part gives it a relaxed, seventies-inspired charm. It is one of the most universally flattering ways to wear long, wavy hair. The waves can be worn longer and looser for a bohemian feeling or brushed through gently with the fingers for a softer, more blended curtain effect that still frames the face. Keeping the shortest curtain pieces at cheekbone length is what creates the signature frame, while the longer lengths behind them add the flowing, romantic movement that makes this style so photogenic.
This style suits women with medium to long wavy or straight hair that holds a bend, and it flatters oval, round, and square faces by creating a slimming frame that draws attention to the eyes and cheekbones. To create it, part damp hair down the centre with your fingers, apply a wave cream, and twist the front sections away from the face, letting them air-dry before shaking them out into soft waves. Scrunching the lengths adds extra movement, and a light oil on the ends prevents frizz. Trim every eight to ten weeks to keep the curtain pieces at the perfect cheekbone-to-jaw length, and grow-out simply lengthens the frame. Choose curtain waves for effortless, face-framing romance. To maintain the curtain shape between cuts, trim only the front pieces if they grow past the jawline, leaving the back untouched. The style also hides a growing-out fringe beautifully, and it can be dressed up with a centre-parted clip on one side or left completely free for a softer, more casual finish.
11. Hand-Tousled Lob
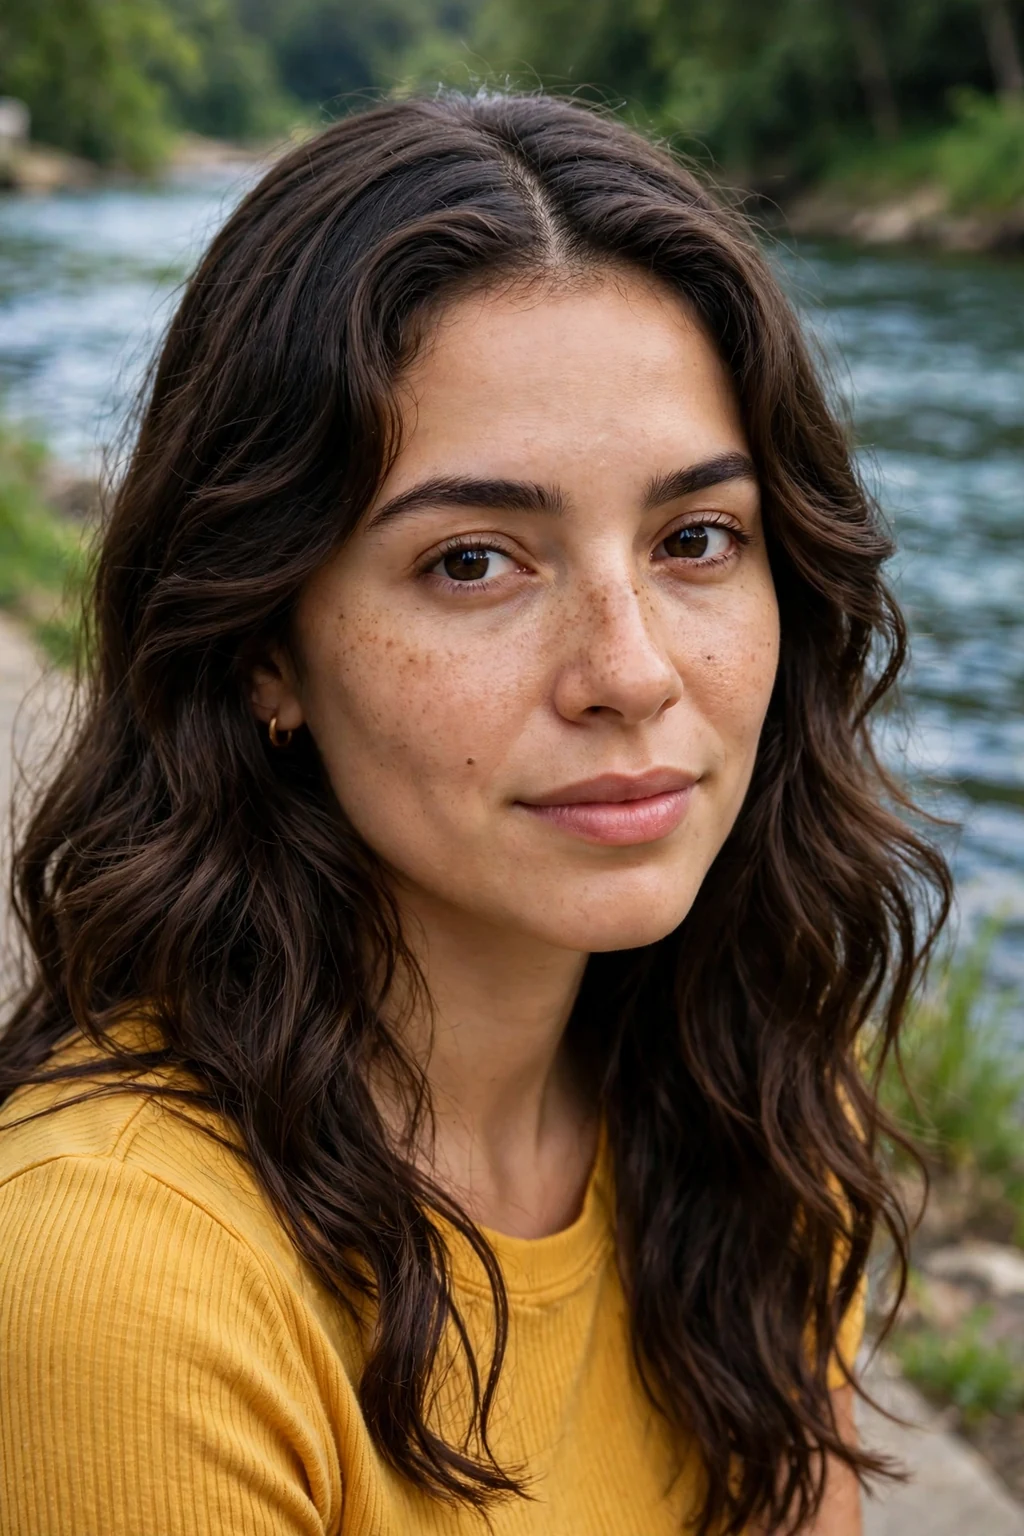
The hand-tousled lob is a long bob, falling between the chin and collarbone, that is roughed up with the fingers into piecey, lived-in texture instead of being blown out smooth. Its shape is full and slightly uneven in the most flattering way, with ends that flick and separate naturally and a silhouette that moves with every turn of the head. The finish is matte and modern, with visible texture that makes fine hair look thicker and thick hair look lighter. It is the haircut that looks best when you stop trying so hard, which makes it perfect for real life. The lob looks particularly good when the ends are cut bluntly but styled piecey, since that contrast gives the cut both structure and movement at once. A slightly longer front than back adds a modern, angled silhouette, while keeping the interior layers light stops the lob from becoming boxy or heavy around the jawline.
This lob suits women with straight to wavy hair and fine to thick density, and it flatters oval, heart, and square faces with its collarbone-skimming length and textured ends. To style it, work a texturising cream through damp hair, scrunch and tousle with your fingers, and air-dry, shaking the roots once dry for lift. A sea-salt spray adds extra grit for very smooth hair, while a tiny amount of pomade defines individual ends. Trim every six to eight weeks to maintain the lob length and keep the ends from looking straggly, and grow-out transitions smoothly into a textured midi cut. Choose the tousled lob when you want a modern cut that styles itself. Between washes, revive the texture with a quick spray of dry shampoo at the roots and a scrunch through the ends, which restores the tousled finish in under a minute. The lob is also an ideal growing-out length, since it passes through every stage gracefully, from bob to shoulder-length hair, without an awkward phase.
12. Twisted Halo Braid
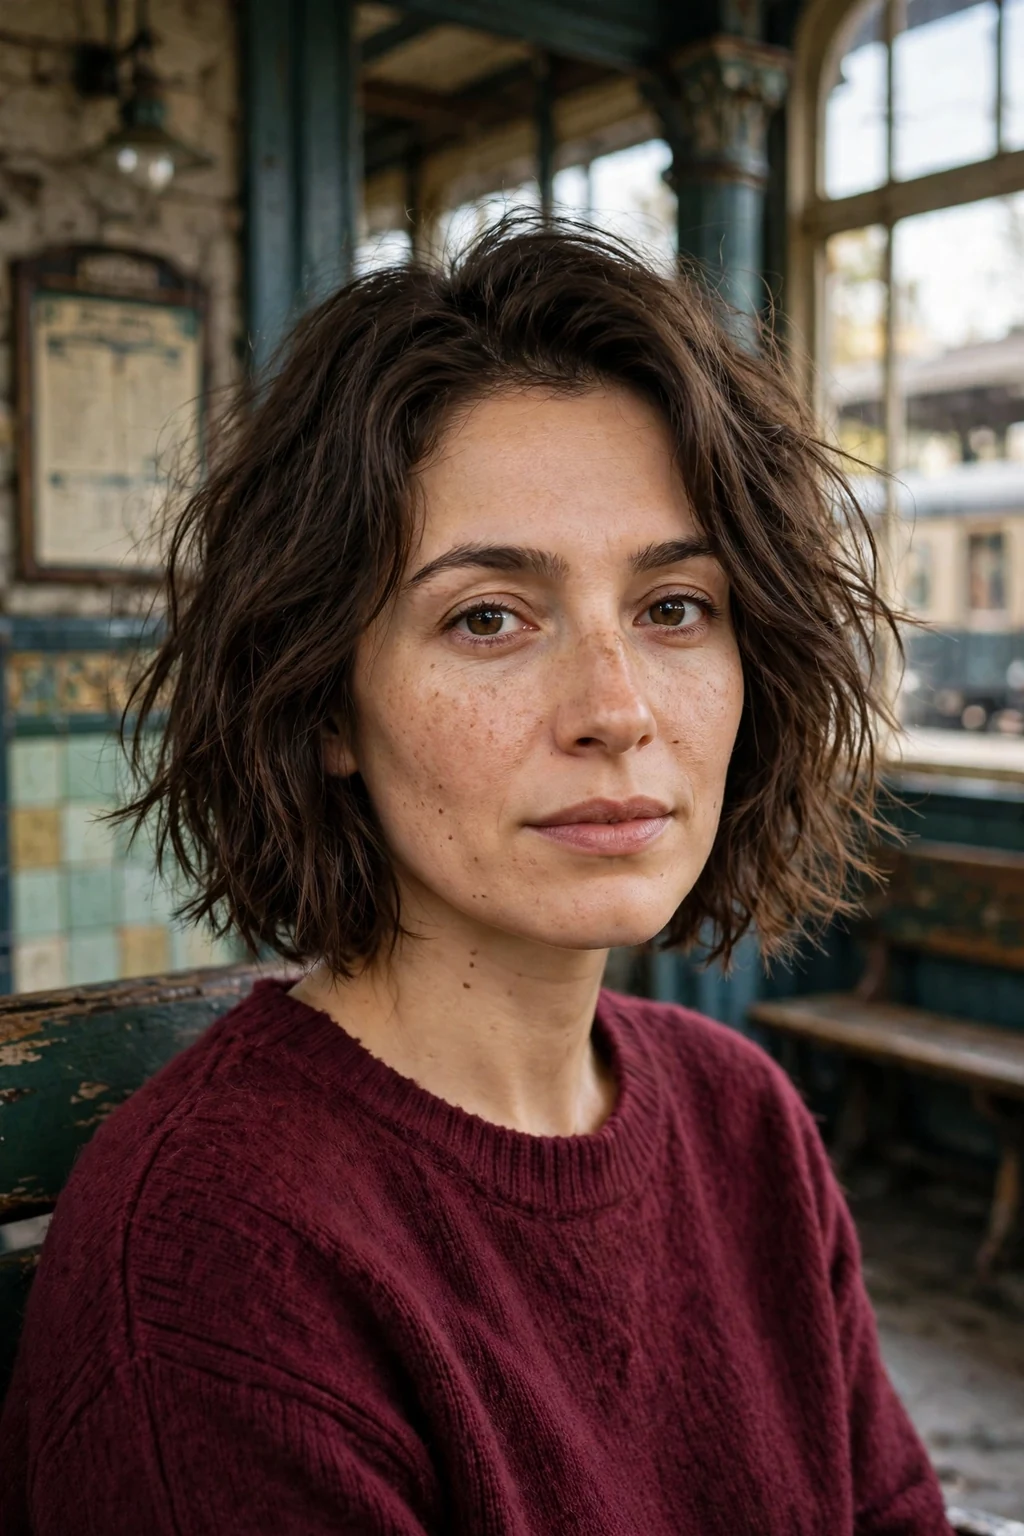
The twisted halo braid is a soft crown braid made by twisting, rather than plaiting, two sections around the head and pinning them into a continuous halo. Its appearance is romantic and slightly bohemian, with the twists sitting like a headband across the forehead and around the crown, while the rest of the hair can be left loose or gathered below. The texture is deliberately soft, with twists gently pulled apart for fullness, giving the halo a pillowy, hand-crafted quality that a tight, machine-perfect braid could never achieve. It suits festivals, weddings, and summer evenings beautifully. The halo can be worn with the remaining hair loose and wavy for a romantic festival look, or gathered into a low bun beneath the twists for a fully pinned-up formal style. Pulling the twists apart gently, a technique called pancaking, makes them look twice as full, which is especially helpful for fine hair, while keeping the front twists close to the hairline frames the face beautifully.
This halo suits women with medium to long hair in any texture, and it flatters round, oval, and heart-shaped faces by lifting the hairline and framing the face with soft twists. To create it, part the hair in the middle, twist each front section back along the hairline toward the crown, and pin the ends where they meet, pancaking the twists gently for volume. A texturising spray gives fine hair the grip it needs, while pins hidden under the twists keep everything secure. Trim every eight weeks to maintain your base length, and grow-out does not disturb the style. Choose the halo twist when you want a crown you can make entirely with your own hands. If your hair is layered, secure shorter pieces with small pins tucked under the twists so they do not escape during the day. The halo also survives warm weather well, since the twists keep hair off the face, and it can be refreshed in the evening by re-pinning just the ends where the two twists meet.
13. Freehand Beach Waves
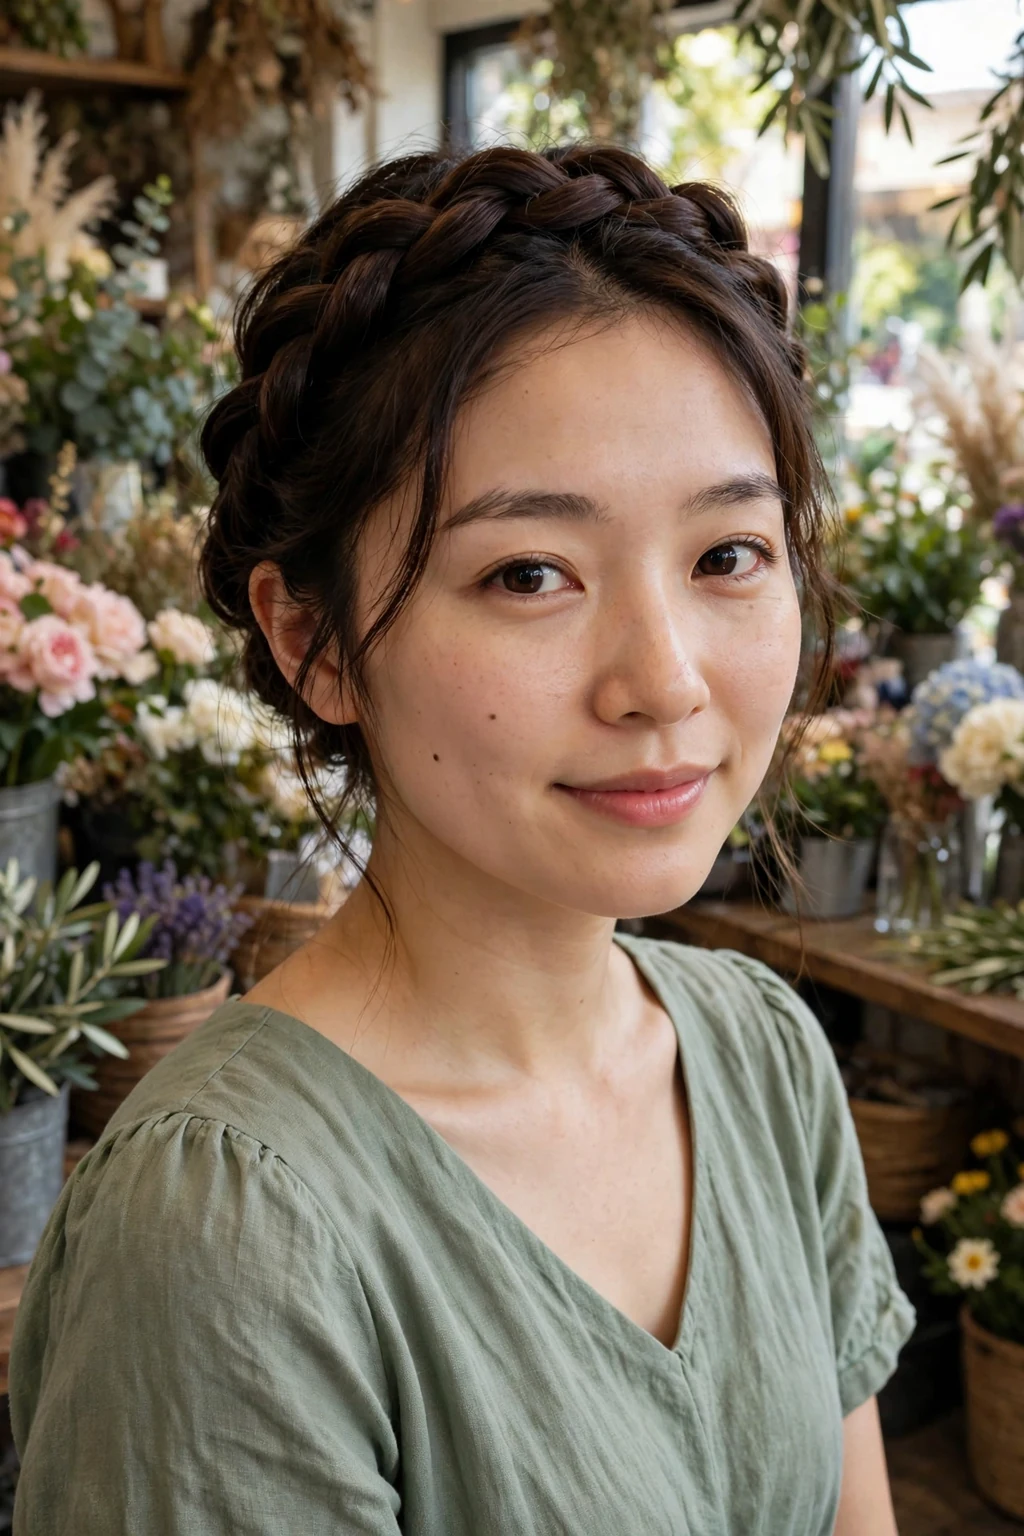
Freehand beach waves are loose, irregular waves shaped by scrunching and twisting damp hair by hand, mimicking the texture hair gets after a day by the sea. The silhouette is relaxed and full, with waves that vary in size and direction for a natural, sun-kissed effect that never looks styled in a salon. The finish is matte and slightly salty in feel, with ends that stay soft and a root area that remains flat enough to look believable. It is the quintessential summer hairstyle, yet it works year-round whenever you want a holiday feeling without leaving home. The waves vary naturally from day to day depending on humidity and how much product you use, which is part of their charm, since no two beach-wave days look exactly alike. Keeping the ends slightly dry and textured, rather than oiled smooth, preserves the salty, sun-dried character that defines the style and stops it from turning into a polished salon wave.
This style suits women with naturally wavy or easily bent hair, and it flatters oval, oblong, and heart-shaped faces by adding width through the lengths. Straight hair will need salt spray or mousse for hold, while curly hair can simply be scrunched to encourage its own wave pattern. To create it, spray damp hair with sea-salt spray, twist random sections loosely, scrunch upward, and air-dry without brushing, which would destroy the wave. Once dry, shake the hair out and add a drop of oil to the ends only. Trim every eight to twelve weeks, and grow-out is completely forgiving. Choose beach waves when you want holiday hair every single day. For a stronger wave on straight hair, braid damp hair into two loose braids overnight and shake them out in the morning for an instant beach texture. The style is also forgiving on unwashed hair, since salt spray doubles as a texturiser that absorbs oil at the roots while adding grip through the lengths.
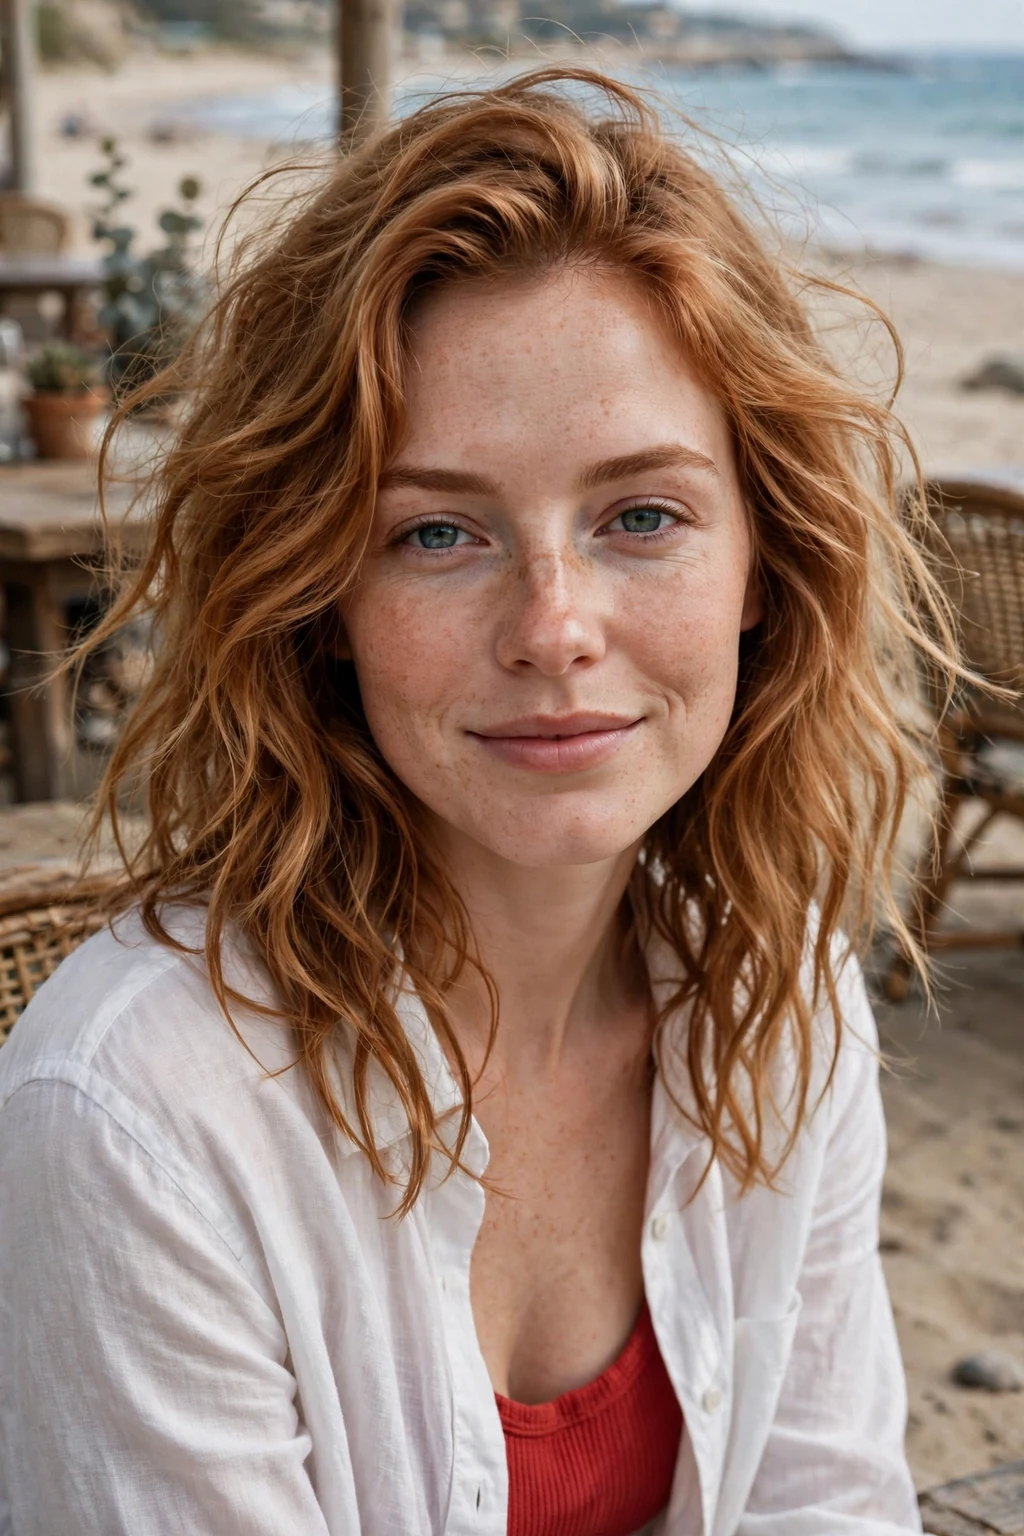
14. Hand-Defined Spiral Curls
Hand-defined spiral curls are tight, springy curls individually shaped by twirling wet sections around a finger until they form perfect, uniform spirals. The overall shape is voluminous and sculptural, with curls that stack and bounce against each other to create a full, rounded silhouette full of movement. The finish is glossy and defined, with each spiral distinct rather than merging into frizz, and the style holds its shape remarkably well once fully dry. It is a show-stopping way to wear curly hair, whether your curls are natural or coaxed from waves. The spirals look most impressive when they are allowed to shrink up naturally, since attempting to stretch them while wet only creates frizz and loses definition. A gel with a medium hold gives the best balance, firm enough to hold the spiral but flexible enough that the curls still bounce and move when you walk. Smaller spirals near the hairline frame the face beautifully, while larger spirals through the back add fullness.
This style suits women with naturally curly or very wavy hair, and it flatters round, oval, and diamond faces by balancing the face with even, all-round volume. To create it, apply a strong curl cream or gel to soaking-wet hair, divide it into small sections, and twirl each one around your finger in the direction of its natural curl, then leave it completely untouched while air-drying. Resist the urge to touch drying curls, since that creates frizz, and once dry, gently separate the roots only. Trim every eight to ten weeks to keep spirals springy, and grow-out adds glorious length. Choose spiral curls when you want maximum definition and drama. On day two, revive the spirals by misting with water and re-twisting only the curls that have lost their shape, rather than wetting the whole head again. A satin-lined cap or pineapple wrap at night protects the pattern, and regular trims prevent the ends from splitting, which is the fastest way to lose spiral definition.
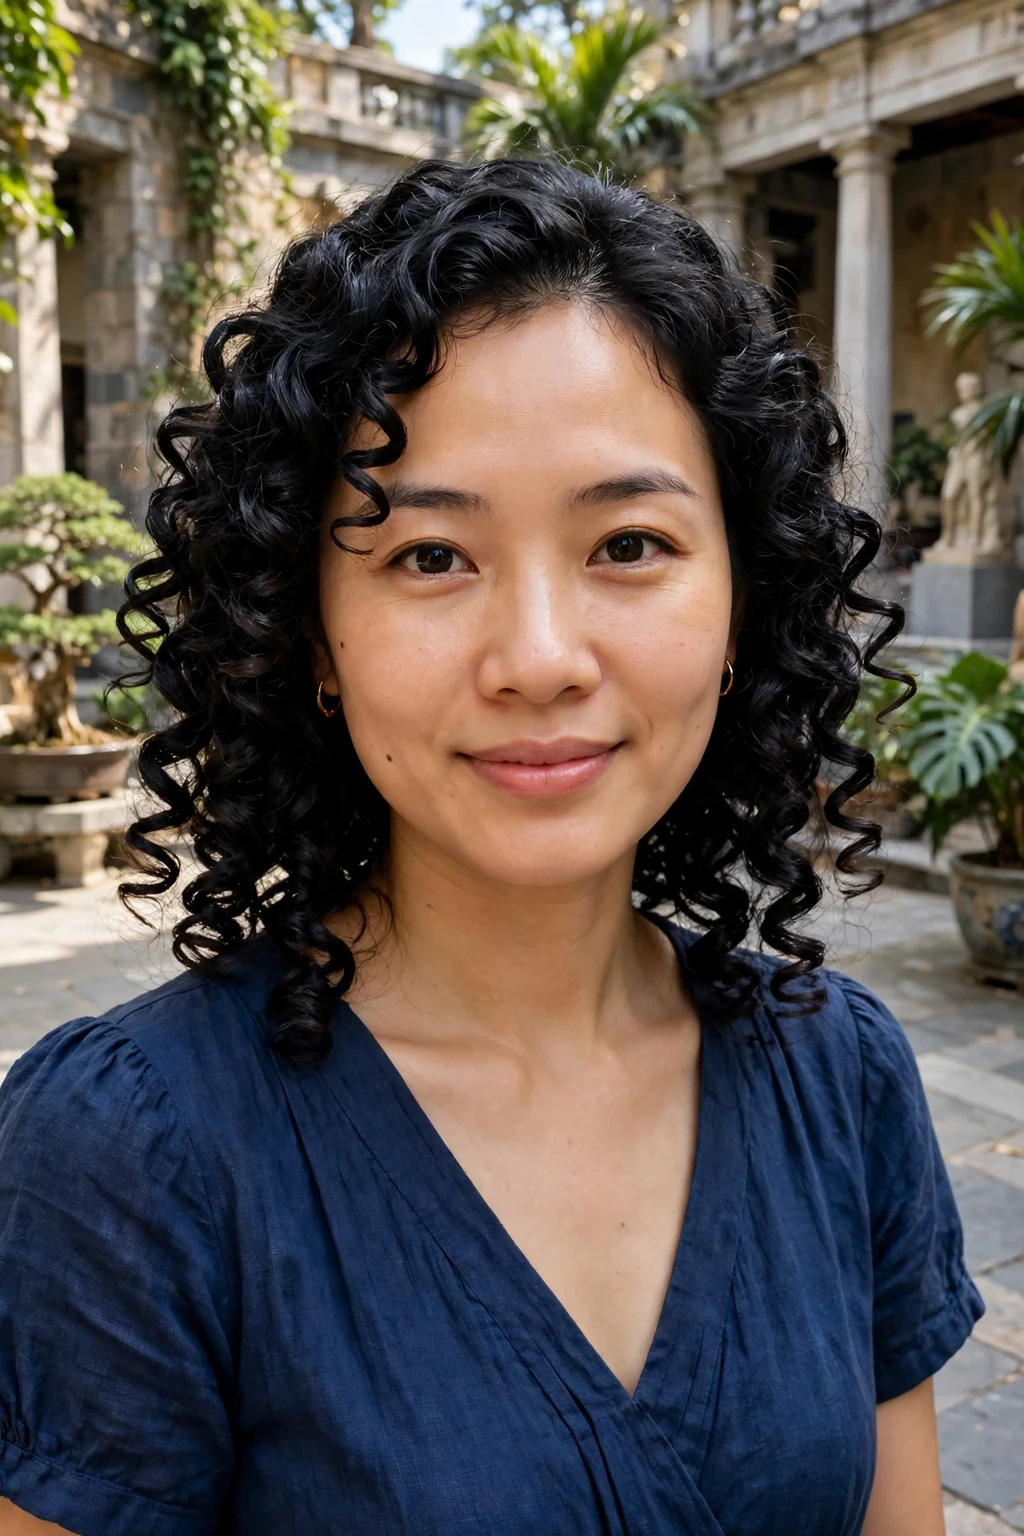
15. Loose Finger-Combed Layers
Loose finger-combed layers are long, layered hair that is detangled and styled only with the fingers, preserving the layers' natural separation and movement instead of brushing them into a smooth sheet. The silhouette is airy and flowing, with layers that fall at different lengths and move independently, creating a sense of lightness and depth. The finish is soft and slightly textured, with ends that flick naturally and a crown that keeps its own gentle volume. It is the simplest possible way to show off a good layered cut, because it lets the cut itself do all the talking. The layers are most visible when the hair is parted slightly off-centre, which lets the shorter layers fall forward and frame the face while the longer layers fall behind. Avoiding a brush is essential, since brushing blends the layers into a single sheet and erases the very separation that makes finger-combed hair look so light and modern.
This style suits women with layered cuts in straight, wavy, or loosely curled hair, and it flatters oval, round, and square faces by breaking up the perimeter with movement. To style it, detangle damp hair with your fingers and a leave-in conditioner, then either air-dry or rough-dry by hand, shaking the layers apart as they dry. A pea-sized amount of smoothing cream on the ends prevents frizz without weighing the layers down, and no brush should touch the finished style. Trim every eight to ten weeks to keep the layers distinct, and grow-out simply makes the layers longer and softer. Choose finger-combed layers when your cut is good enough to need nothing else. If your layers start to look tangled rather than textured, a wide-tooth comb used only on wet, conditioned hair restores order without destroying the finger-styled finish. The style is also ideal for air-drying, since the layers are designed to fall naturally, and it pairs well with a simple, clean outfit that lets the hair be the focus.
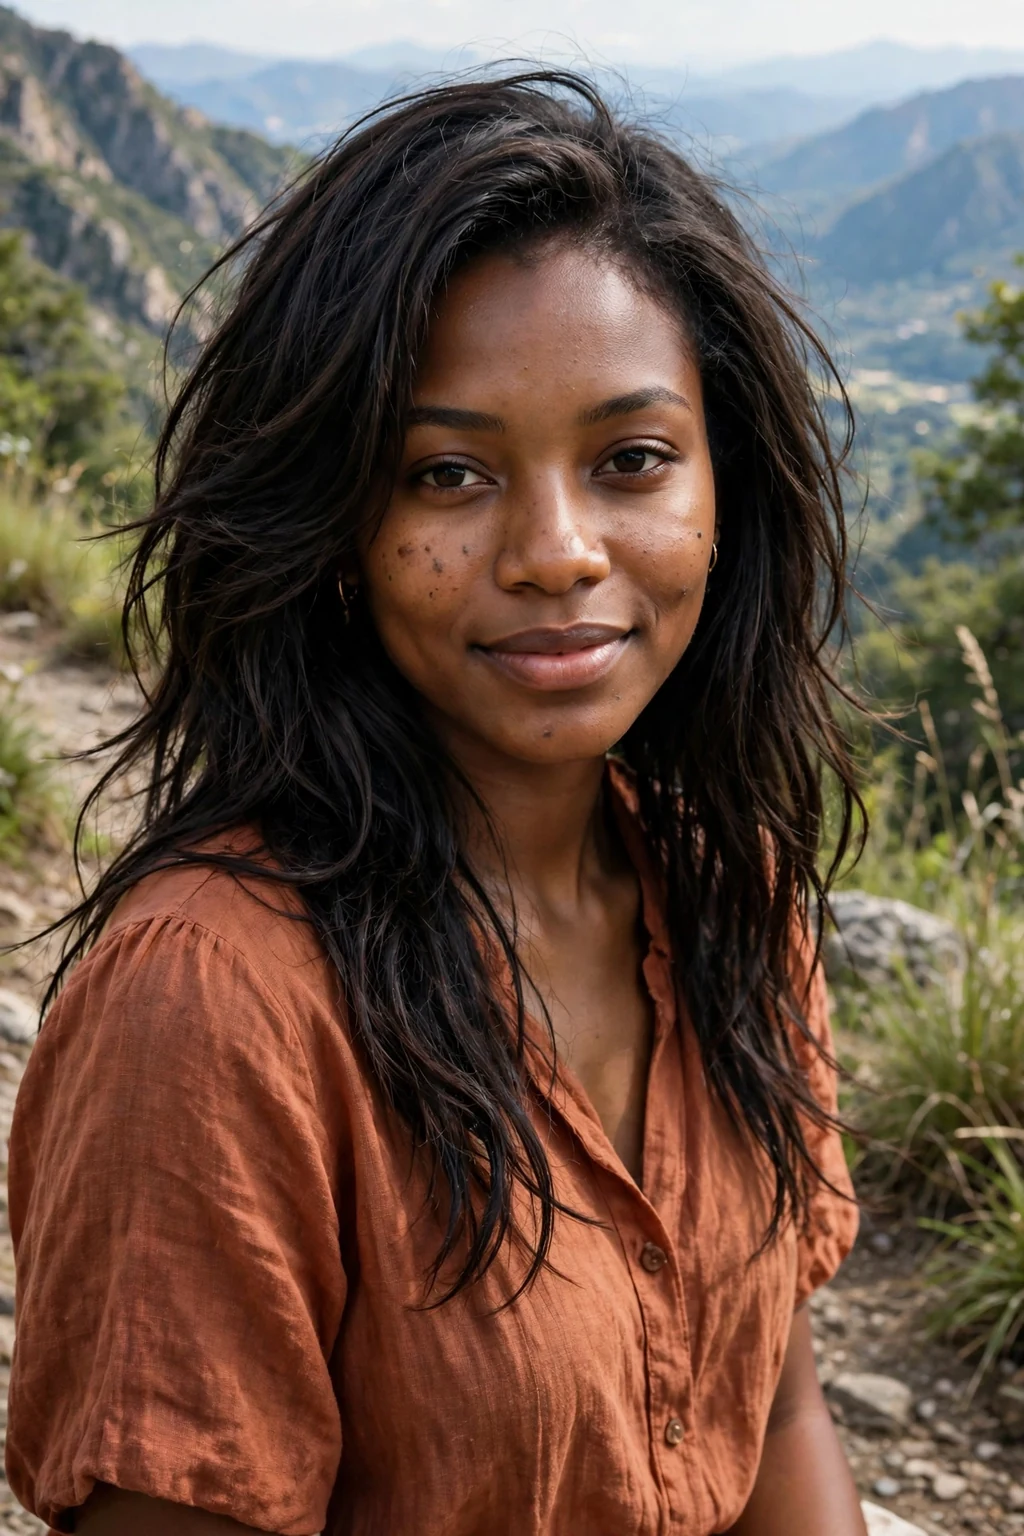
16. Hand-Wrapped Low Ponytail
The hand-wrapped low ponytail elevates the simplest style by wrapping a section of hair around the base by hand, hiding the hair tie and giving the ponytail a polished, boutique finish. Its silhouette is sleek and low, sitting at the nape with a smooth crown and a tail that falls straight, wavy, or gently curled depending on your texture. The wrapped base is the detail that transforms it, adding a tailored touch that makes the whole style look deliberate and expensive. It works for the office, for formal events, and for evenings when you want your hair off your face without sacrificing elegance. The wrap can be made thicker for a bolder statement or kept very thin for a barely-there, polished detail, and matching the wrap to your own hair colour keeps it subtle while a contrasting wrap turns it into a feature. Keeping the crown smooth and the tail free of bumps is what separates this ponytail from a rushed, everyday version, giving it a boutique finish.
This ponytail suits women with medium to long hair in any texture, and it flatters oval, heart, and oblong faces by keeping the hairline clean and the neck visible. To create it, smooth hair back with your hands and a little cream, secure it low with a snug tie, then take a thin section from underneath the tail, wrap it tightly around the base, and pin the end underneath. A light-hold spray keeps flyaways smooth, and pulling a few strands loose softens the look. Trim every eight weeks to keep the tail healthy, and grow-out only lengthens the ponytail. Choose the wrapped ponytail when a plain tie feels too casual for the occasion. For a firmer hold on thick hair, use two hair ties stacked at the base before wrapping, which distributes the weight and prevents slipping. The ponytail also works well as a base for adding a scarf or ribbon at the wrap, and it can be refreshed by smoothing the crown with a little cream and re-wrapping the base section.
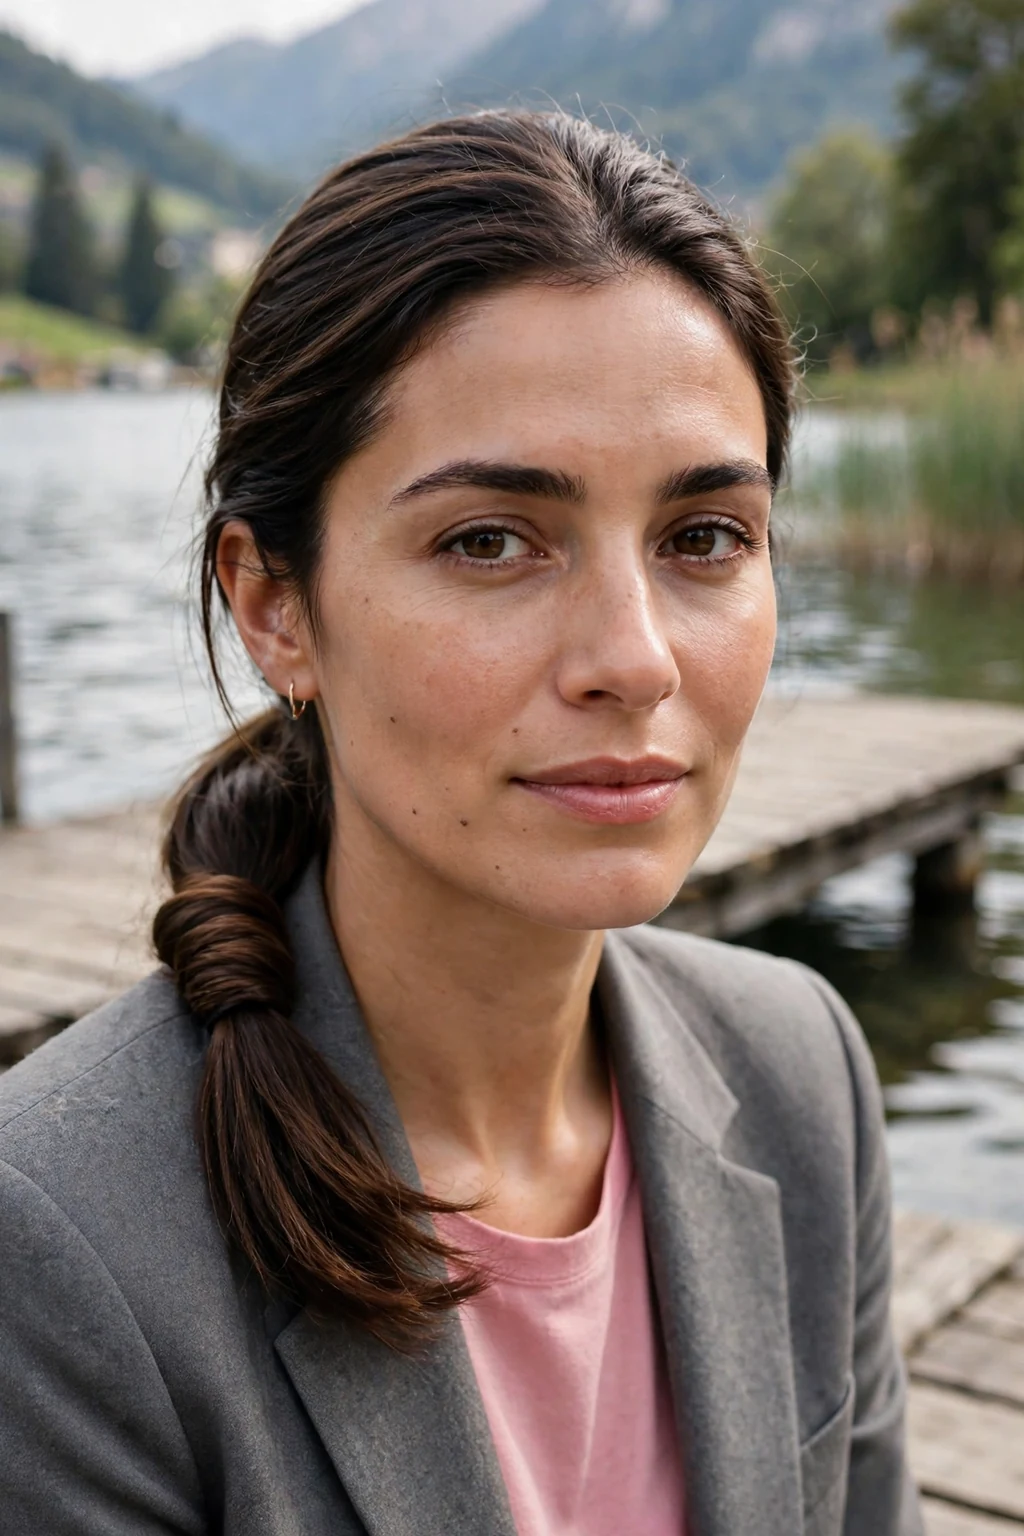
17. Freehand Voluminous Fluff
Freehand voluminous fluff is big, airy hair created by backcombing gently with the fingers, shaking out the roots, and fluffing the lengths by hand until the hair reaches its fullest, softest volume. The silhouette is gloriously full, with height at the crown, width through the sides, and a cloud-like softness that photographs beautifully. The finish is matte and touchable rather than stiff, because no heavy hairspray shell is involved, just texture, air, and a little root-lifting powder. It is the hand-made answer to a salon blowout, with a more natural, lived-in character. The fluff can be shaped into a rounded halo for maximum drama or kept flatter at the sides with height only at the crown for a more wearable, everyday volume. Working in sections is essential for even fullness, since fluffing only the top layer leaves the underneath flat, while lifting each layer in turn creates volume that lasts all day.
This style suits women with fine to medium hair craving fullness, and it flatters oval, oblong, and heart-shaped faces by adding balancing width. Thick hair can also be fluffed, though it will need more sectioning to avoid excess bulk. To create it, apply root-lifting powder or dry shampoo to dry hair, lift sections at the crown and gently push them downward with your fingers, then shake the whole head out and arrange the shape by hand. A light mist of flexible spray holds the volume without stiffness. Trim every eight weeks to keep the shape, and grow-out maintains the volume gracefully. Choose freehand fluff when you want big hair with a soft, natural finish. To preserve the volume overnight, sleep with the hair loosely piled on top of the head in a silk scarf, then shake it out in the morning rather than brushing it flat. A little dry shampoo at the roots on day two restores both lift and freshness, making this one of the easiest big-hair styles to maintain.
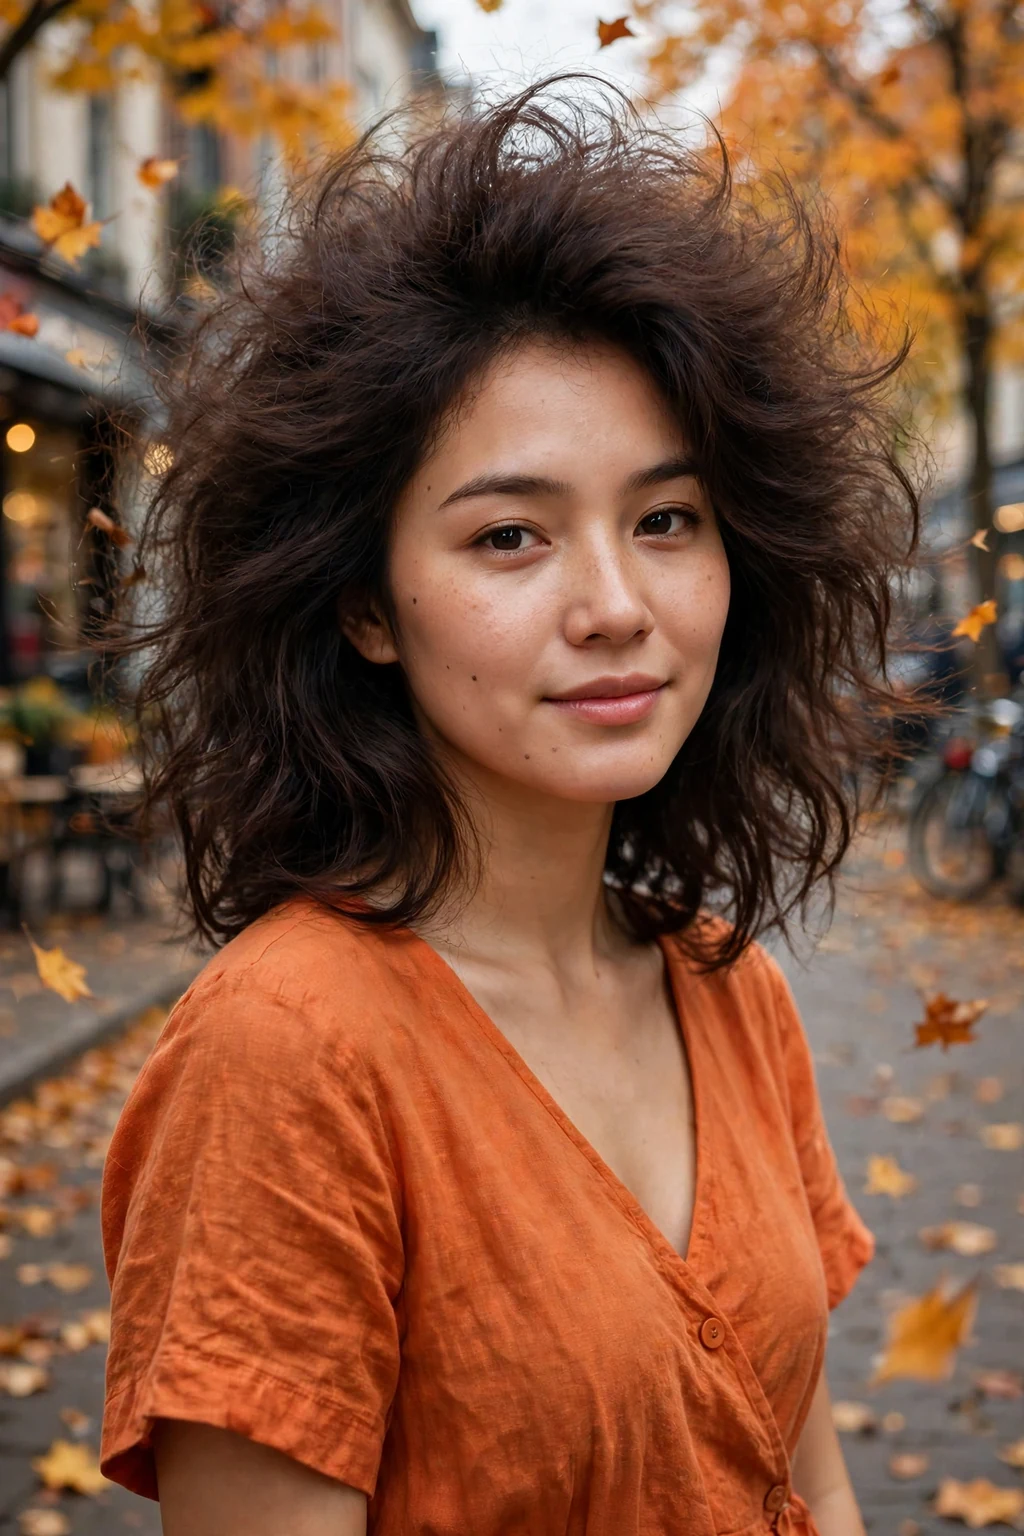
18. Twisted Side-Swept Waves
Twisted side-swept waves gather all the hair to one side with a loose twist at the back, letting long waves cascade over one shoulder in a glamorous, old-Hollywood-meets-modern shape. The silhouette is asymmetrical and dramatic, with volume at the crown on the swept side and a long, flowing tail that moves beautifully when you walk. The finish is soft and wavy rather than tightly curled, with the twist hidden at the back giving the style its structure while the front stays relaxed and romantic. It is a red-carpet look you can genuinely create in your own bathroom with only your hands and pins. The sweep can be worn with the waves tightly defined for a glamorous evening look or shaken out into soft, loose movement for a more relaxed daytime version. Adding height at the crown on the swept side balances the asymmetry, while keeping the opposite side smooth and tucked behind the ear preserves the clean, diagonal line that makes the style so flattering.
This style suits women with medium to long wavy or straight hair, and it flatters oval, round, and square faces by creating a diagonal line that slims and lengthens the face. To create it, sweep all the hair to one side, twist the back section loosely and pin it in place, then arrange the waves over the shoulder, scrunching with a little cream for definition. A decorative pin or clip at the twist adds polish, and a light spray holds the sweep. Trim every eight to ten weeks to keep the waves healthy, and grow-out only makes the cascade longer. Choose side-swept waves for evenings when you want maximum glamour with minimal tools. If the sweep tends to fall back during the day, anchor the hidden twist with two crossed pins and a light spray, which holds it without stiffness. The style also works beautifully with one statement earring on the visible side, since the swept hair leaves that ear and the neckline completely on show.
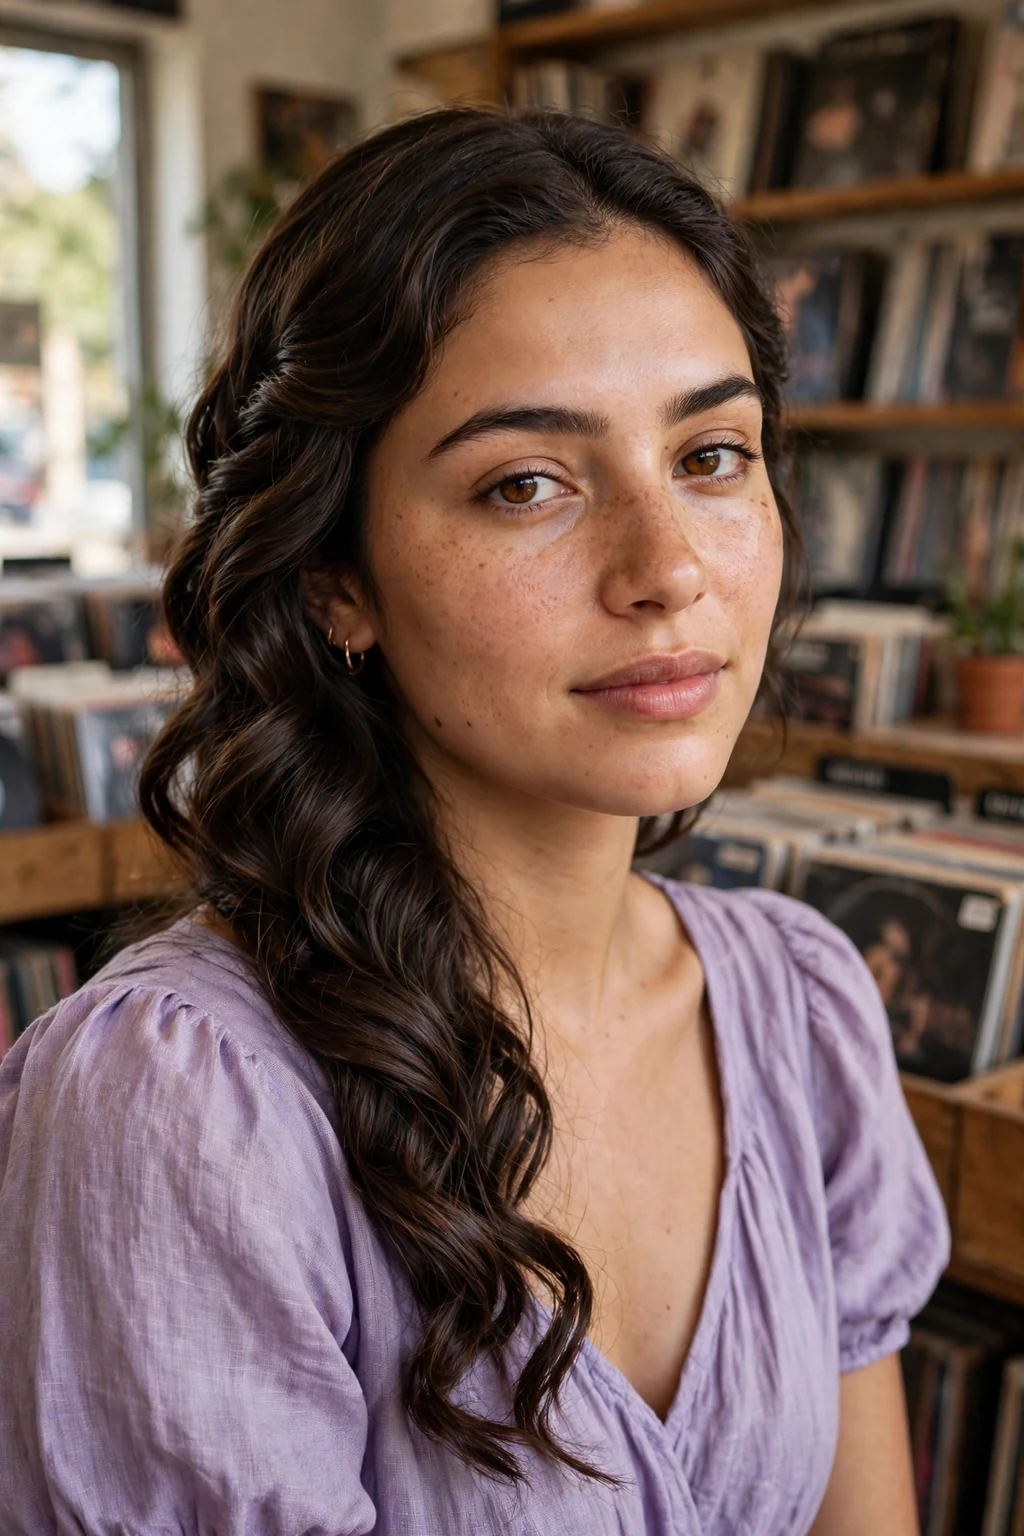
19. Hand-Crafted Vintage Rolls
Hand-crafted vintage rolls are victory rolls and pin curls shaped entirely by hand, with sections rolled upward and pinned into sculptural, retro shapes at the sides of the head. Their appearance is bold and glamorous, with smooth, rounded rolls that catch the light and a silhouette that is unmistakably vintage, yet surprisingly wearable with modern clothing. The finish is sleek and set, with each roll holding its shape through careful pinning rather than heat, and the overall effect is one of deliberate, joyful craftsmanship. It is a style that always draws compliments and photographs beautifully. The rolls can be worn as a matched pair for a classic victory-roll look or as a single roll on one side for a more modern, asymmetrical take on the vintage style. Brushing the rolls out gently once set transforms them into soft, glamorous waves, giving you two distinct vintage styles from a single setting session and making the effort doubly worthwhile.
These rolls suit women with medium to long straight or wavy hair with enough length to roll, and they flatter oval, heart, and square faces by adding height and width at the sides. To create them, work a setting lotion through damp hair, roll each front section upward around your fingers, and pin firmly, allowing the rolls to set as they air-dry or set overnight in a scarf. A strong-hold spray and plenty of pins are essential, and the rolls can be brushed out gently for a softer, wavier finish. Trim every eight weeks to maintain the length needed, and grow-out does not hinder the rolls. Choose vintage rolls when you want a show-stopping retro moment made entirely by hand. Because the rolls rely on setting rather than heat, they hold best on hair that is slightly damp with setting lotion and allowed to dry fully before the pins are removed. Practice makes the technique much faster, and most women find their second attempt takes half the time of the first, with noticeably smoother, more even rolls.
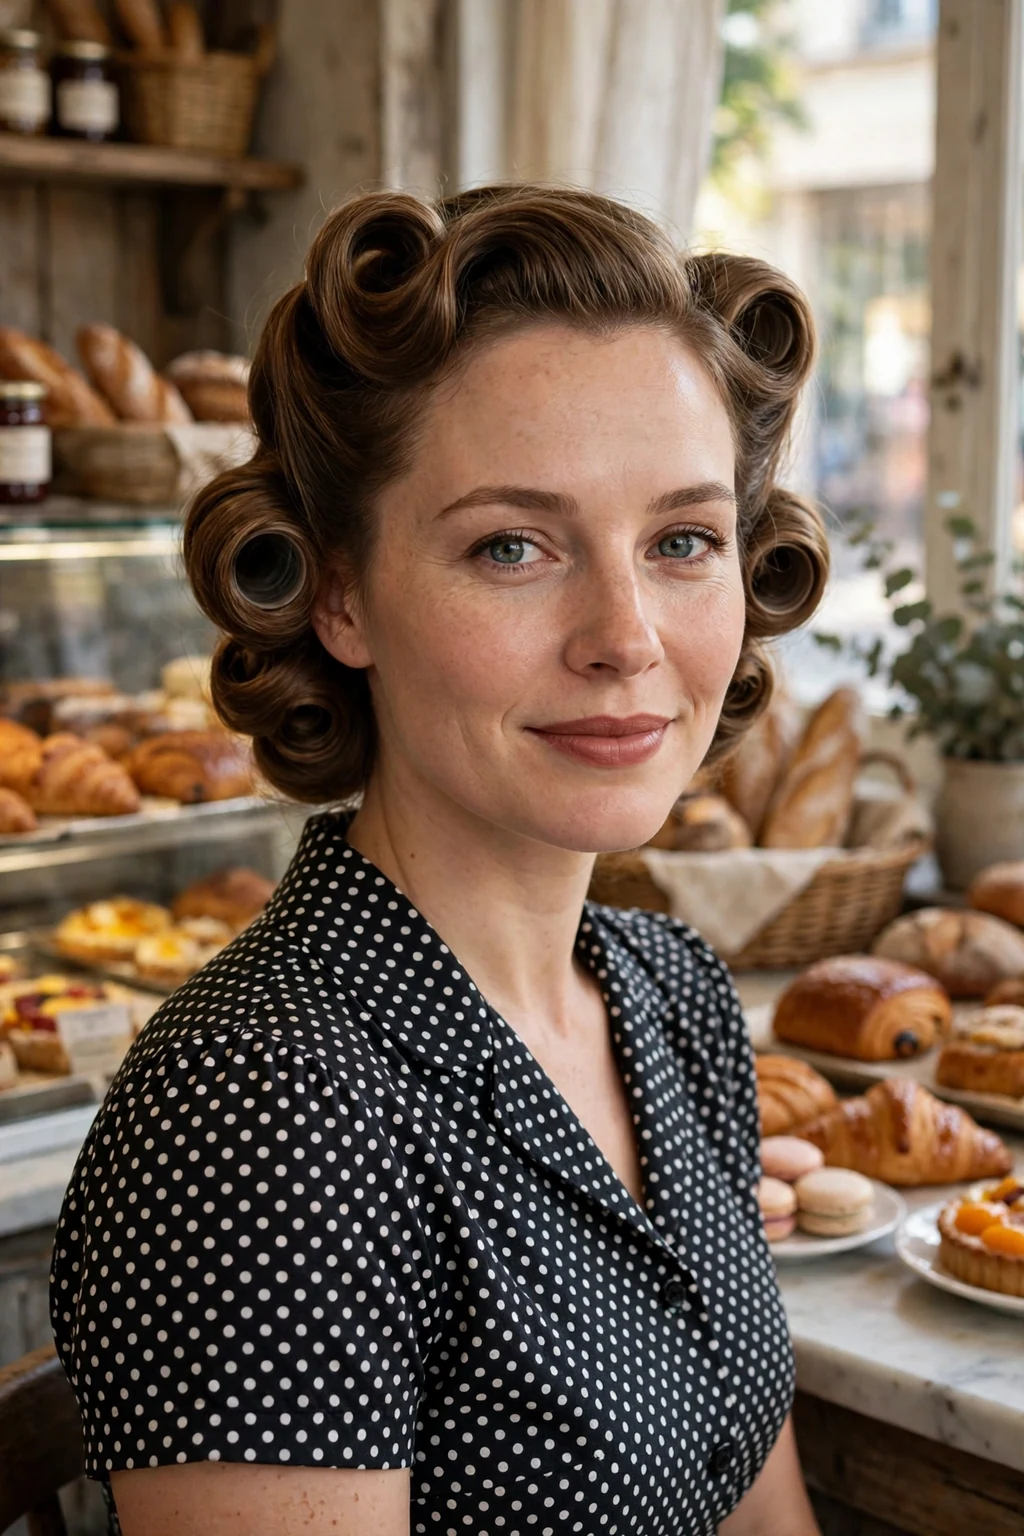
20. Freehand Textured Pixie
The freehand textured pixie is a short, piecey cut styled only with the fingers and a dab of pomade, giving the crop visible separation, lift, and personality without any blow-drying or straightening. Its shape is short and sculptural, with longer, textured pieces on top, tapered sides, and a finish that can be swept forward, to the side, or spiked up depending on your mood. The texture is the whole point: matte, piecey, and touchable, with each section distinct rather than smoothed into a single helmet. It is short hair at its most expressive and most low-maintenance. The pixie can be swept forward for a soft, fringe-like finish, pushed to one side for a classic crop, or lifted into subtle spikes for a bolder, more editorial effect, all with the same cut and product. Keeping the nape and sides neatly tapered is what makes the top texture stand out, so regular shaping of the outline matters more than the styling itself.
This pixie suits women with fine to medium hair and straight to wavy textures, and it flatters oval, heart, and diamond faces by adding height at the crown and opening up the features. To style it, work a pea-sized amount of matte pomade or texturising cream through damp or dry hair, then piece and direct sections with your fingers, lifting the crown for volume. No comb is needed, and the whole routine takes under two minutes, making it ideal for busy mornings. Trim every four to six weeks to keep the pixie shape sharp, since short cuts grow out faster, and grow-out transitions into a textured crop. Choose the freehand pixie when you want short hair with maximum character and minimum effort. Because the pixie is so short, it grows out visibly within a few weeks, so booking trims every four to six weeks keeps the shape intentional rather than shaggy. The style is also wonderfully wash-and-go, since it air-dries in minutes, and a tiny amount of pomade is all you need to restyle it after a hat or helmet.
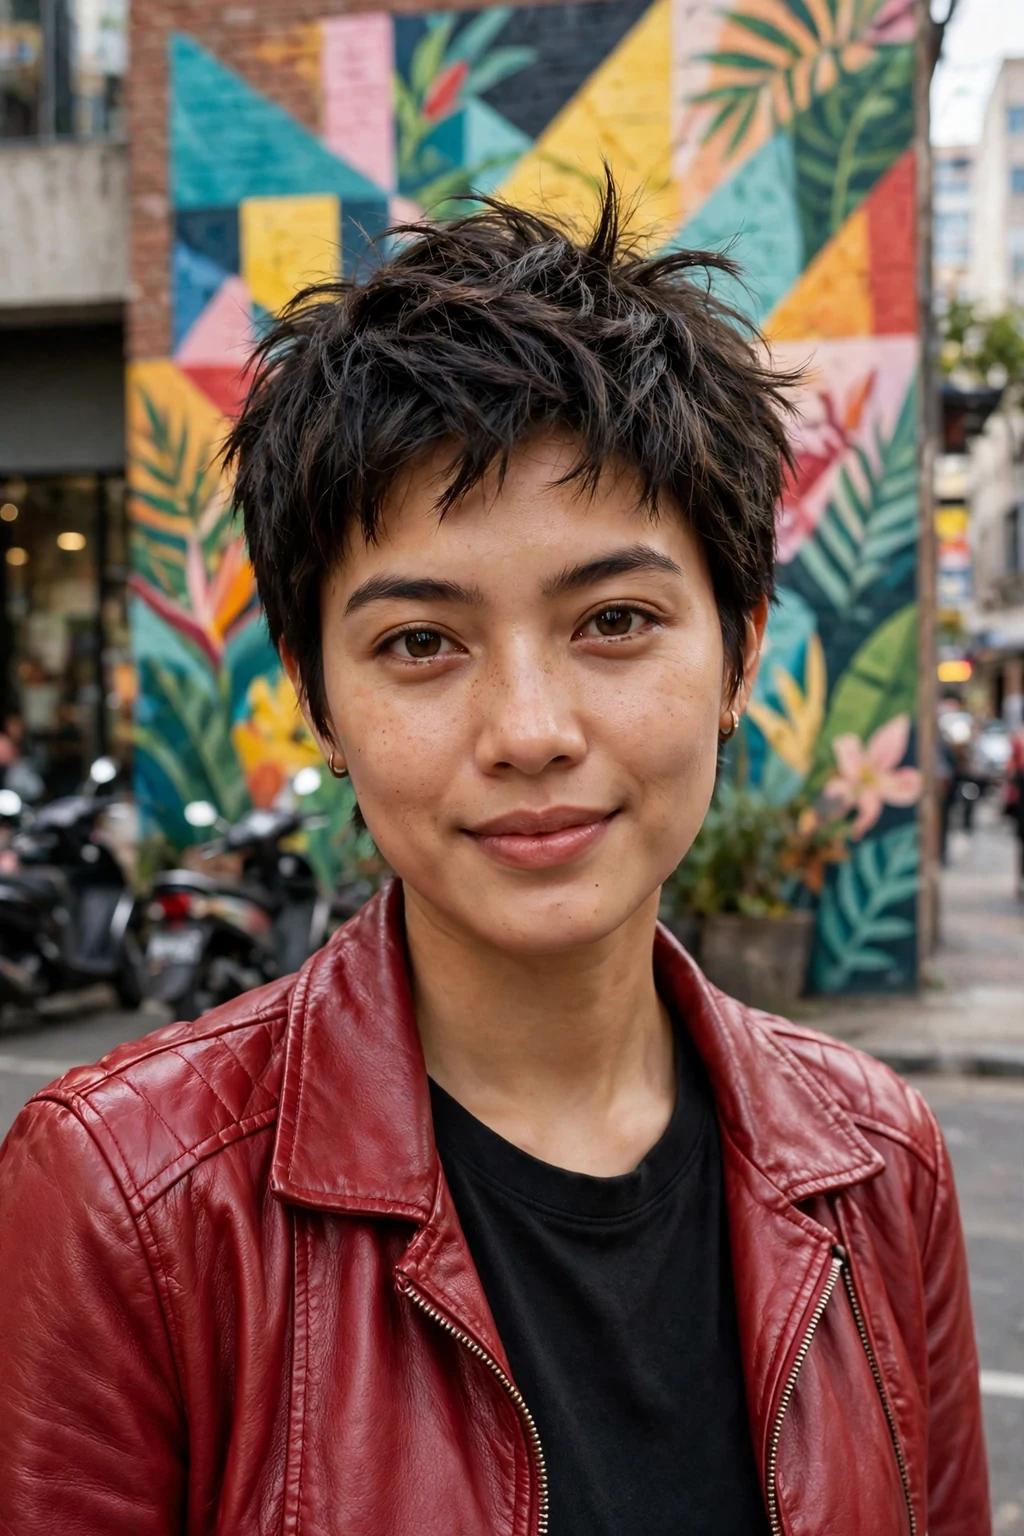
21. Finger-Styled Shag
The finger-styled shag is a layered, rock-inspired cut with choppy ends and face-framing pieces, styled by scrunching and piecing the layers with your fingers into a deliberately undone finish. Its silhouette is full and textured, with volume at the crown, shorter layers around the face, and longer layers below that move independently. The finish is matte and piecey, with ends that flick outward and a crown that stays lifted, giving the cut a cool, lived-in energy that never looks overdone. It is the haircut for women who want their hair to look like they have somewhere interesting to be. The shag looks best when the crown layers are kept shorter than the lengths, which creates the signature volume on top and the longer, flicked ends below. Curtain-like face-framing pieces are essential, since they connect the crown to the lengths and stop the cut from looking disconnected, while piecey ends throughout keep the whole style moving.
This shag suits women with straight to wavy hair and medium density, and it flatters oval, round, and heart-shaped faces with its face-framing layers and crown volume. To style it, work texturising cream through damp hair, scrunch the layers upward, and air-dry, then piece individual ends with your fingers and a tiny amount of pomade. A salt spray adds extra grit for smooth hair, while curly hair can simply be scrunched to enhance its pattern. Trim every eight weeks to keep the layers intentional, and grow-out softens into a longer shag. Choose the finger-styled shag when you want effortless edge and endless texture. For curly or wavy hair, the shag is particularly forgiving, since the layers enhance the natural pattern instead of fighting it, and diffusing or air-drying both work well. Between cuts, only the face-framing pieces may need a quick tidy, while the rest of the shag grows out into a longer, softer version of itself.
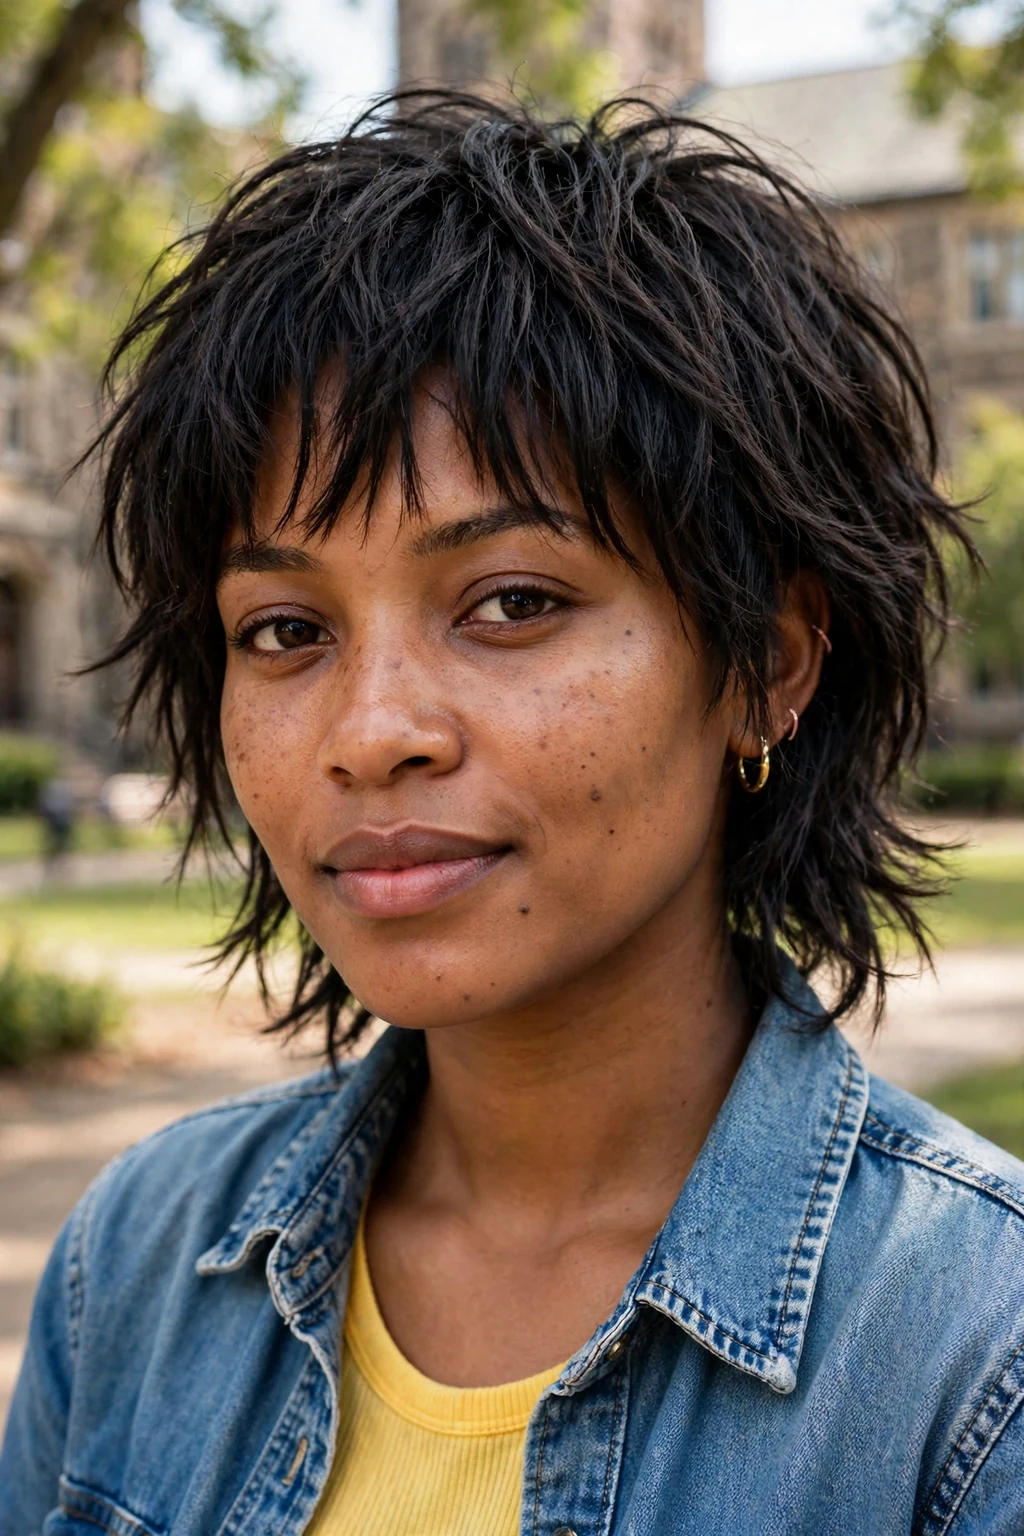
22. Hand-Braided Crown Twist
The hand-braided crown twist combines a loose three-strand braid with twisting, wrapping the braid around the head and pinning it into a crown that looks far more complex than it is. Its appearance is romantic and rustic, with the braid sitting above the forehead like a headband and the remaining hair left loose, wavy, or gathered below. The texture is soft and slightly pulled apart, giving the braid a full, pillowy quality, while loose strands around the face keep the whole style gentle rather than severe. It is perfect for weddings, festivals, and summer days when you want your hair up but not tightly pulled back. The crown braid can be made from a single thick braid for a bold, rustic statement or from two thinner braids crossed over each other for a more intricate, woven appearance. Leaving the braid slightly loose and pulling it apart gently gives it a soft, romantic fullness, while keeping it tighter creates a neater, more structured crown suitable for formal occasions.
This crown suits women with medium to long hair in any texture, and it flatters round, oval, and heart-shaped faces by opening the face and adding height at the hairline. To create it, braid a section from behind one ear loosely, bring it across the forehead to the other side, and pin it securely, pancaking the braid gently for fullness. A texturising spray helps fine hair hold the braid, while pins matched to your hair colour keep the style seamless. Trim every eight weeks to maintain length, and grow-out does not affect the crown. Choose the braided crown twist when you want a hand-made halo with a rustic, romantic feeling. If your hair is fine, braid it when it is slightly damp with texturising spray, which gives the strands grip and makes the braid look fuller. The crown also works as a practical style for keeping hair off the face in warm weather, and any escaped strands can simply be tucked back under the braid with a pin.
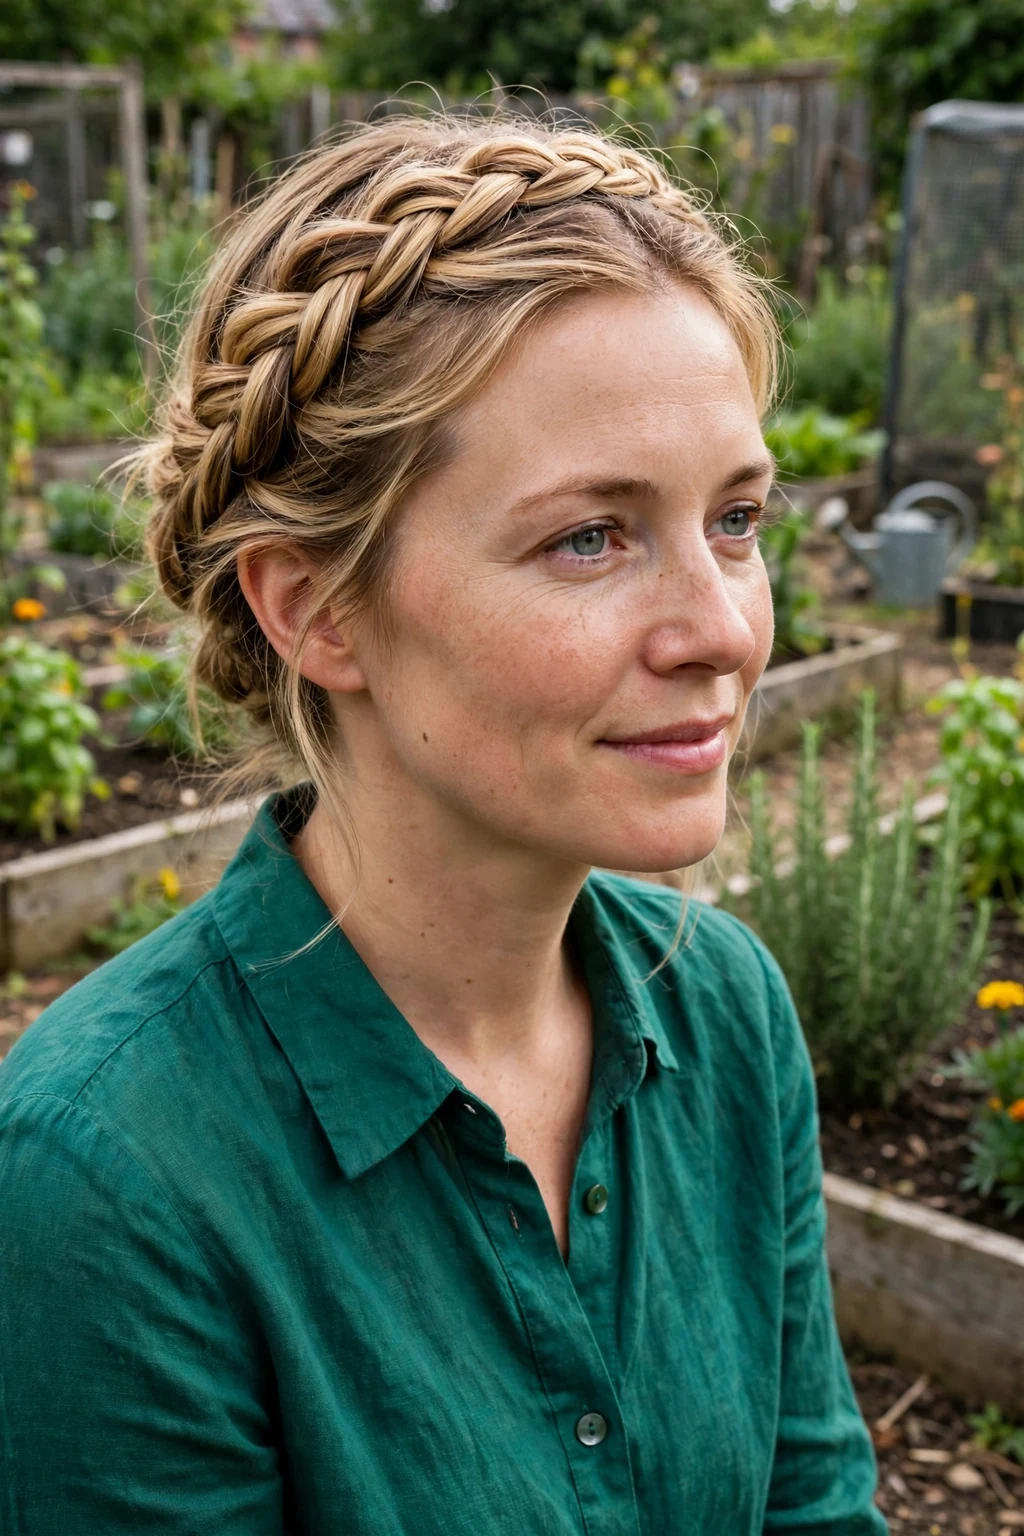
23. Freehand Soft Updo
The freehand soft updo gathers the hair loosely at the back of the head and pins it into a relaxed, romantic shape, with volume at the crown and soft pieces falling around the face and neck. Its silhouette is gentle and unstructured, deliberately avoiding the tight, scraped-back look of formal updos in favour of something that looks like it happened naturally. The finish is soft and slightly tousled, with pins hidden inside the shape and the hair's own texture providing the interest. It is the updo for women who want to look dressed up without feeling stiff, and it suits almost any occasion from brunch to a wedding. The updo can be positioned high for a more youthful, lifted effect or low at the nape for classic elegance, and the same loose pinning technique works at either height. Adding a few soft curls or waves to the hair before gathering it gives the updo extra texture and fullness, while straight hair creates a smoother, more minimal version of the same shape.
This updo suits women with medium to long hair in any texture, and it flatters oval, square, and heart-shaped faces when face-framing pieces are left loose to soften the jawline. To create it, gather the hair loosely with your fingers, twist and fold it at the back, and pin section by section, pulling gently at the crown for volume as you go. A texturising spray gives grip, and a few decorative pins can add a finishing touch. The style holds for hours with minimal adjustment and can be refreshed by re-pinning a single section. Trim every eight weeks to keep your base length neat, and grow-out only adds fullness. Choose the soft updo when you want romance without rigidity. Because the updo is pinned section by section, it is easy to fix if a piece slips, since you only need to re-pin that one section rather than starting again. It also holds well on second-day hair, when natural texture helps the pins grip, and a light spray at the end keeps the soft shape intact without making it stiff.
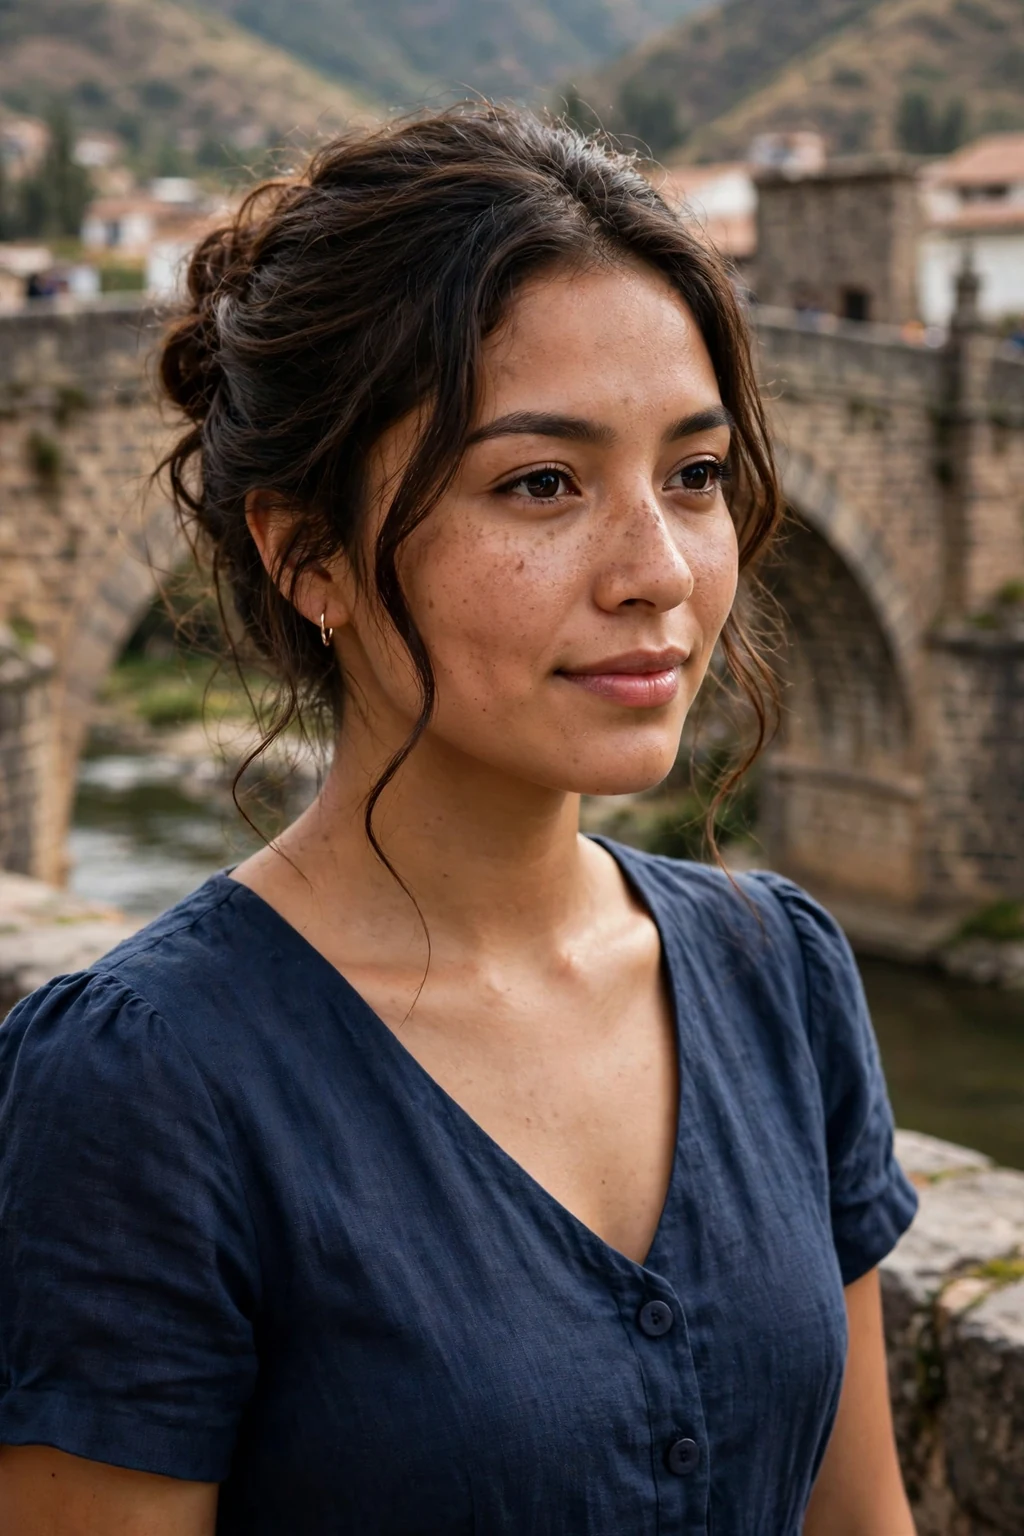
24. Twisted Rope Ponytail
The twisted rope ponytail divides the hair into two sections, twists each one in the same direction, and then winds them around each other into a rope-like tail that looks sleek, sculptural, and surprisingly secure. Its silhouette is long and elegant, with the rope texture visible along the entire length and a finish that is smoother and more polished than a regular ponytail. The rope holds its shape without elastic bands along its length, needing only a tie at the end, which makes it both beautiful and practical for long days, workouts, and travel. It is a simple technique with a genuinely impressive payoff. The rope can be worn high for a sporty, energetic look, low for elegance, or to one side for a softer, more romantic effect, and the same twisting technique works at any height. Keeping the two sections twisted tightly in the same direction before winding them together is the secret to a rope that stays neat all day instead of loosening and unravelling.
This ponytail suits women with medium to long hair in straight, wavy, or relaxed textures, and it flatters oval, heart, and oblong faces by keeping the profile clean and the neck visible. To create it, secure a ponytail at your chosen height, divide it in half, twist each half clockwise, then wind the halves counter-clockwise around each other, securing the end with a small tie. A smoothing cream prevents flyaways, while a wrapped section of hair around the base adds polish. Trim every eight weeks to keep the tail healthy, and grow-out only lengthens the rope. Choose the rope ponytail when you want a ponytail that looks like a real hairstyle. For very long hair, the rope ponytail is also a protective style, since the twisting keeps the lengths contained and reduces tangling. If the rope starts to loosen at the ends, simply re-twist the bottom few inches and secure with a fresh tie, and a drop of oil smoothed over the surface tames any flyaways.
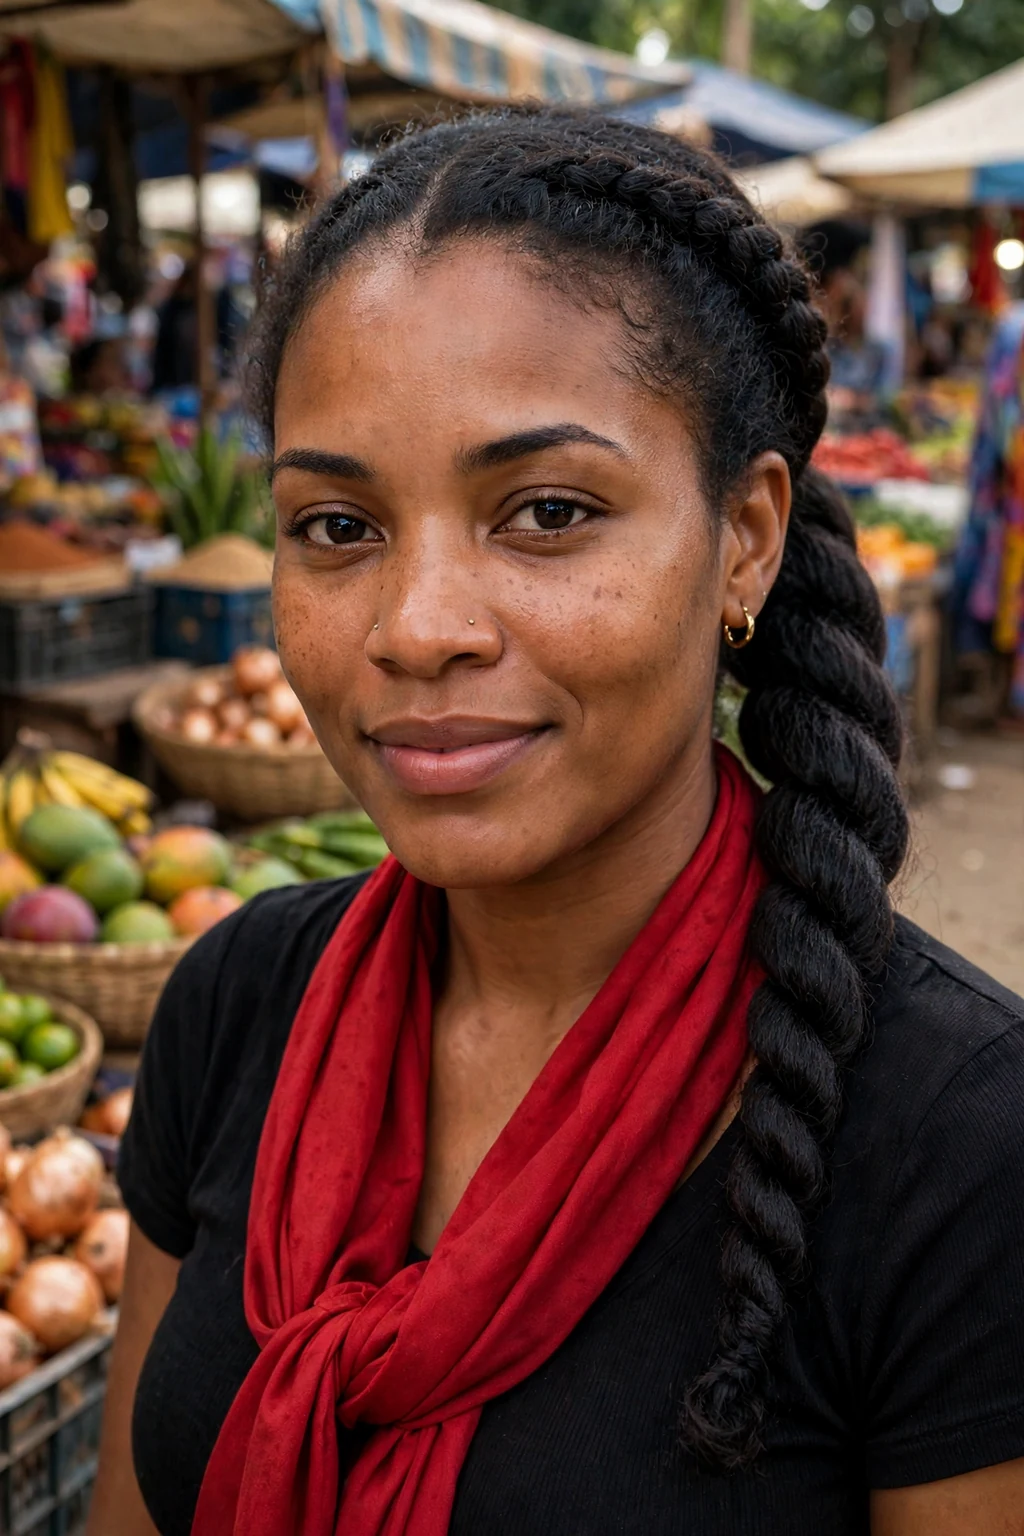
25. Hand-Finished Sleek Low Bun
The hand-finished sleek low bun is the most polished freehand style of all, with hair smoothed back by hand and a little cream into a neat, low bun that sits elegantly at the nape. Its silhouette is clean and minimal, with a smooth crown, no bumps or flyaways, and a bun that is compact and perfectly centred. The finish is glossy and refined, with the hair's natural shine enhanced by a light serum rather than hidden under heavy product. It is the ultimate power hairstyle, projecting calm confidence in the office, at a formal event, or anywhere you want to be taken seriously. The bun can be centred for a classic, symmetrical look or placed slightly to one side for a softer, more modern effect, and a deep side part adds instant drama to the same sleek shape. Keeping the bun flat against the head, rather than rounded and bulky, is what gives this style its refined, minimal character and its power-dressing appeal.
This bun suits women with medium to long straight or wavy hair, and it flatters oval, diamond, and heart-shaped faces by showcasing the cheekbones and jawline with a clean hairline. To create it, smooth damp or dry hair back with your hands and a smoothing cream, secure it low with a tie, then twist the tail into a bun and pin it flat, tucking the ends underneath. A fine mist of shine spray finishes the look, and a centre or side part made with your fingers changes the mood entirely. Trim every eight weeks to keep the ends neat, and grow-out does not disturb this timeless style. Choose the sleek low bun when you want quiet, hand-made perfection. For a long-lasting sleek finish, smooth the hair in sections with cream before gathering, rather than trying to smooth everything at once, which often leaves bumps. The bun also works as an elegant solution for humid days, since the sleek, pinned shape resists frizz far better than loose hair, and it can be refreshed with a quick smoothing of the crown.
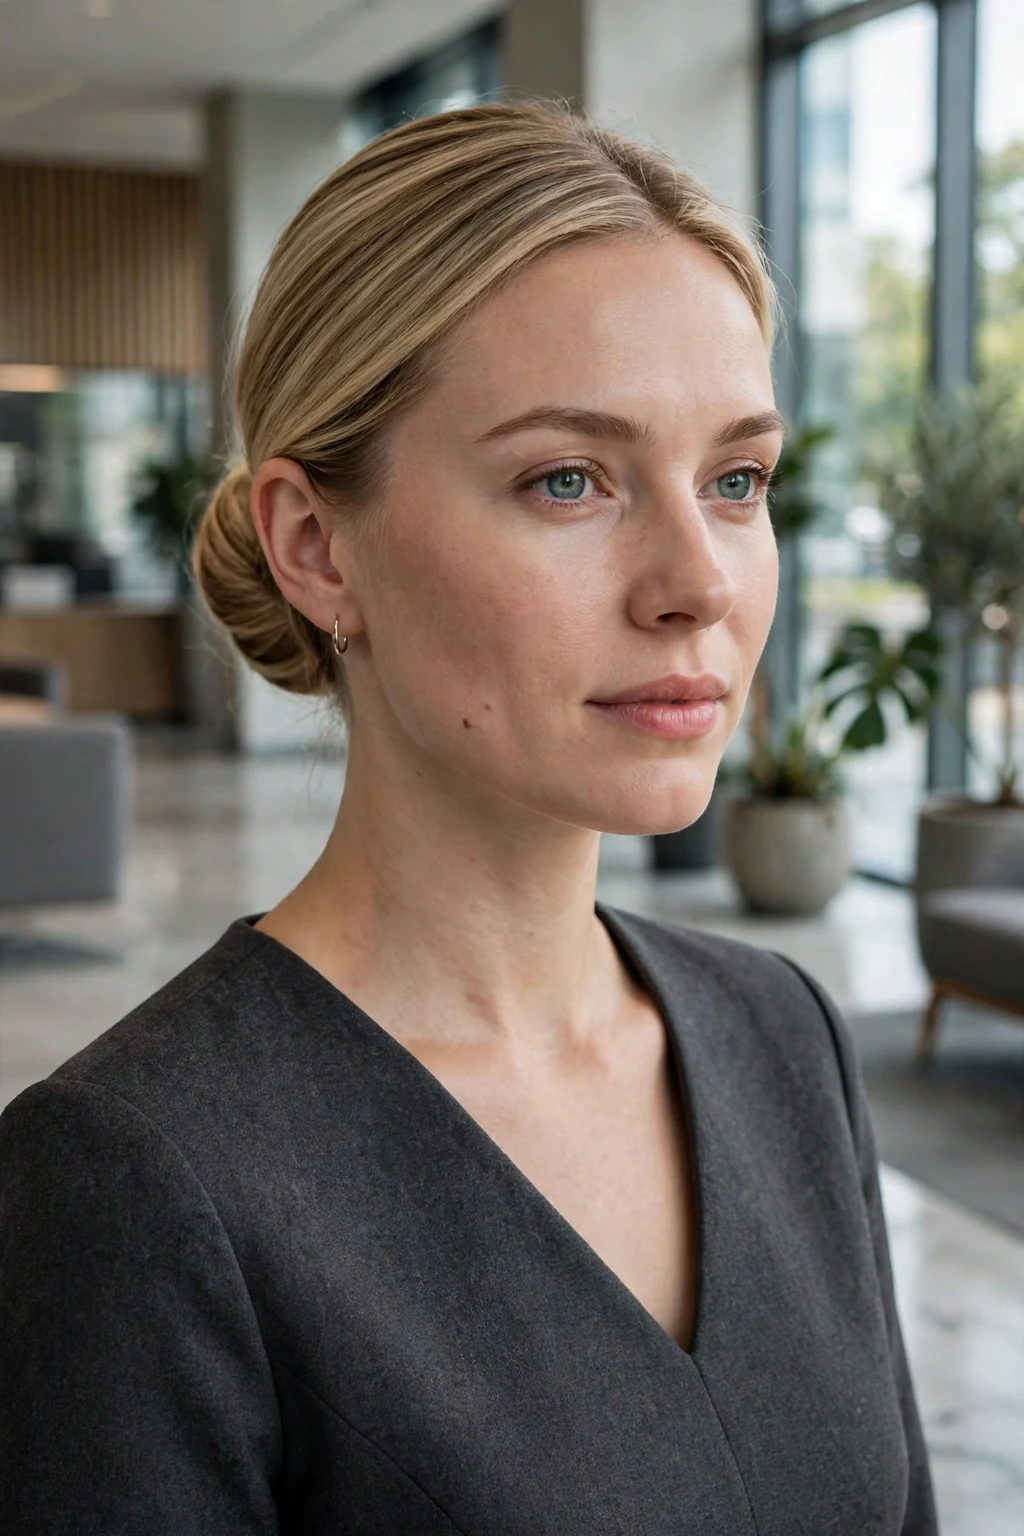
26. Hand-Twisted Double Buns
Hand-twisted double buns are playful, practical, and wonderfully easy to shape without a single hot tool, giving you two neat coils that sit high on the head like a pair of soft, hand-rolled knots. Each bun is formed by twisting a section of hair around itself and pinning it in place, so the finish looks relaxed rather than rigid, with a few loose strands escaping to keep the style feeling natural and modern. The look works beautifully on medium to long hair and suits round, oval, and heart-shaped faces especially well, because the height on top lengthens the face and draws the eye upward. It flatters straight, wavy, and curly textures alike, since the twisting technique adds grip and structure even to slippery, fine hair, while thicker hair gives the buns a fuller, more sculptural shape that holds all day. The style also photographs beautifully from every angle, since the twin shapes create pleasing symmetry while the loose strands keep the finish from looking too perfect, too formal, or overworked.
To style hand-twisted double buns, start with slightly damp or day-old hair and work a pea-sized amount of texturising cream or light pomade through the lengths for grip. Part the hair down the centre, gather each side into a high ponytail, then twist each ponytail tightly around its own base and secure it with bobby pins and a small elastic, pulling gently at the edges to soften the shape. A light-hold hairspray keeps flyaways in check without making the buns crunchy, and the style lasts well into the evening with only a quick pin adjustment. Trim every eight to ten weeks to keep the ends healthy, since split ends unravel twists more easily, and refresh the look between washes with dry shampoo at the roots. Try it whenever you want a fun, youthful style that stays put through workouts, festivals, or busy days without any heat damage. For extra staying power on very smooth or freshly washed hair, mist each section with texturising spray before twisting, and keep a few spare pins in your bag for quick touch-ups later in the day.
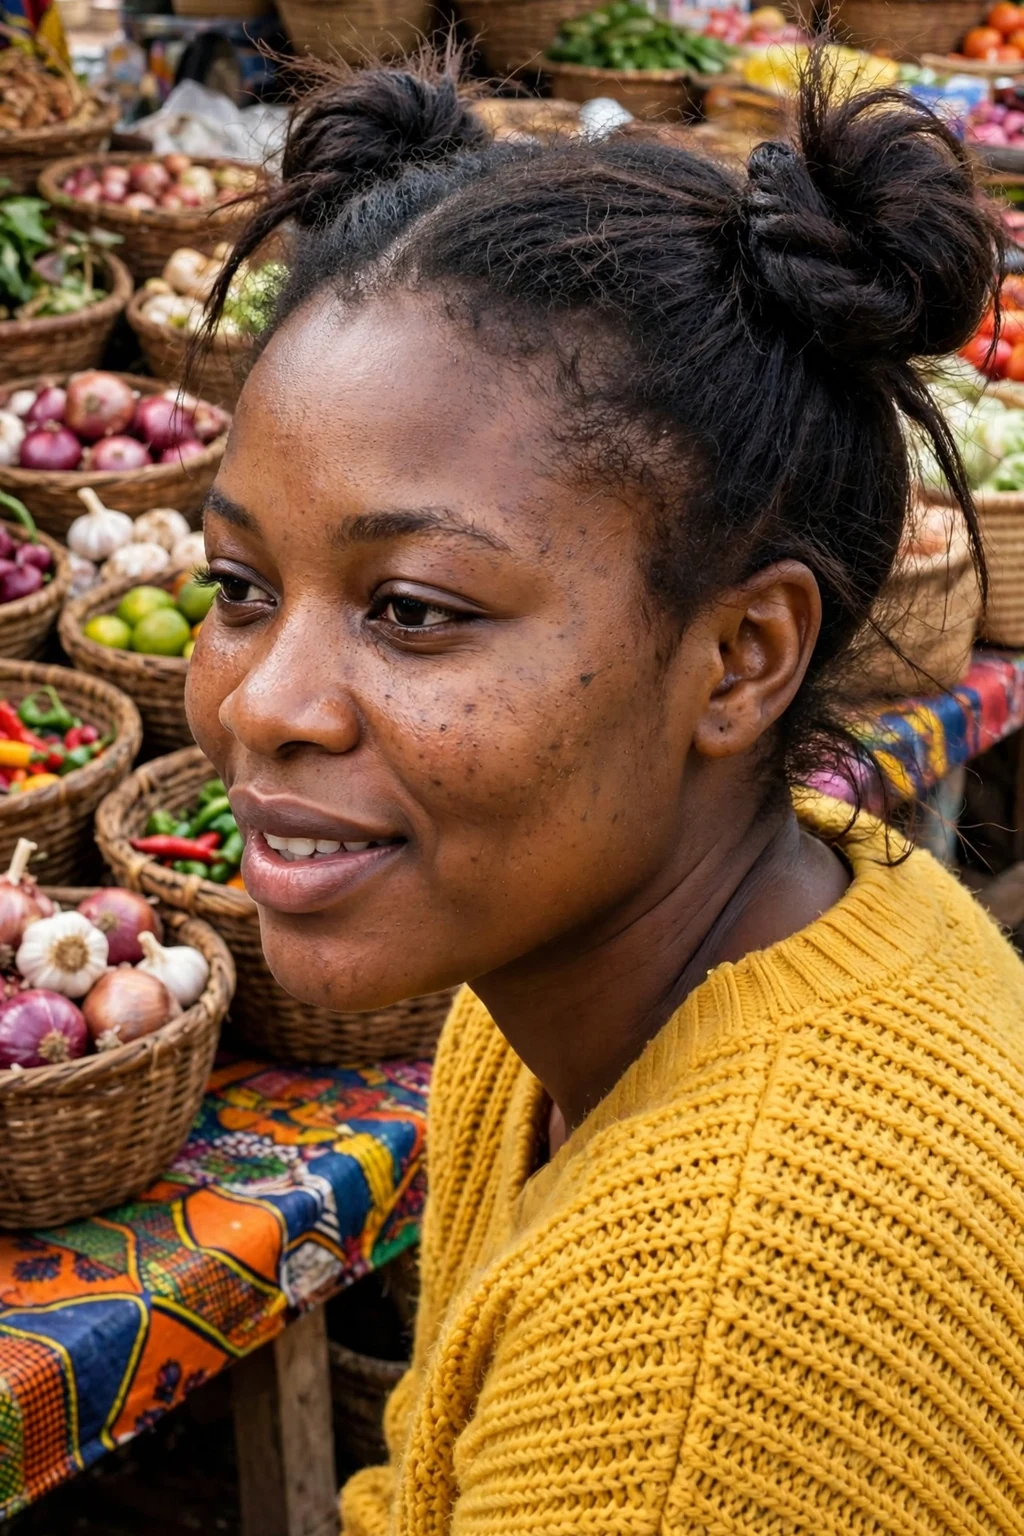
27. Finger-Waved Side Sweep
The finger-waved side sweep is an effortlessly elegant style that takes classic finger waves and sweeps them dramatically to one side, creating a deep, romantic silhouette that feels both vintage and completely current. The waves are sculpted by hand with the fingers and a little styling cream, so each ridge has a soft, touchable finish rather than the stiff, lacquered look of a salon set. This style shines on shoulder-length to long hair and is especially flattering for oval, square, and long face shapes, because the sweep across the forehead softens a strong jawline and adds width where it is needed most. It works best on straight to wavy hair, though wavy and lightly curly hair holds the wave pattern with even less effort, and the deep side part instantly adds volume at the crown. The sweep also works beautifully with delicate accessories, since a single decorative pin or small clip at the temple adds sparkle without disturbing the soft, hand-shaped wave pattern.
To create the finger-waved side sweep, start with damp hair and smooth a lightweight wave cream or mousse through it from roots to ends. Make a deep side part with your fingers, then shape the front section into two or three gentle S-shaped waves, pressing each curve into place with your fingertips and clipping it loosely while it air-dries. Once dry, remove the clips and brush through very lightly with your fingers only, never a brush, to keep the waves soft and separated. A drop of shine serum on the ends adds polish without weighing the style down. Trim every six to eight weeks to maintain the shape, and sleep on a silk pillowcase to preserve the waves overnight. Choose this style for weddings, dinners, or any occasion when you want a glamorous look that still feels relaxed and entirely your own. If the waves start to drop in humidity, revive them by re-twisting the front section with a little cream and clipping it for ten minutes while you finish getting ready.
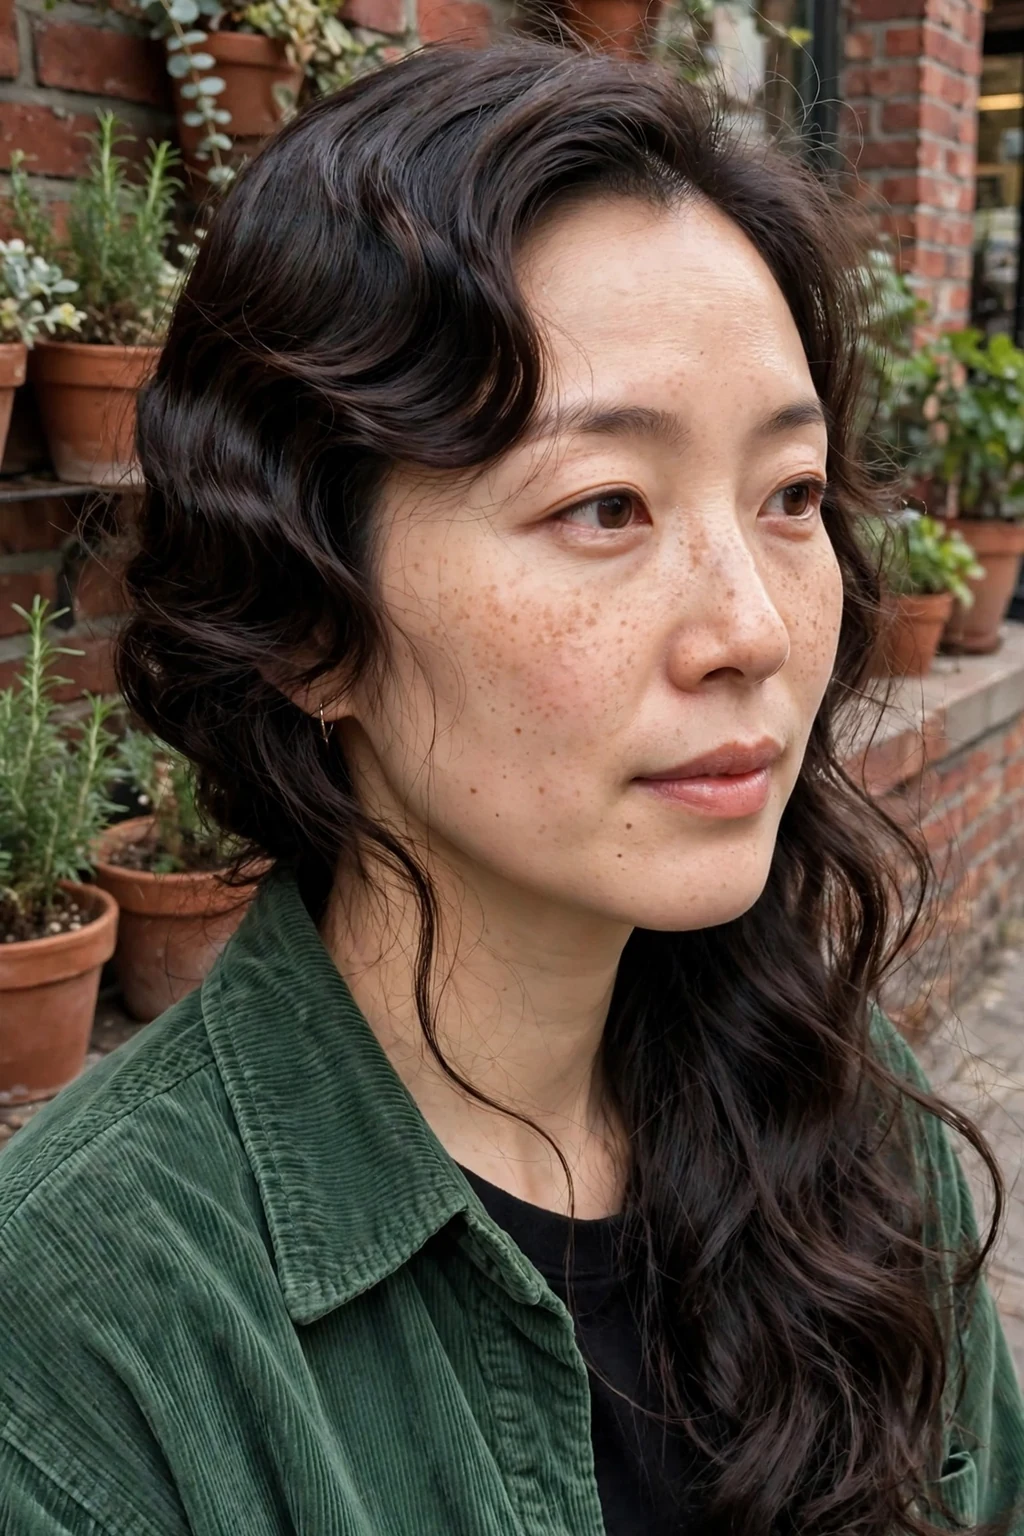
28. Freehand Curly Frohawk
The freehand curly frohawk is a bold, joyful style that keeps the sides finger-smoothed flat while a tall band of defined curls runs down the centre of the head, giving natural texture a dramatic, mohawk-inspired shape without any cutting or heat. The contrast between the sleek sides and the full, springy centre creates instant height and attitude, and because the whole look is shaped by hand, it keeps the soft, organic finish that makes free-hand styling so appealing. It is made for naturally curly and coily hair, from loose curls to tight coils, and it flatters round, oval, and square faces by adding vertical length and drawing attention to the cheekbones and eyes. Short to medium lengths work best, since the centre section needs enough length to stand proud while the sides stay close. The style also gives you wonderful versatility, because the centre curls can be worn tall and dramatic for a night out or picked out more softly for a relaxed daytime shape.
To style a freehand curly frohawk, start with freshly washed, damp hair and apply a generous amount of curl cream followed by a light gel, raking both through with your fingers. Smooth the side sections flat against the head with your palms and a little edge control, pinning them loosely if needed, then lift the centre section upward and scrunch it to encourage curl definition as it air-dries or dries under a diffuser on low heat. Pick the roots gently with your fingers for extra height, and finish with a light oil on the ends to seal in moisture and shine. Refresh the style on following days by spritzing with water and re-scrunching with curl cream. Trim every eight to twelve weeks to keep the shape balanced. Try it when you want a head-turning style that celebrates your natural curl pattern with confidence and flair. To keep the sides smooth without stiffness, apply edge control sparingly with your fingertips rather than a brush, which preserves the natural texture and avoids a harsh, scraped-back line.
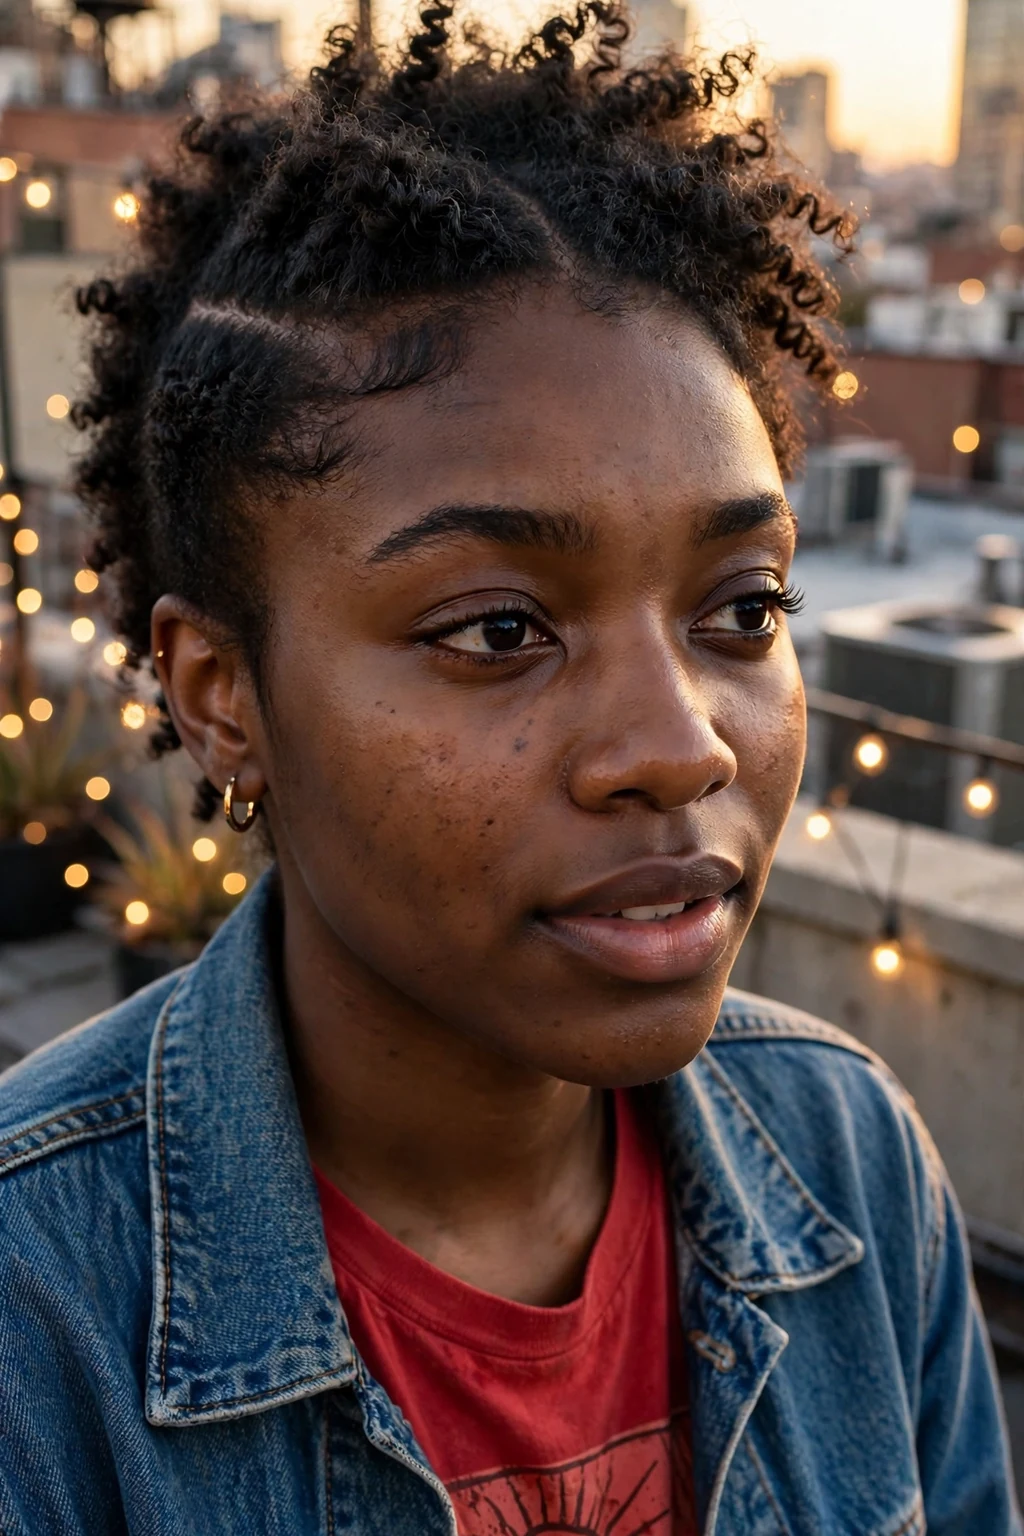
29. Hand-Scrunched Corkscrew Curls
Hand-scrunched corkscrew curls are all about bouncy, tightly wound spirals that spring with every movement, shaped entirely by scrunching sections of hair upward in the palm of your hand. The result is a full, lively head of curls with a beautifully natural finish, since finger-scrunching preserves each curl's own pattern instead of forcing it into a uniform shape. This style is a dream for naturally curly and wavy hair, particularly medium to thick densities, and it suits oval, heart-shaped, and round faces because the volume on the sides balances the jawline and frames the face softly. Shorter lengths give a perky, compact shape, while longer lengths create a dramatic cascade of spirals that moves beautifully in the breeze. The curls also frame the face in a wonderfully flattering way, since the shortest spirals fall around the cheekbones while the longer ones create beautiful movement and fullness through the lengths and ends.
To get hand-scrunched corkscrew curls, apply curl cream and a light gel to soaking wet hair, then divide it into sections and scrunch each one upward toward the scalp, holding for a few seconds before releasing. Let the hair air-dry completely without touching it, since handling wet curls causes frizz, then gently break the gel cast by scrunching again with a drop of hair oil on your palms. A diffuser on low speed can speed up drying on busy mornings, but air-drying gives the softest result. Maintain the curls with a weekly deep-conditioning mask and trims every ten to twelve weeks to prevent split ends from breaking the spiral pattern. Sleep in a loose pineapple ponytail on a silk pillowcase to keep the curls intact. Choose this style whenever you want maximum bounce and personality with minimal tools and fuss. Between washes, refresh flattened curls by misting them lightly with water mixed with a little leave-in conditioner, then scrunching upward again until the spirals spring back to life.

30. Finger-Parted Deep Side Waves
Finger-parted deep side waves offer a polished, old-Hollywood feeling without any of the stiffness, thanks to a deep part made with the fingers and soft waves that fall gracefully over one shoulder. The deep part instantly creates volume at the crown and a sweeping fringe effect that frames the eyes, while the waves themselves stay loose and touchable because they are shaped by hand rather than set with rollers or irons. This style is ideal for medium to long hair and flatters oval, heart-shaped, and square faces, since the diagonal line of the part softens strong features and adds asymmetry that photographs beautifully. It works best on straight to wavy hair, and fine hair benefits enormously from the root lift the deep part provides. The style also transitions effortlessly from day to evening, since a touch of shine serum and a decorative pin instantly elevate the same soft waves for a more formal occasion.
To style finger-parted deep side waves, begin with damp hair and apply a volumising mousse at the roots and a smoothing cream through the lengths. Create the deep part with your fingers, well above the arch of one eyebrow, then twist the larger side into two or three loose sections and pin them flat while the hair air-dries, which sets a gentle wave without heat. Once dry, release the pins and finger-comb the waves into place, finishing with a light-hold spray and a touch of shine serum on the ends. Refresh the waves the next day with a water spritz and a quick re-twist of the front section. Trim every six to eight weeks to keep the ends blunt and healthy, and try this style for work presentations, date nights, or any moment when you want understated glamour that looks completely effortless. For finer hair that struggles to hold a wave, try pinning the twisted sections a little tighter while drying, which sets a stronger bend that relaxes into a soft wave once released.
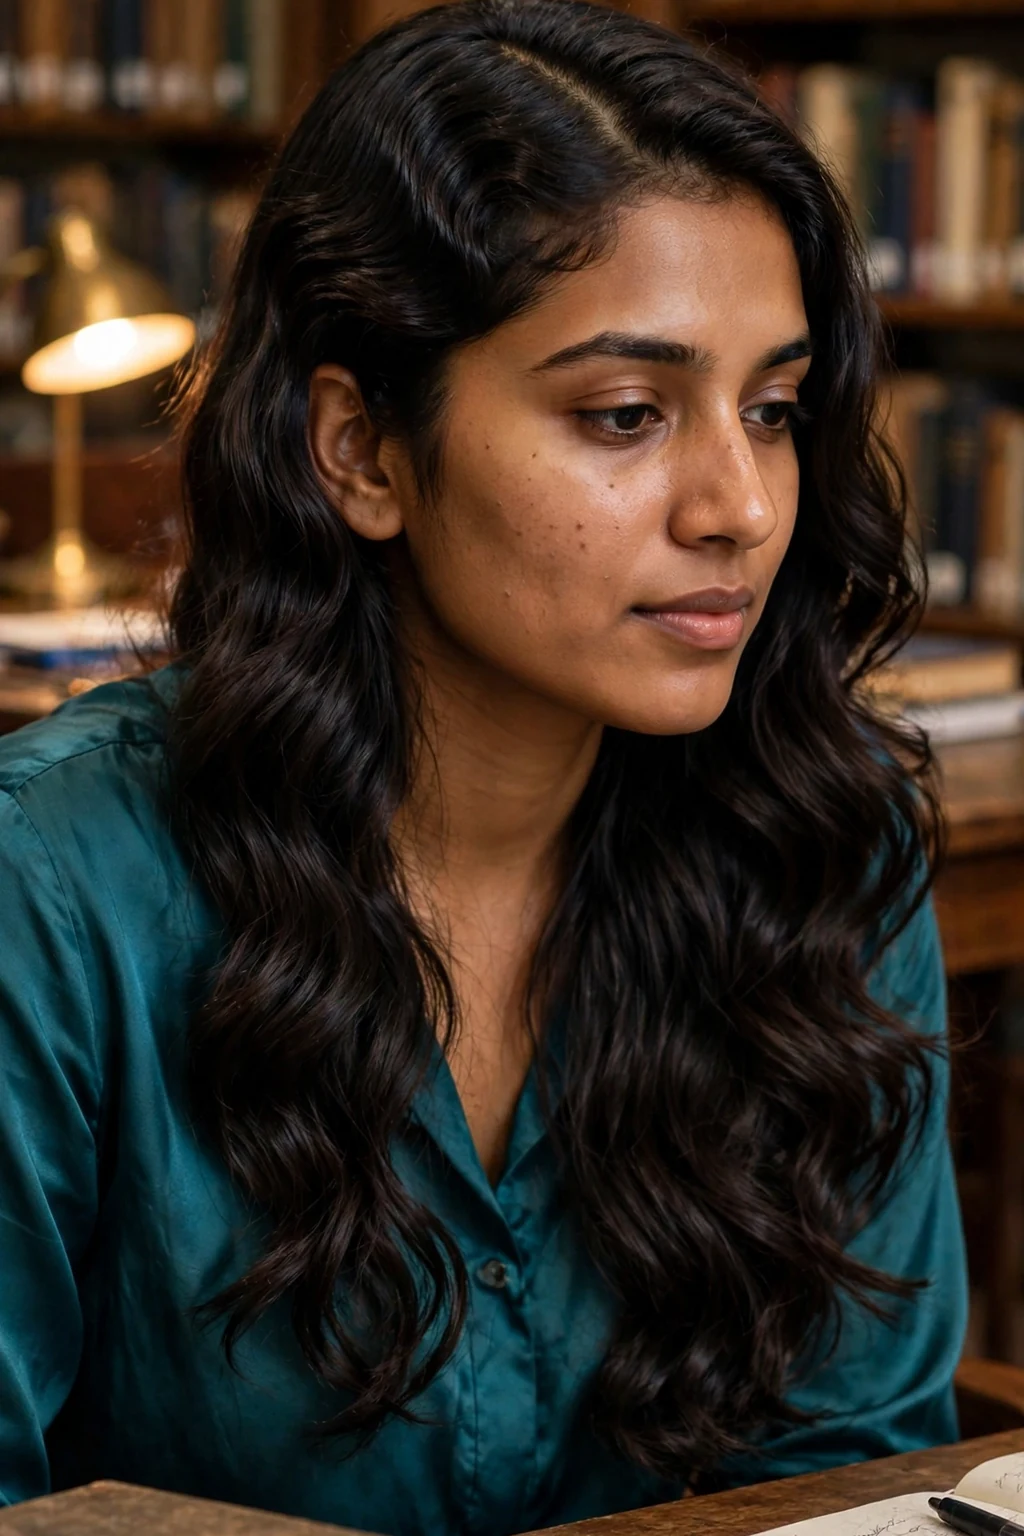
31. Hand-Tousled French Twist
The hand-tousled French twist takes the classic updo and loosens it up, rolling the hair into a soft vertical twist at the back of the head while leaving face-framing strands free for a relaxed, romantic finish. Unlike the severe, slicked-back version, this one is shaped entirely by hand, so the twist has gentle texture, a little height at the crown, and an imperfect charm that suits modern life far better than a stiff salon updo. It works best on medium to long hair and is especially flattering for oval, long, and heart-shaped faces, because the vertical line lengthens the neck and the loose front pieces soften the forehead and cheekbones. Straight, wavy, and lightly curly hair all take the twist well, with wavy hair giving the most natural grip. The twist also pairs beautifully with dangling earrings and an open neckline, since the swept-up shape shows off the neck and shoulders while the loose strands keep the look approachable.
To create a hand-tousled French twist, start with day-old hair for extra grip and work a small amount of texturising spray through the lengths. Gather the hair low at the nape, twist it upward along the back of the head, and tuck the ends inside, securing the roll with French pins or large bobby pins placed vertically. Gently pull a few strands loose around the face and at the crown for softness, then mist with a flexible-hold hairspray. The style holds for hours and actually improves as it loosens slightly through the day. Trim every eight weeks to keep the layers that frame the face in shape, and remove pins carefully at night to avoid breakage. Choose this twist for weddings, interviews, or evenings out when you want an elegant updo that still feels like you. If pieces slip out during a long event, simply twist them back in and re-pin rather than starting over, because the deliberately tousled finish hides small adjustments completely.
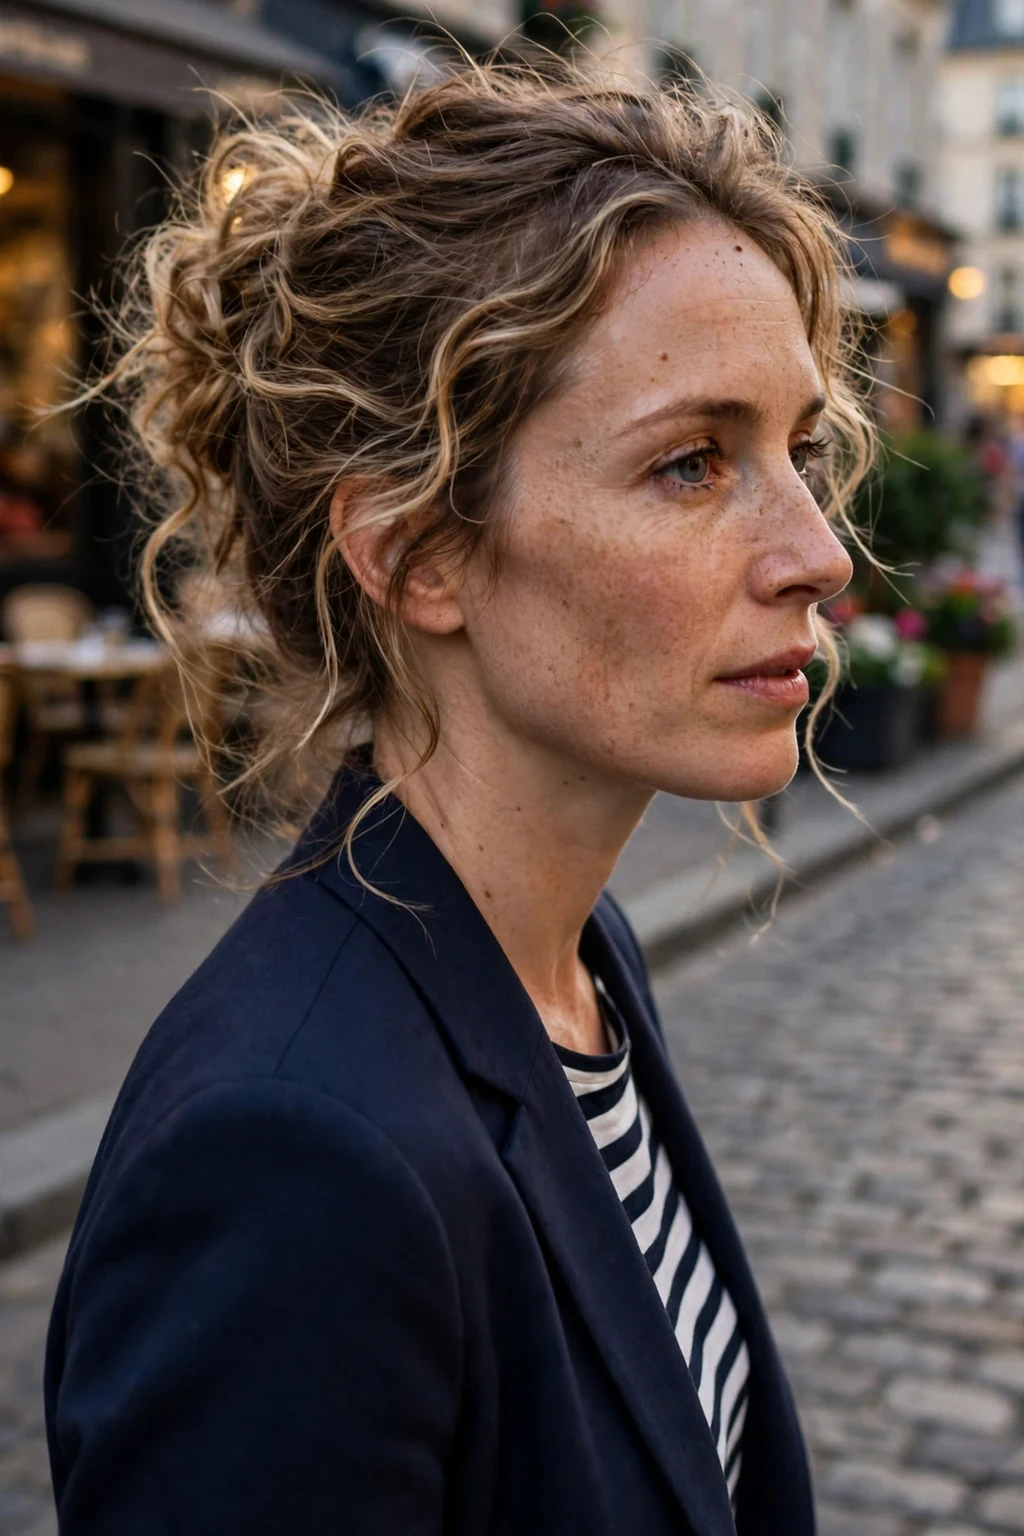
32. Loose Hand-Braided Side Plait
The loose hand-braided side plait is a sweet, storybook style that drapes a soft, slightly undone braid over one shoulder, giving long hair a romantic shape without any fuss or formality. Because the braid is woven loosely by hand and then gently pulled apart at the edges, it looks fuller and more textured than a tight, school-style plait, with wispy strands escaping around the face for a relaxed, lived-in feel. It suits long hair best, though medium lengths can manage a shorter, shoulder-grazing version, and it flatters oval, round, and heart-shaped faces by creating a diagonal line that draws the eye downward and elongates the neck. Straight, wavy, and curly hair all braid beautifully, with wavy hair offering the most natural grip and volume. The plait also works wonderfully as a second-day style, since hair that already holds a gentle wave from yesterday braids even more easily and looks fuller once pancaked.
To style a loose hand-braided side plait, start with dry hair that has a little texture, adding dry shampoo or texturising spray if it feels too slippery. Sweep all the hair over one shoulder, divide it into three sections, and braid loosely all the way down, securing the end with a small clear elastic. Then gently tug at the outer edges of each braid segment to widen and soften the plait, a technique called pancaking, and pull a few face-framing pieces free. A light mist of flexible hairspray holds the shape without stiffness. Trim every eight to ten weeks to prevent tangled, split ends from catching during braiding, and wear the plait to the side overnight in a loose braid to wake up with soft waves. Try it for weekends, picnics, or holidays when you want pretty, practical hair that survives the whole day. For a softer finish, wrap a small strand of hair around the elastic at the end of the braid and pin it underneath, which hides the band and makes the plait look more polished.
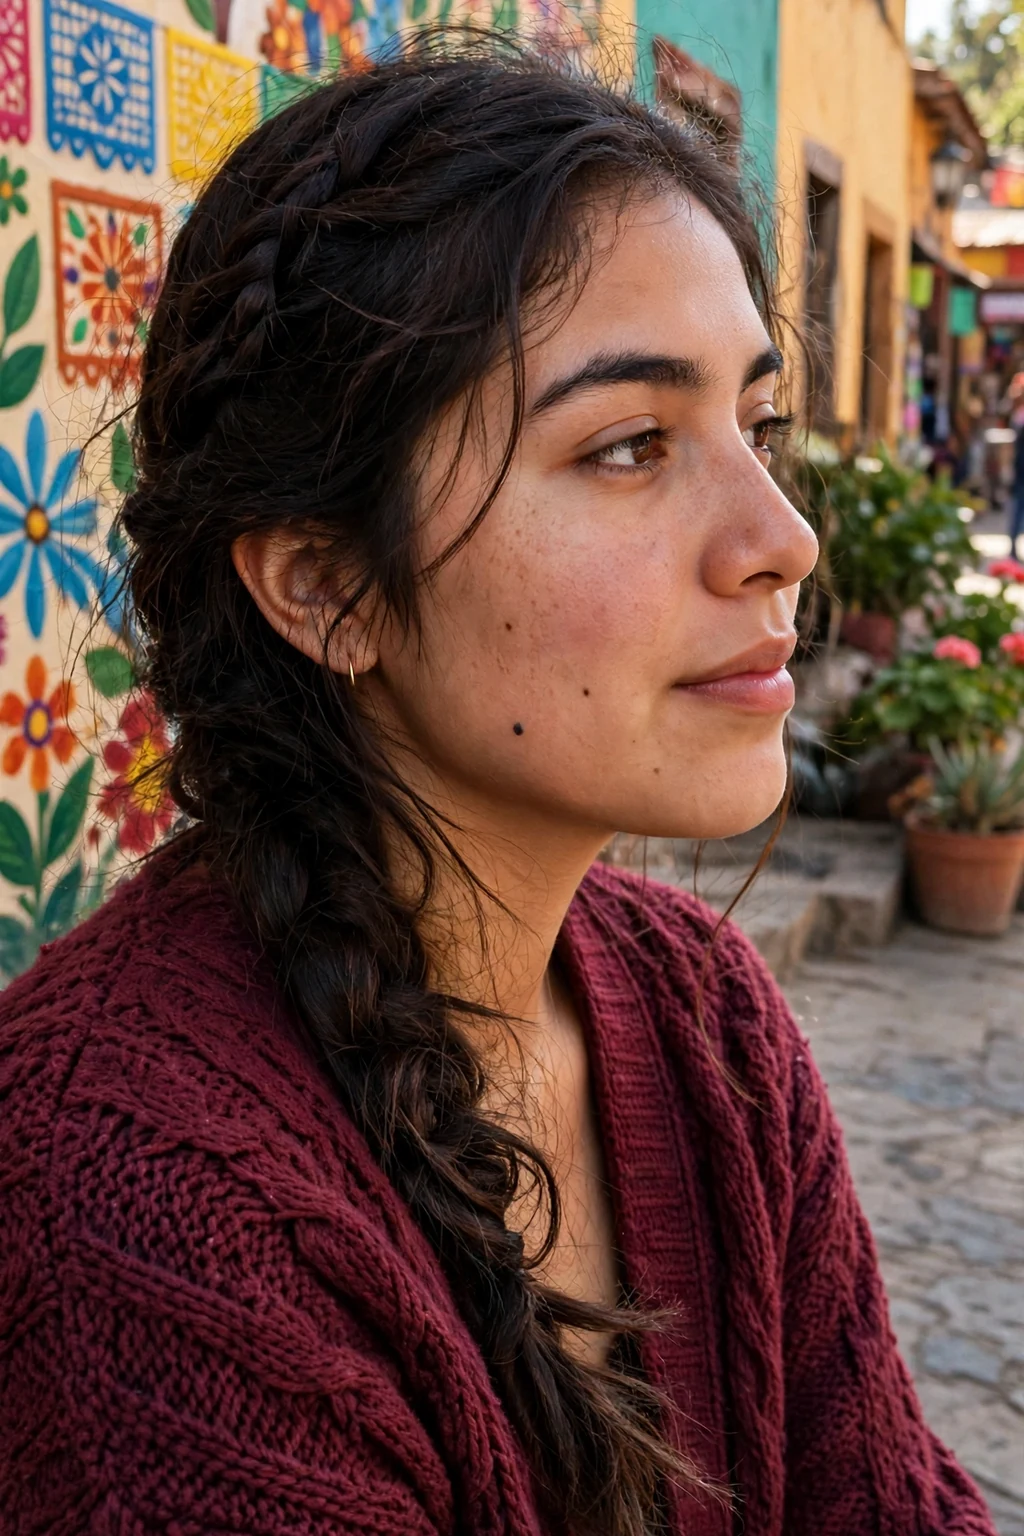
33. Finger-Coiled Ringlet Cascade
The finger-coiled ringlet cascade is a show-stopping style built from individual curls that are wound around the finger one by one, creating long, defined ringlets that fall like a waterfall past the shoulders. Each ringlet keeps its own perfect spiral shape, so the overall effect is polished yet full of movement, with a glossy, almost sculpted finish that still feels natural because no heat tools are involved. This style is made for naturally curly and coily hair of medium to long length, and it flatters oval, square, and heart-shaped faces by adding length and framing the face with soft, springy curls. Thicker hair gives the most dramatic cascade, while finer curls create a lighter, more delicate version of the same look. The cascade also catches the light beautifully as you move, since each separate ringlet reflects shine in a slightly different direction and creates a wonderfully dimensional, glossy effect that turns heads wherever you go.
To create a finger-coiled ringlet cascade, work on freshly washed, damp hair coated with a rich curl cream and a little gel for hold. Take small sections, about an inch wide, and wind each one tightly around your index finger from ends to roots, holding for a few seconds before releasing the coil. Repeat over the whole head, then let the hair air-dry completely without touching it, which keeps each ringlet intact. Once dry, gently separate a few coils at the ends for fullness and finish with a light oil to add shine and reduce frizz. Maintain the style with weekly deep conditioning and trims every ten to twelve weeks. Refresh the ringlets between washes by re-coiling any flattened sections on damp hair. Choose this cascade for special occasions when you want your natural curls to be the star of the show. To avoid frizz while separating the coils, work with a drop of oil on your fingertips and separate only the very ends, leaving the roots and mid-lengths in their defined spiral shape.
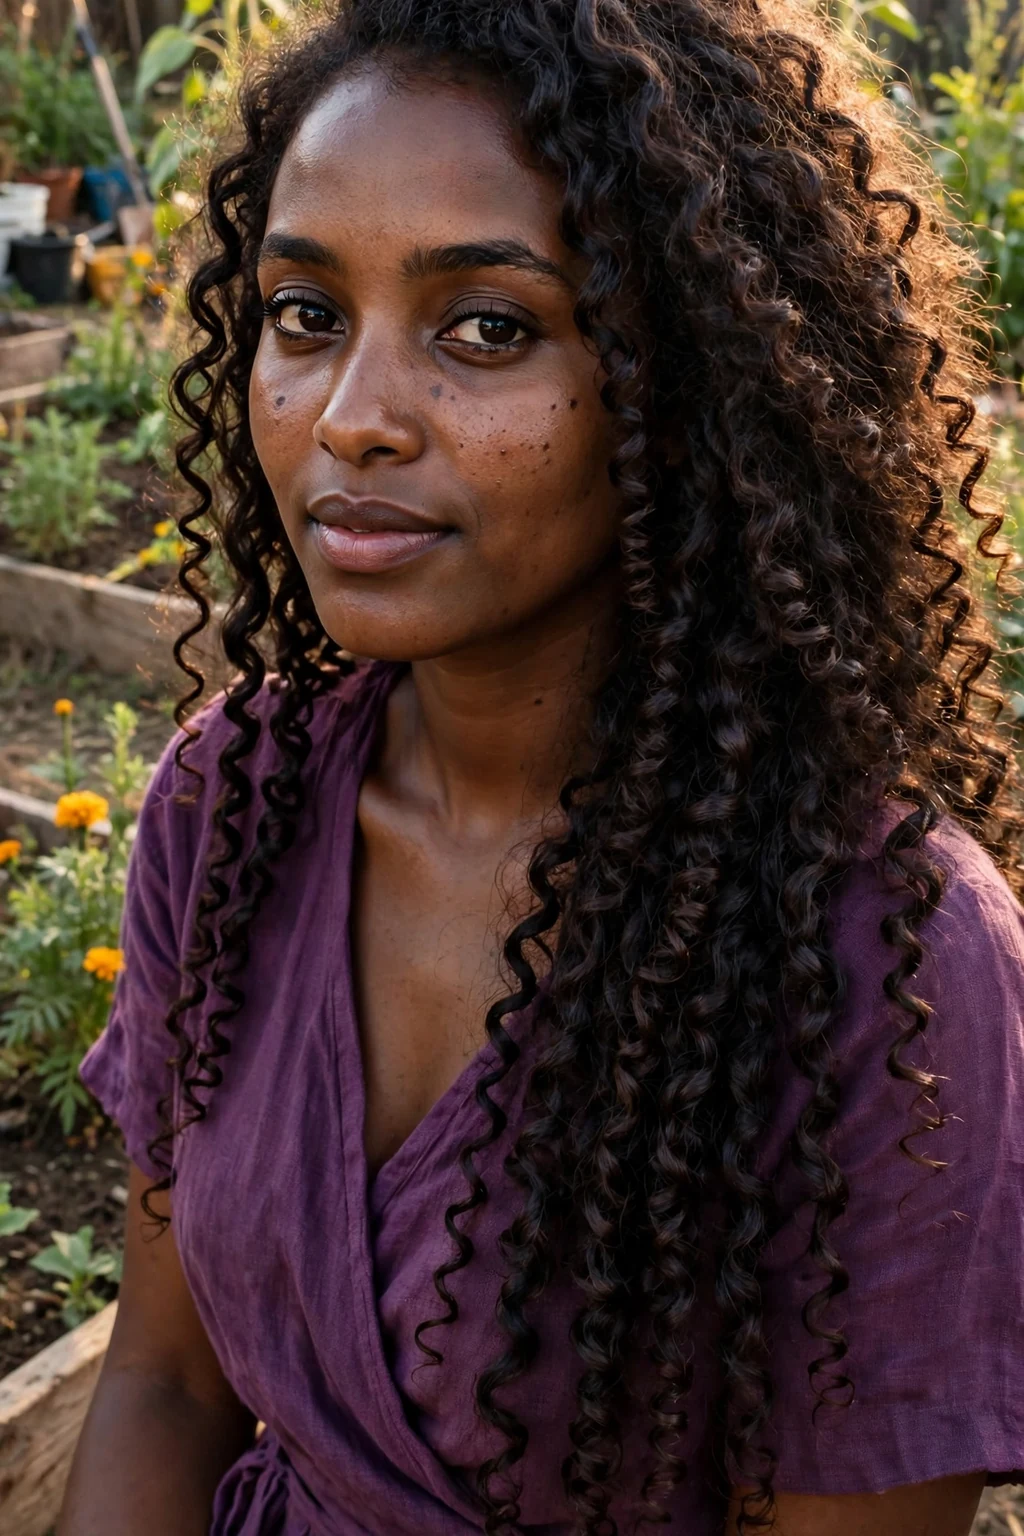
34. Hand-Sculpted Retro Waves
Hand-sculpted retro waves bring back the glamour of vintage Hollywood with smooth, sculpted S-waves that are shaped by hand and set with pins rather than hot rollers, giving a soft, touchable finish instead of a crunchy, lacquered one. The waves lie close to the head at the roots and open into gentle, flowing curves through the lengths, creating a silhouette that is elegant, feminine, and surprisingly wearable for everyday life. This style suits shoulder-length to long hair and flatters oval, heart-shaped, and round faces, because the waves add width at the sides and the deep side part breaks up the symmetry of the face beautifully. It works best on straight to wavy hair, and fine hair gains welcome body from the sculpted wave pattern. The waves also pair perfectly with vintage-inspired outfits and red lipstick, since the sculpted shape echoes classic glamour while the softer, hand-shaped finish keeps it wearable today.
To sculpt retro waves by hand, start with damp hair and smooth a setting lotion or light mousse through it for hold. Create a deep side part with your fingers, then shape the front into S-curves, pressing each bend flat against the head and securing it with a flat clip while it air-dries. Work section by section around the head, then remove the clips once fully dry and brush through very gently with your fingers to merge the waves into one flowing shape. Finish with a shine spray for a subtle sheen and a light-hold hairspray to keep the sculpt in place. Trim every six to eight weeks to maintain the blunt, healthy ends that make waves look their best. Try this style for parties, vintage-themed events, or any evening when you want timeless glamour shaped entirely by your own hands. If your hair is very straight and resists holding a wave, apply the setting lotion a little more generously and leave the clips in until the hair is completely dry before removing them.
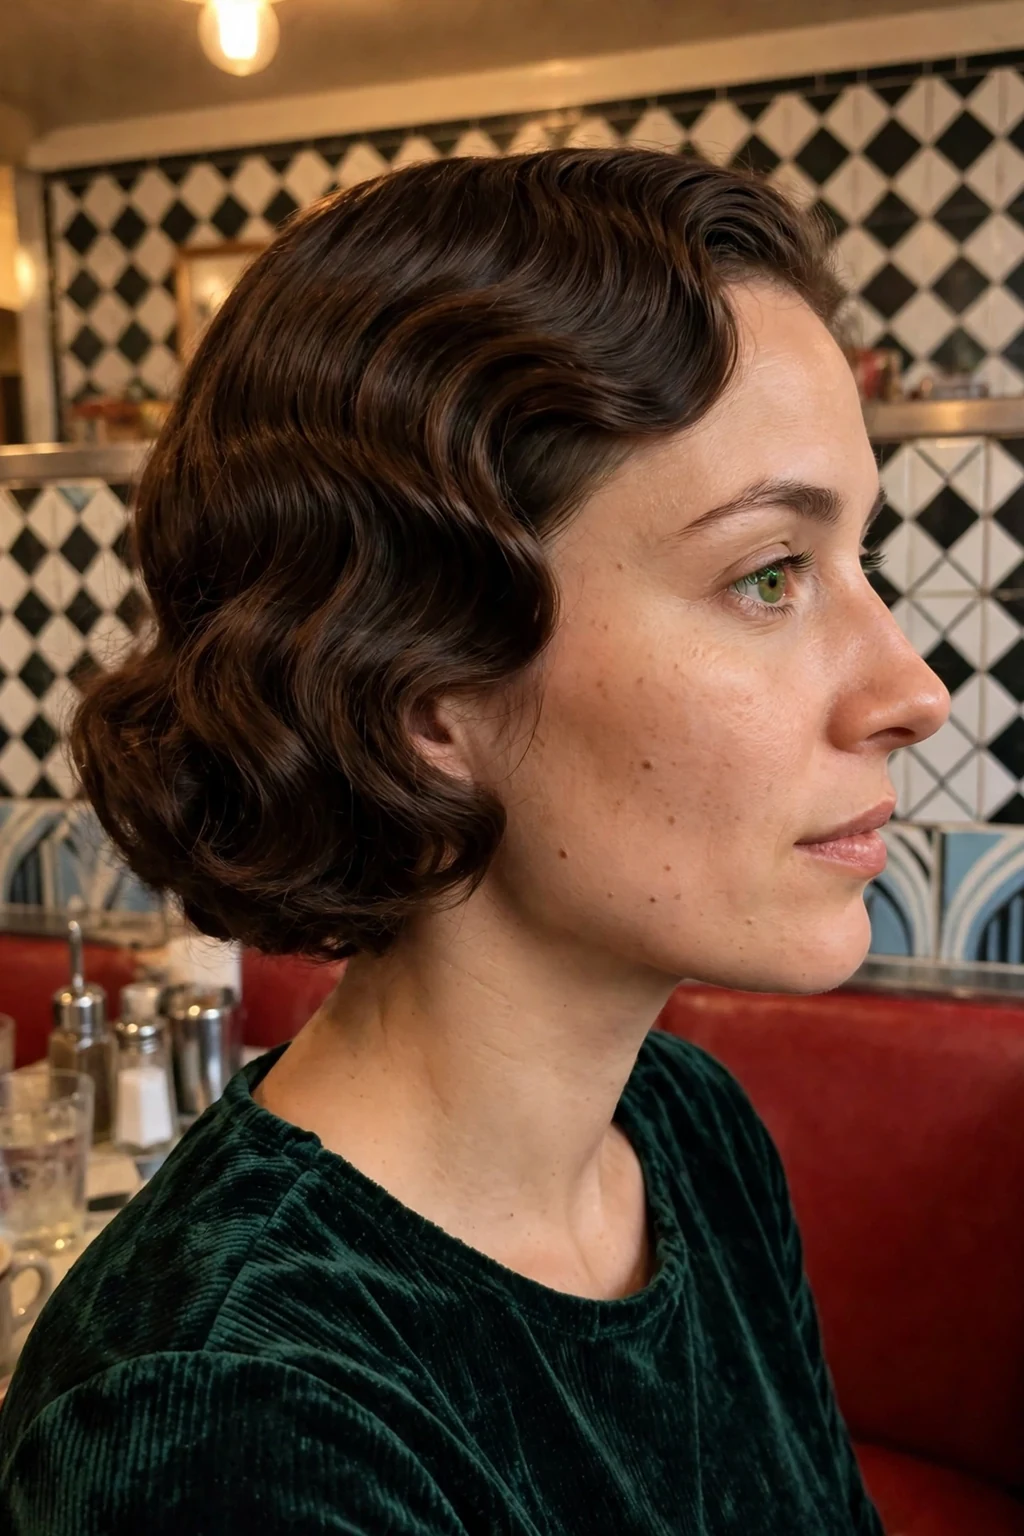
35. Hand-Pulled Voluminous Ponytail
The hand-pulled voluminous ponytail turns the everyday ponytail into something far more dramatic, using finger-teasing and gentle pulling to build big, soft height at the crown and fullness through the tail. Unlike a slick, scraped-back ponytail, this version keeps texture and movement, with loose tendrils around the face and a slightly undone finish that feels sporty yet glamorous at the same time. It works on medium to long hair of almost any texture, and it flatters oval, round, and square faces because the height on top lengthens the face while the face-framing pieces soften the jawline. Thicker hair gives the most impressive volume, but fine hair can achieve the same effect with a little backcombing by hand and a volumising powder at the roots. The ponytail also looks fantastic from behind, since the pulled-out sections create a full, rounded tail that swings with movement instead of hanging flat and lifeless against the back.
To style a hand-pulled voluminous ponytail, start with dry hair and add texturising spray at the roots for grip. Gather the hair high at the crown, securing it with a strong elastic, then gently pull small sections of the ponytail outward to widen and plump it, and tease the underside of the tail lightly with your fingers for extra body. Wrap a small strand of hair around the elastic to hide it, pin it underneath, and pull two soft tendrils free at the front. A flexible-hold spray keeps the volume in place without stiffness. Trim every eight weeks to keep the ends full rather than wispy, and refresh the style the next day with dry shampoo at the crown. Choose this ponytail for workouts, dancing, or busy days when you want your hair up, out of the way, and still full of life. To stop the ponytail from sliding down during the day, use two elastics crossed over each other at the base, which grips the hair more securely without pulling or causing breakage.
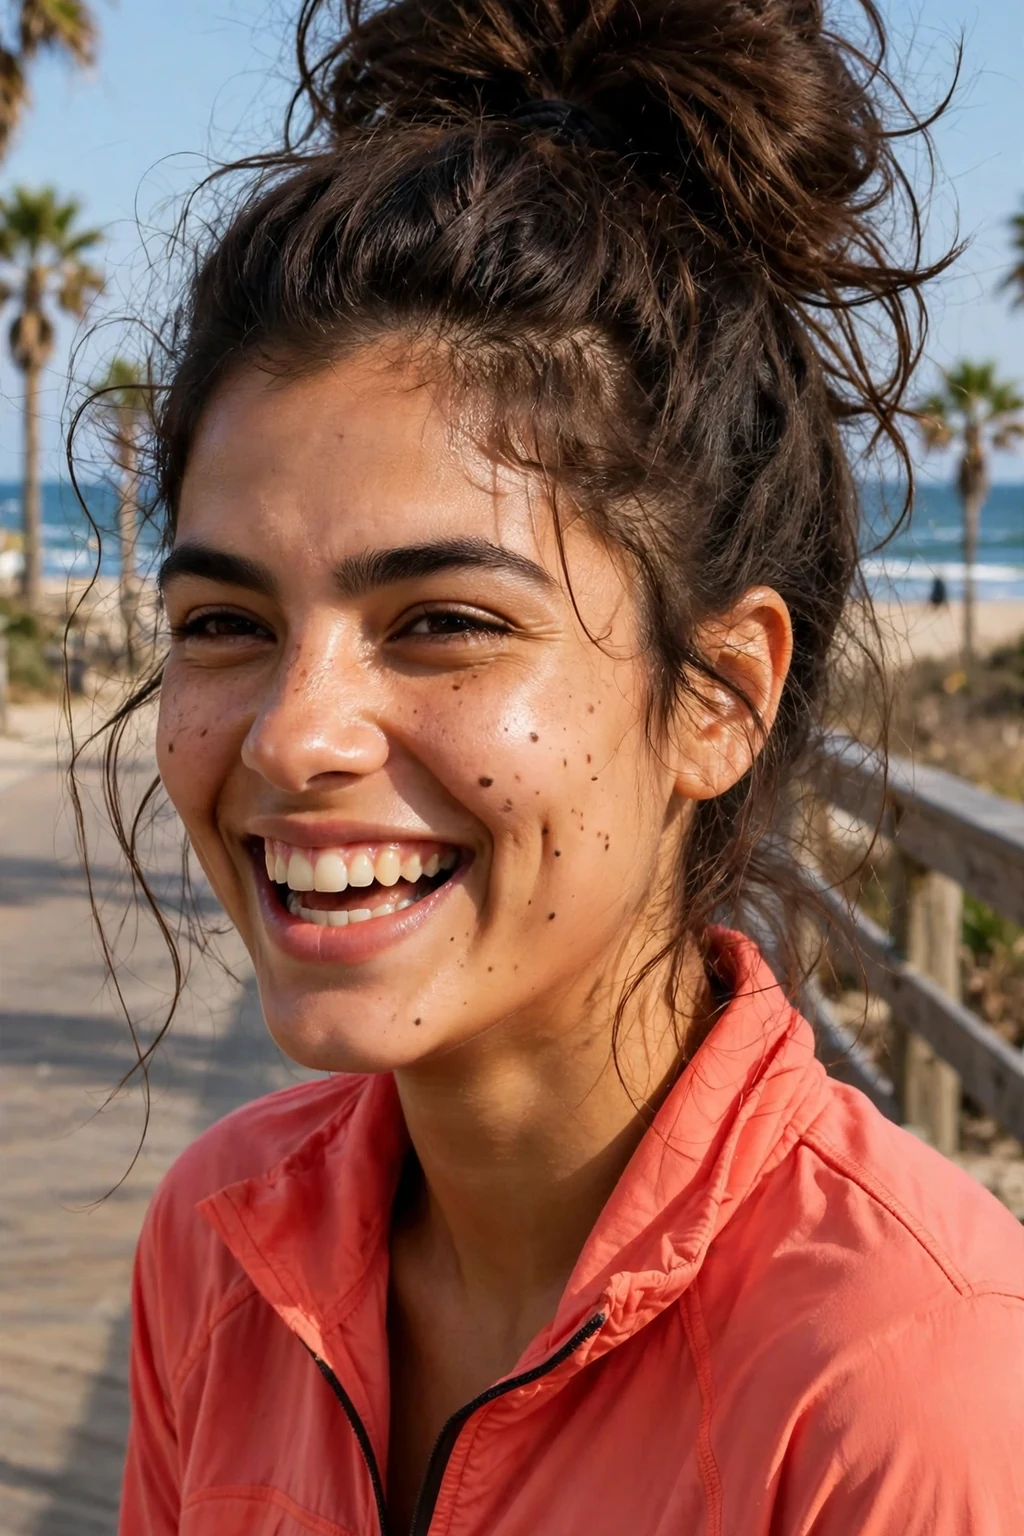
36. Finger-Styled Curtain Fringe
The finger-styled curtain fringe pairs a soft, centre-parted fringe that sweeps open like curtains on either side of the face with loose, hand-shaped lengths for an effortlessly chic, face-framing look. The fringe is styled purely with the fingers, so it falls in gentle, feathered pieces rather than a blunt, heavy block, giving the face a softer, more open appearance that flatters almost everyone. It suits medium to long hair and is especially kind to oval, round, and square faces, because the sweeping fringe narrows a wide forehead, softens a strong jaw, and draws attention to the eyes and cheekbones. Straight and wavy hair take the fringe most easily, while curly hair can wear a longer, looser version that blends into the natural texture. The fringe also grows out gracefully, since the sweeping shape simply becomes longer face-framing layers over time rather than an awkward, blunt block that needs constant trimming.
To style a finger-styled curtain fringe, start with damp hair and apply a light styling cream to the fringe section, then part it down the centre with your fingers. Twist each side of the fringe away from the face and let it air-dry, or finger-dry it by lifting the roots with your fingertips, which creates natural bend and volume without a brush or dryer. Once dry, separate the fringe pieces with your fingers and finish with a tiny amount of pomade on the ends to define them. Trim the fringe every three to four weeks to keep it at the perfect cheekbone-grazing length, while the rest of the hair needs a trim every eight weeks. Refresh the fringe between washes with a quick spritz of water and a finger-twist. Try this style when you want a low-commitment change that instantly updates your whole look. On mornings when the fringe falls flat, lift the roots with your fingertips and a tiny amount of dry shampoo, which restores volume and bend in under a minute without rewashing.
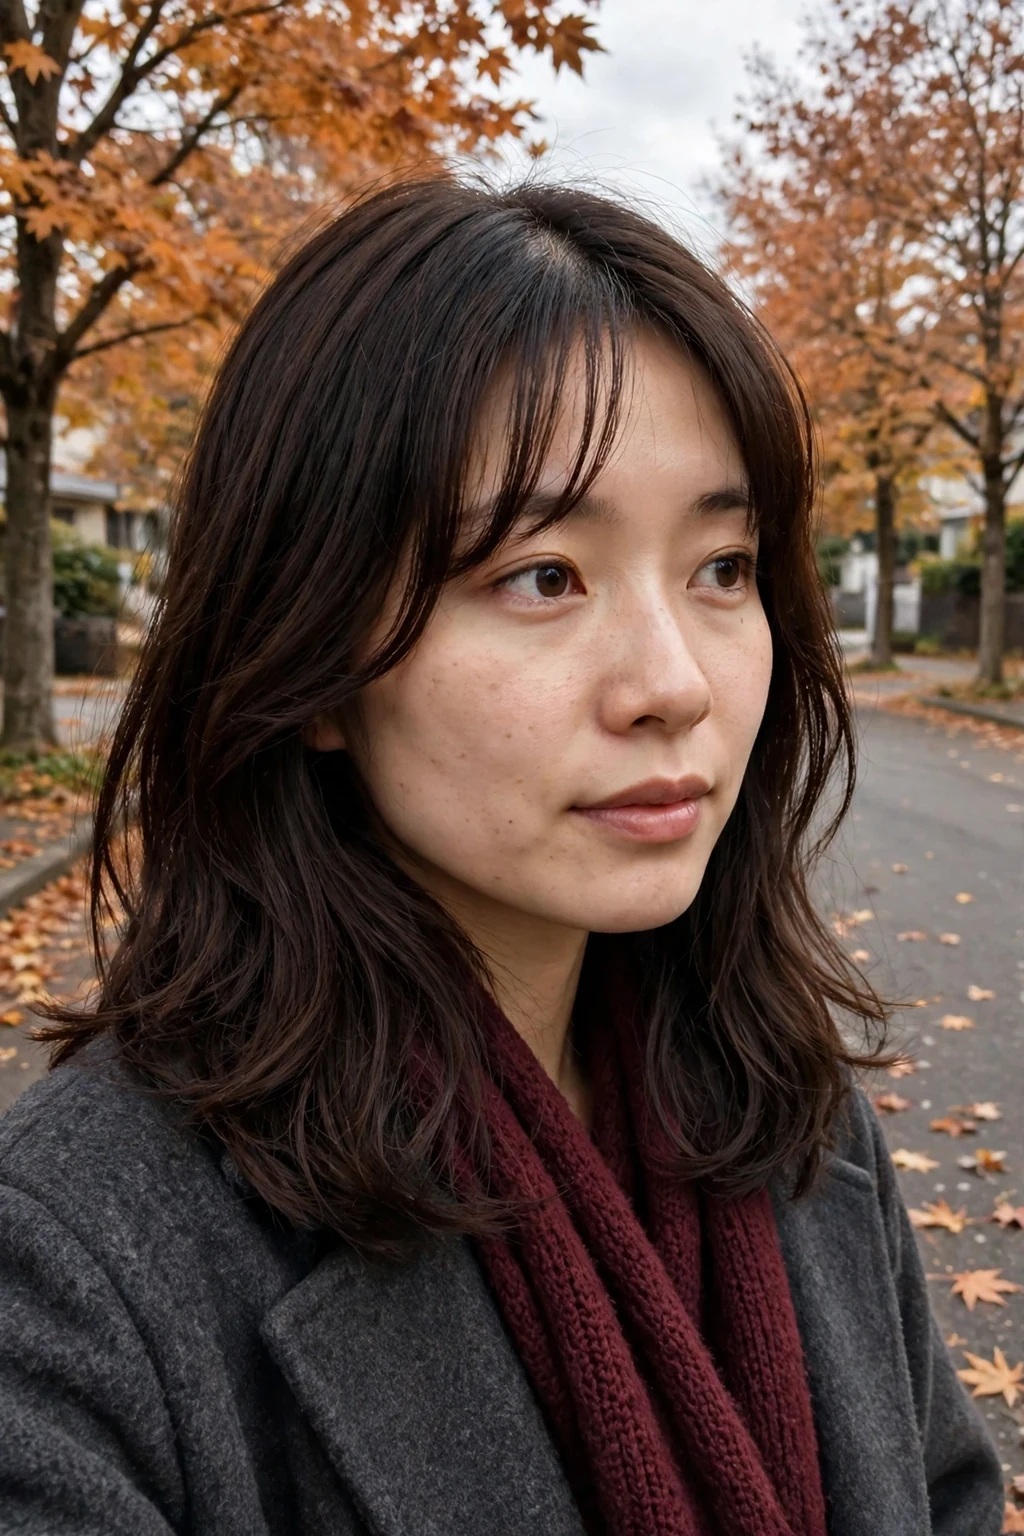
37. Hand-Twisted Waterfall Curls
Hand-twisted waterfall curls are a dreamy half-up style in which sections of hair are twisted back from the face and allowed to fall open into soft curls, creating a cascading effect that looks intricate while being surprisingly simple to achieve. The twists add structure and interest at the crown, while the released curls keep the length free and flowing, so the style feels romantic and relaxed rather than formal. It works best on medium to long hair with a natural wave or curl, though straight hair can hold the twists with a little texturising spray, and it flatters oval, heart-shaped, and long faces because the twists lift the front away from the face and the curls add softness around the shoulders. Thicker hair gives the most abundant waterfall, while finer hair creates a daintier version. The waterfall effect also looks stunning in photographs, since the twisted crown adds intricate detail at the top while the free-flowing curls create softness and movement below it.
To create hand-twisted waterfall curls, start with dry, textured hair and take a section from each temple, twisting it back toward the crown and pinning it loosely so the ends fall free. Continue adding small twisted sections from the sides, pinning each one over the last, until you have a loose crown of twists, then let the remaining hair fall in its natural curls or scrunch it with curl cream for extra definition. Finish with a light-hold spray and pull a few face-framing strands loose for softness. The style holds well for a full day and looks even better as it relaxes. Trim every eight to ten weeks to keep the curls healthy and springy, and sleep with the hair loosely braided to preserve the wave pattern. Choose this style for garden parties, weddings, or evenings out when you want romance without rigidity. For extra security at outdoor events, use small clear elastics hidden beneath the twists as well as pins, so a gust of wind cannot undo the delicate, hand-pinned crown.
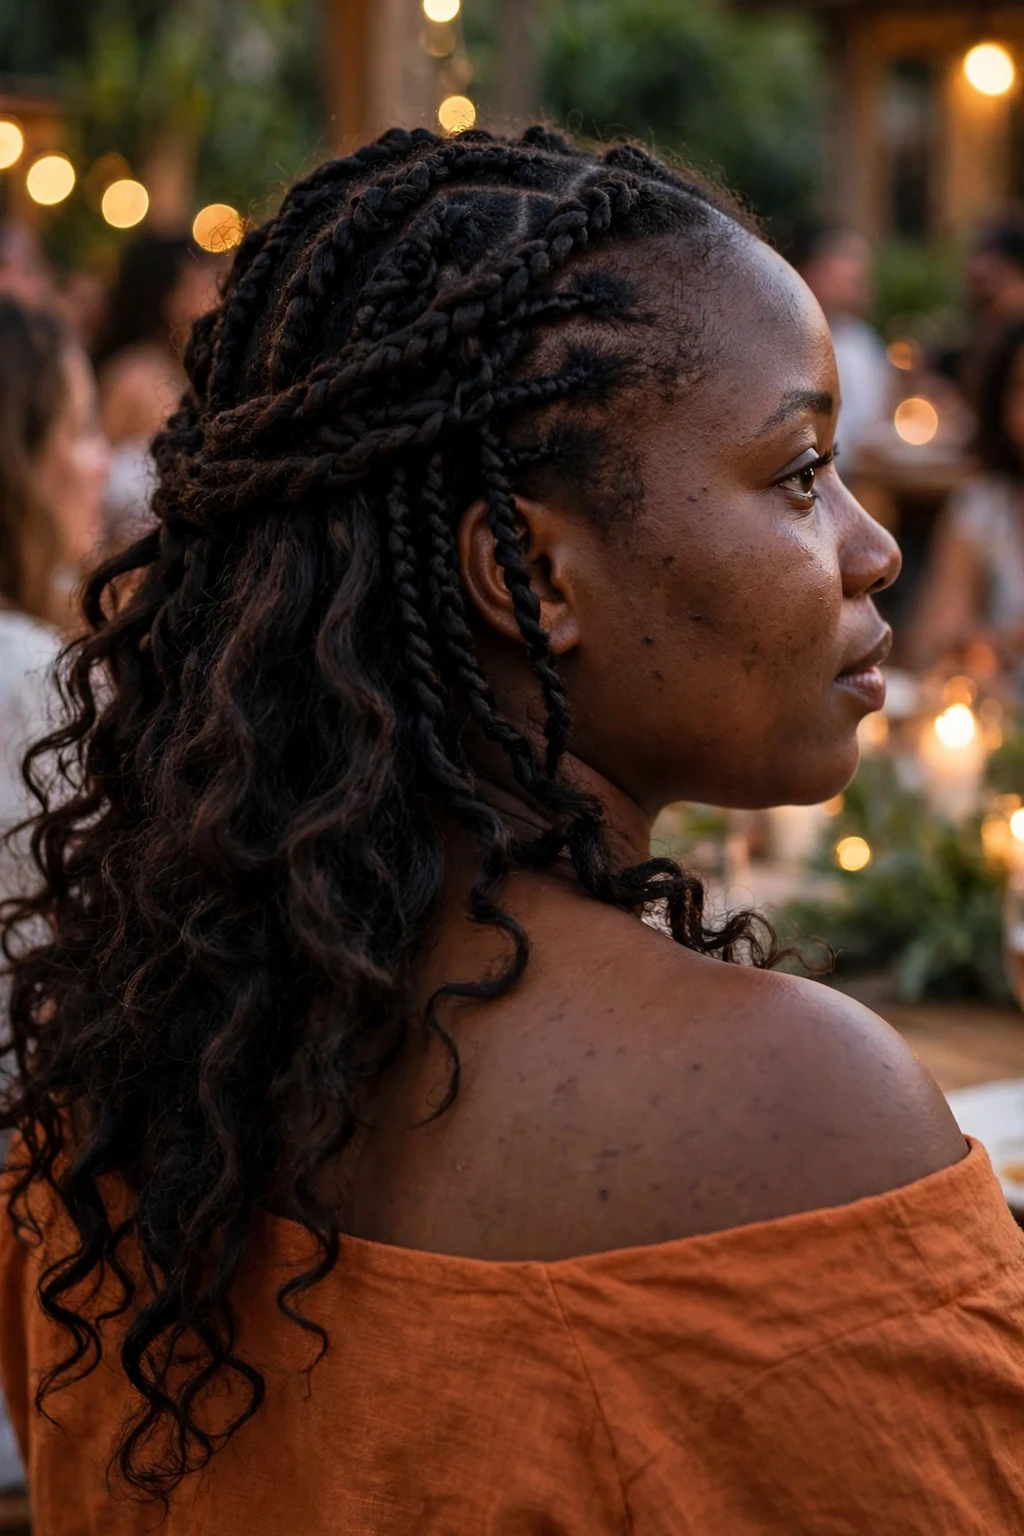
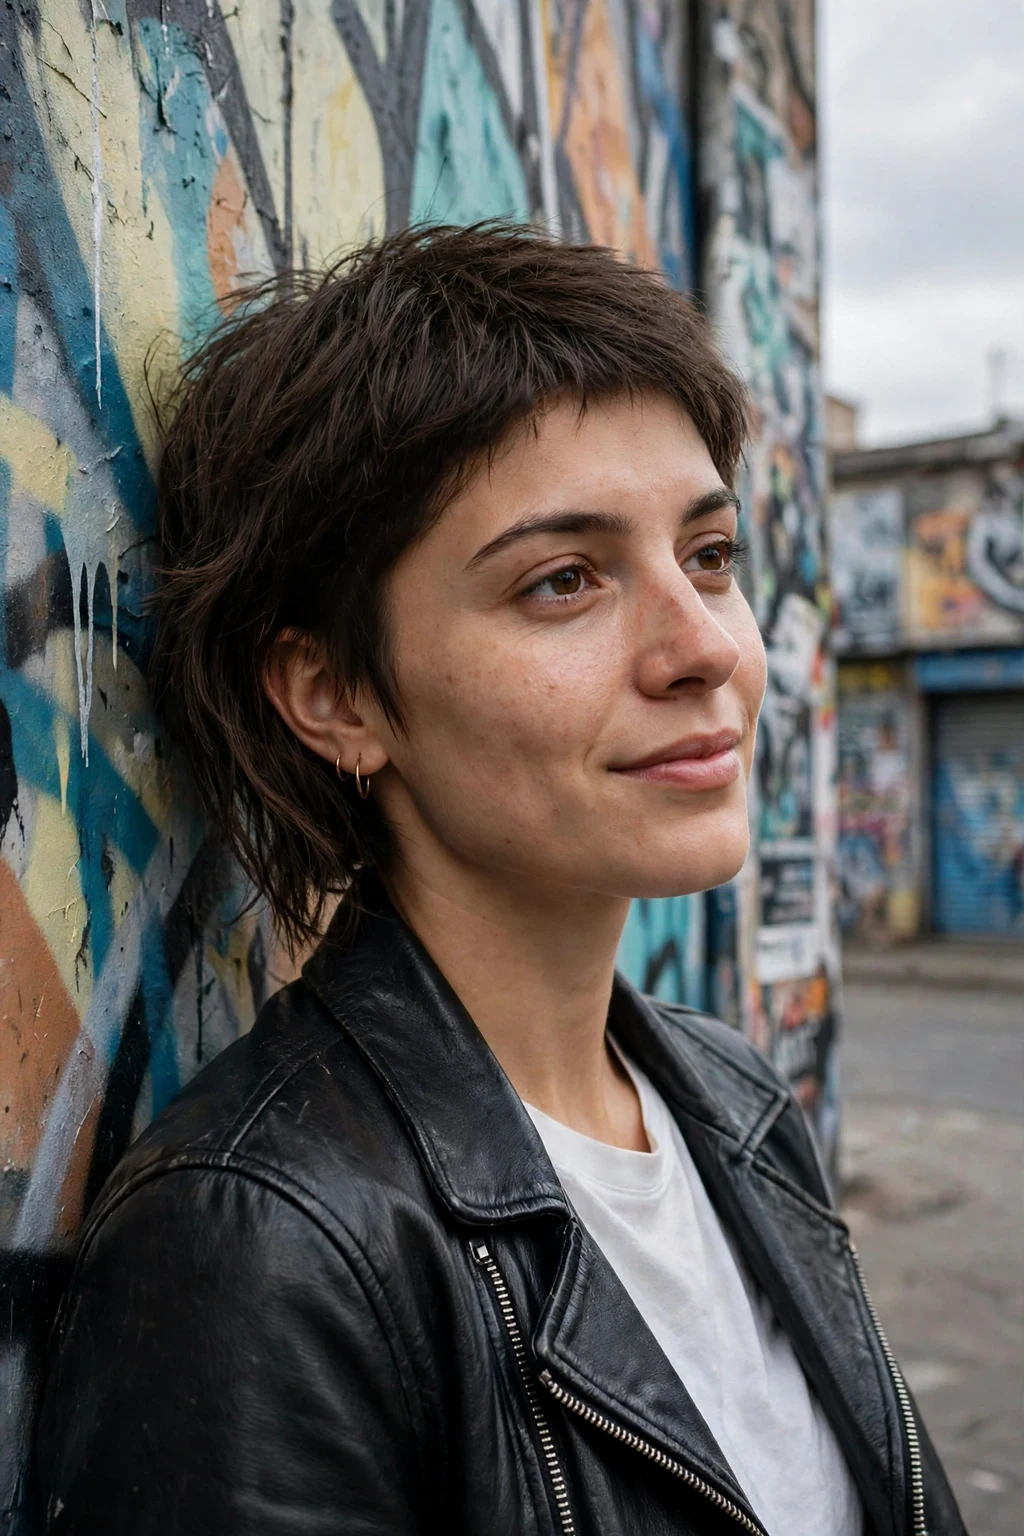
38. Hand-Textured Asymmetric Crop
The hand-textured asymmetric crop is a bold, modern short cut that is longer on one side than the other and finished entirely by finger-tousling, giving it a piecey, lived-in texture that never looks overly done. The asymmetry adds instant edge and movement, with the longer side sweeping across the forehead or cheek while the shorter side sits close and neat, creating a shape that is both striking and surprisingly easy to wear. It suits short hair best and flatters oval, heart-shaped, and square faces, because the diagonal line of the cut softens strong features and adds interest to the silhouette. Straight, wavy, and lightly curly hair all work well, with wavy hair giving the most natural piecey texture when scrunched with a little product. The crop also shows off earrings and bold makeup beautifully, since the shorter side reveals the ear and jawline while the longer side keeps the overall shape soft and feminine.
To style a hand-textured asymmetric crop, start with damp hair and work a pea-sized amount of matte paste or texturising cream through it with your fingers, scrunching and twisting small sections to create separation. Let the hair air-dry, then refine the shape by pinching individual pieces into place and sweeping the longer side forward or to the side as you prefer. A tiny amount of pomade on the ends adds definition without shine or stiffness. Because short cuts lose their shape quickly, book a trim every four to six weeks to keep the asymmetry crisp and the texture fresh. The style needs almost no maintenance between washes and revives instantly with a spritz of water and a quick finger-tousle. Try it when you want a confident, fashion-forward cut that styles itself in minutes and grows out gracefully. Between salon visits, keep the shape fresh by finger-styling the longer side forward each morning, which maintains the asymmetric line even as the shorter side begins to grow out.
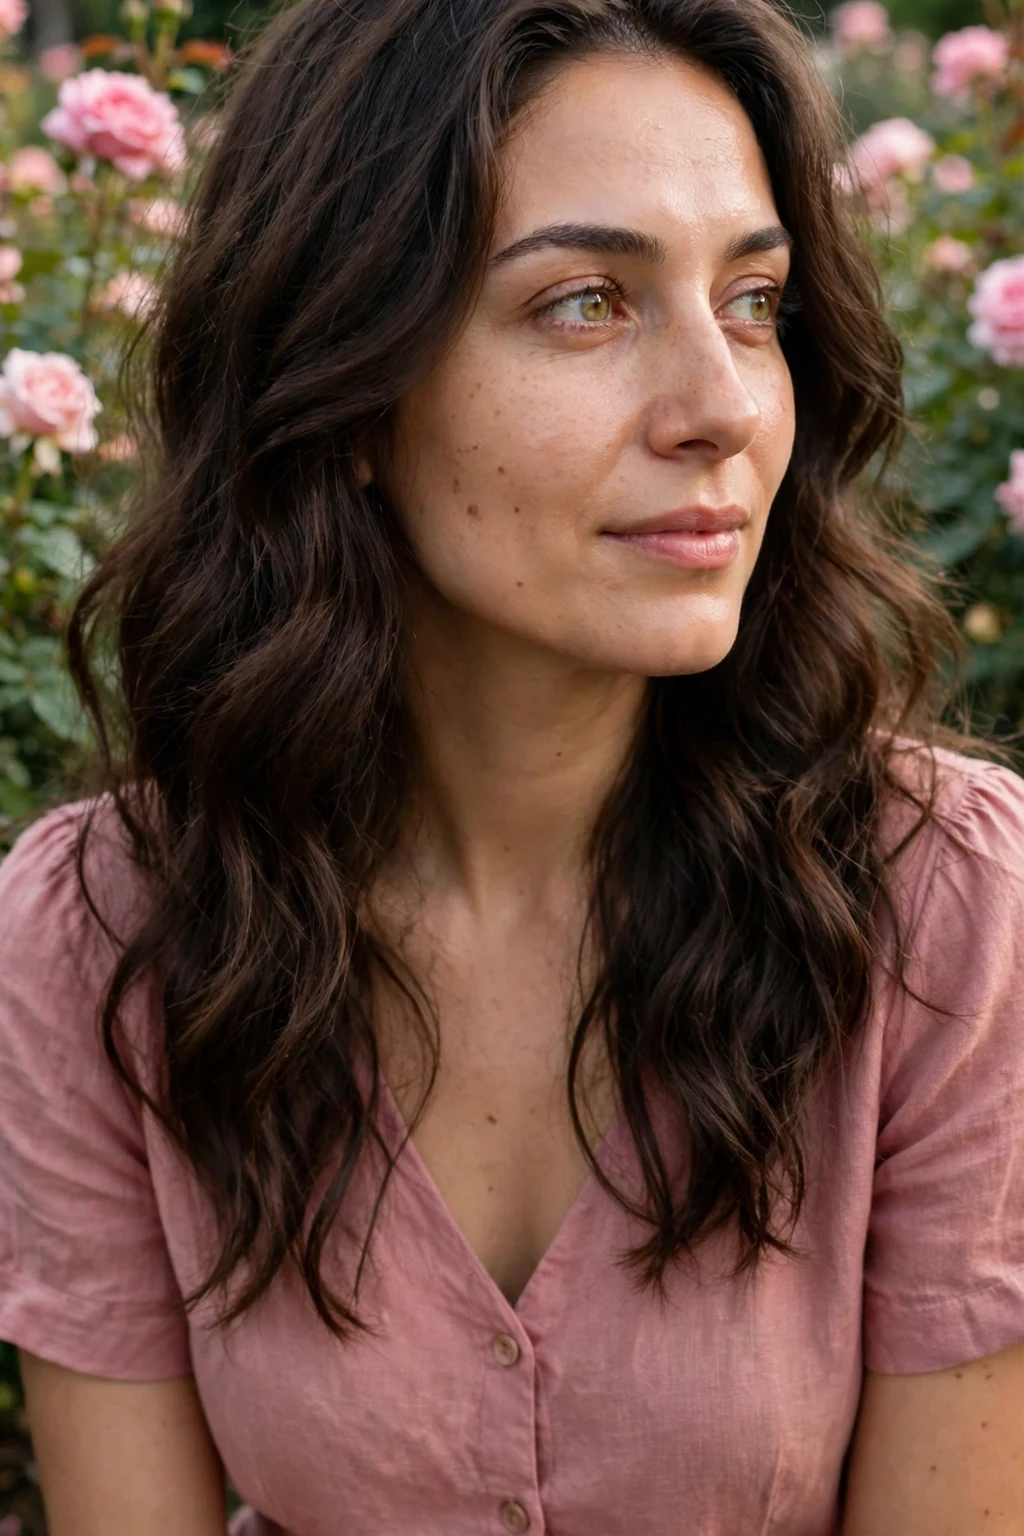
39. Finger-Combed Romantic Waves
Finger-combed romantic waves are soft, brushed-out waves that are shaped by running the fingers through the hair rather than a brush, giving a dreamy, slightly tousled finish that feels like something from a fairytale. The waves are loose and flowing, with a gentle, airy volume that moves beautifully, and because the fingers break up the wave pattern just enough, the result looks natural and touchable instead of overly styled. This style suits medium to long hair and flatters oval, round, and heart-shaped faces, because the soft waves add width and movement around the face without harsh lines. It works best on wavy to lightly curly hair, though straight hair can achieve the same romance by finger-twisting damp sections and letting them air-dry. The waves also look beautiful in soft, natural light, since the brushed-out texture catches a gentle glow and creates a dreamy, almost ethereal quality around the face and shoulders.
To create finger-combed romantic waves, start with damp hair and apply a lightweight wave cream or sea-salt spray through the lengths. Twist the hair into four or five loose sections, let them air-dry completely, then unravel the twists and comb through them gently with your fingers only, separating the waves until they fall into a soft, flowing shape. Finish with a drop of shine serum smoothed over the surface to tame frizz without flattening the waves, and a light mist of flexible hairspray for hold. Trim every eight weeks to keep the ends healthy and the waves bouncy, and refresh the style on day two with a water spritz and a quick finger-comb. Choose this look for dates, photoshoots, or any day when you want to feel soft, romantic, and completely at ease. To prevent the waves from falling flat by afternoon, avoid touching them too much once styled, since excess handling breaks up the wave pattern and invites frizz throughout the day.
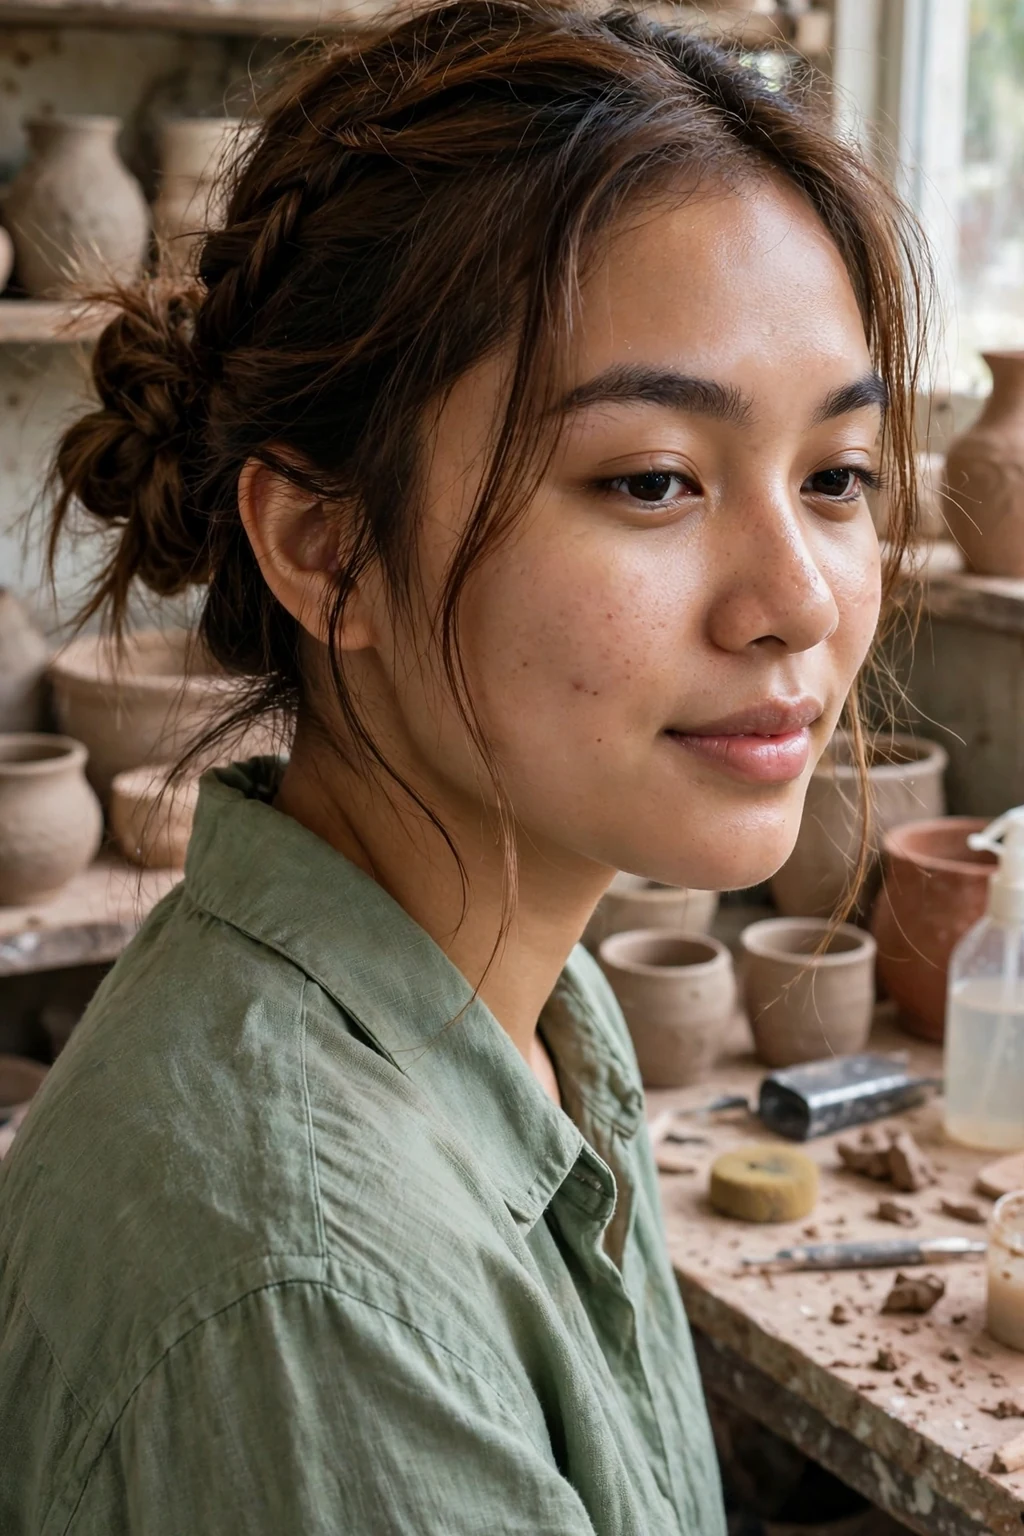
40. Hand-Wrapped Messy Braided Bun
The hand-wrapped messy braided bun combines two beloved techniques, braiding and wrapping, into one soft low bun that is wrapped by hand around its own base and left deliberately undone for a relaxed, artistic finish. The braid adds texture and visual interest to the bun, while the loose wrapping and pulled-out strands keep it from looking formal or severe, making it a perfect everyday updo that still feels special. It works best on medium to long hair and flatters oval, round, and square faces, because the low placement at the nape elongates the neck and the soft pieces around the face balance the features. Straight, wavy, and curly hair all braid and wrap well, with wavy hair giving the most natural grip and fullness. The bun also works beautifully for creative professionals and artists, since its handmade, slightly imperfect charm suits studios, galleries, and relaxed workplaces better than a severe, formal updo.
To style a hand-wrapped messy braided bun, start with day-old hair and add texturising spray for grip. Braid the hair loosely into a single plait, secure the end, then wrap the braid around itself at the nape to form a bun, pinning it in place with bobby pins as you go. Gently pull at the edges of the braid to widen it and tug a few strands free around the face and at the crown for softness. A flexible-hold spray keeps the bun secure without making it stiff, and the style holds up well through long days. Trim every eight to ten weeks to keep the ends neat enough to braid smoothly, and take the bun down gently at night to avoid tangles. Try it for work, creative days, or casual evenings when you want an updo that looks handmade in the best possible way. If the bun feels heavy by the end of the day, redistribute the pins so the weight sits evenly around the base, which relieves tension on the scalp and keeps the style comfortable.
41. Freehand Defined Twist-Out
The freehand defined twist-out is a beloved natural-hair style created by twisting damp sections of hair and then unraveling them to reveal springy, well-defined curls with a full, rounded shape. Because each twist is formed by hand, the resulting curl pattern is beautifully varied and organic, with soft volume at the roots and bouncy definition through the lengths that no heat tool can replicate. It is made for naturally curly and coily hair of short to medium length, though longer hair can achieve a gorgeous, elongated version, and it flatters oval, round, and heart-shaped faces by adding width and framing the face with a halo of curls. The style also works as a protective option, since the twisting process stretches the hair gently and reduces tangling. The twist-out also offers wonderful styling freedom on later days, since the defined curls can be pinned up, swept to one side, or worn loose while still showing off their beautiful pattern.
To create a freehand defined twist-out, start with freshly washed, damp hair coated with a leave-in conditioner and a butter or curl cream for moisture and hold. Divide the hair into small to medium sections and twist each one tightly from roots to ends, then let the twists air-dry completely or sit under a hooded dryer on low heat. Once fully dry, unravel each twist carefully, separating the curls gently with oiled fingers to avoid frizz, and fluff the roots for volume. The twist-out typically lasts three to five days and can be preserved overnight by pineapple-ing the hair and sleeping on a satin pillowcase. Trim every ten to twelve weeks to keep the ends healthy and the curl pattern springy. Choose this style whenever you want to celebrate your natural texture with definition, volume, and staying power. To stretch the style even further, re-twist just the front sections each night before bed, which keeps the face-framing curls defined while the rest of the hair stays full and voluminous.
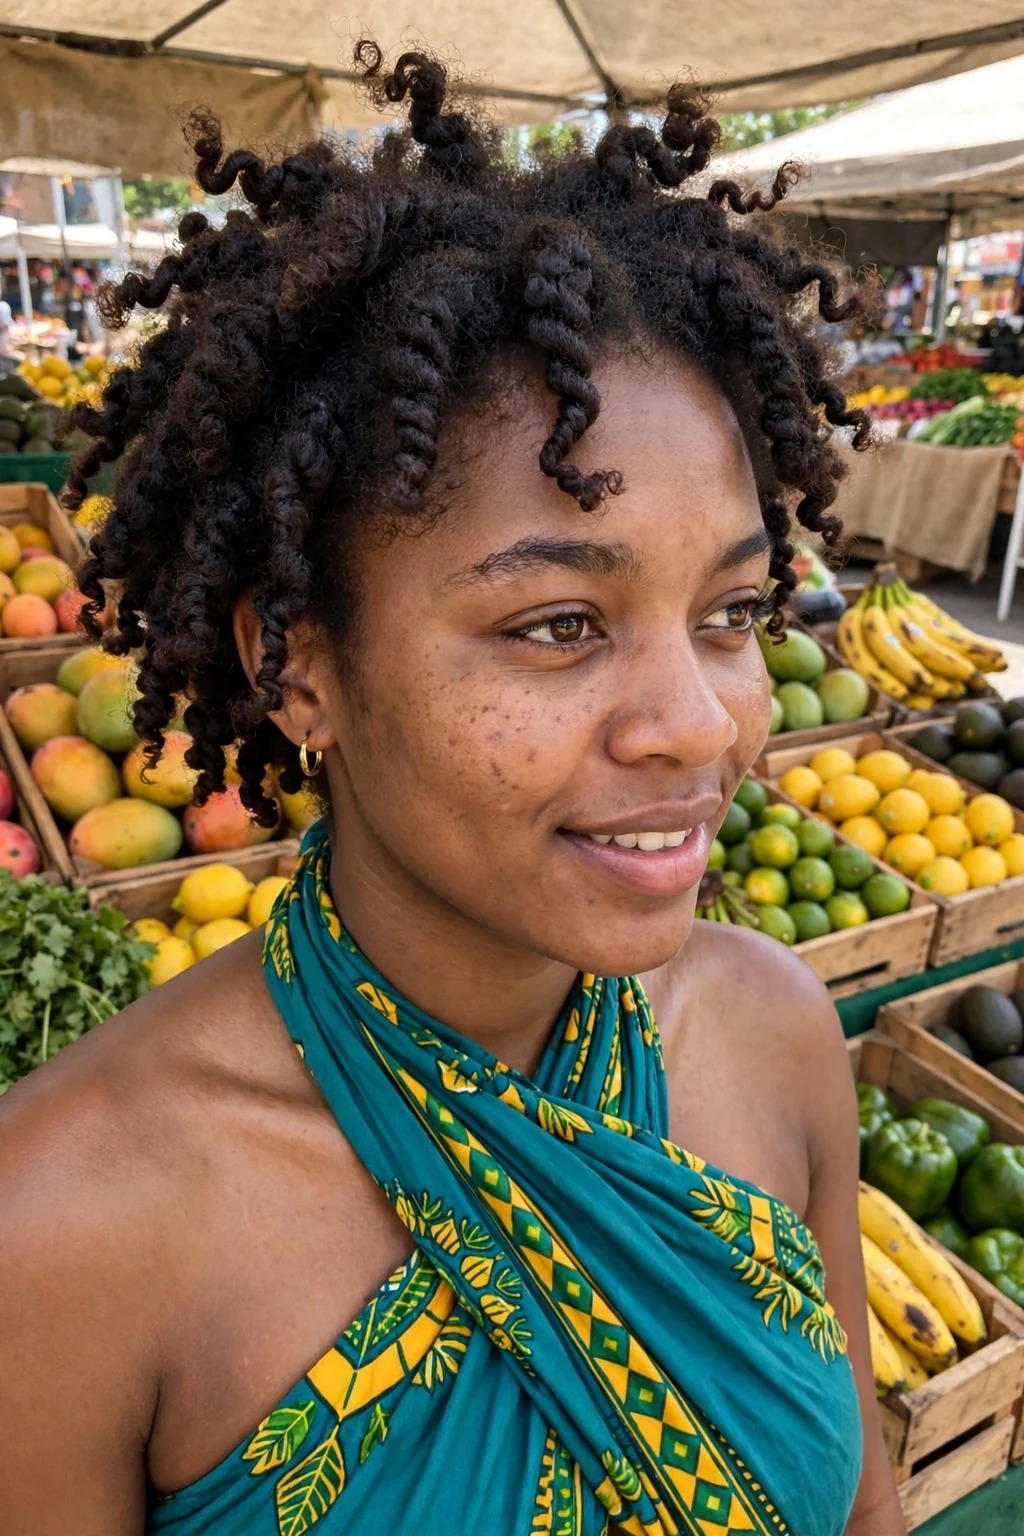
42. Finger-Sculpted Evening Waves
Finger-sculpted evening waves are the ultimate special-occasion free-hand style, with polished yet soft waves that are sculpted by hand into elegant, flowing curves and finished with a gentle shine. The waves sit smoothly at the roots and open into graceful movement through the lengths, creating a silhouette that is glamorous without feeling stiff or overworked, and the deep side part adds a touch of drama that catches the light beautifully. This style suits medium to long hair and flatters oval, heart-shaped, and long faces, because the waves add width at the sides and the sweeping fringe softens the forehead. It works best on straight to wavy hair, and fine hair benefits from the root lift created by finger-sculpting the front sections. The waves also complement elegant evening outfits perfectly, since the polished, flowing shape echoes the drape of satin and silk and frames the shoulders and collarbone so beautifully all evening long.
To sculpt evening waves by hand, start with damp hair and apply a smoothing cream and a light mousse for hold and shine. Make a deep side part with your fingers, then shape the front sections into gentle S-curves, pinning each one flat while the hair air-dries or sets. Once dry, remove the pins and finger-comb the waves into a unified, flowing shape, finishing with a shine spray and a flexible-hold hairspray to keep the sculpt intact through the evening. The style pairs beautifully with statement earrings and an off-shoulder neckline, since the waves frame the face and shoulders so elegantly. Trim every six to eight weeks to maintain the healthy ends that make waves look luminous, and sleep with the hair in a loose braid to preserve the wave for a second day. Choose this style for dinners, celebrations, or any evening when you want to feel truly glamorous. For a longer-lasting evening finish, mist the waves lightly with hairspray from a distance rather than up close, which sets the sculpt without leaving a stiff or sticky residue on the hair.
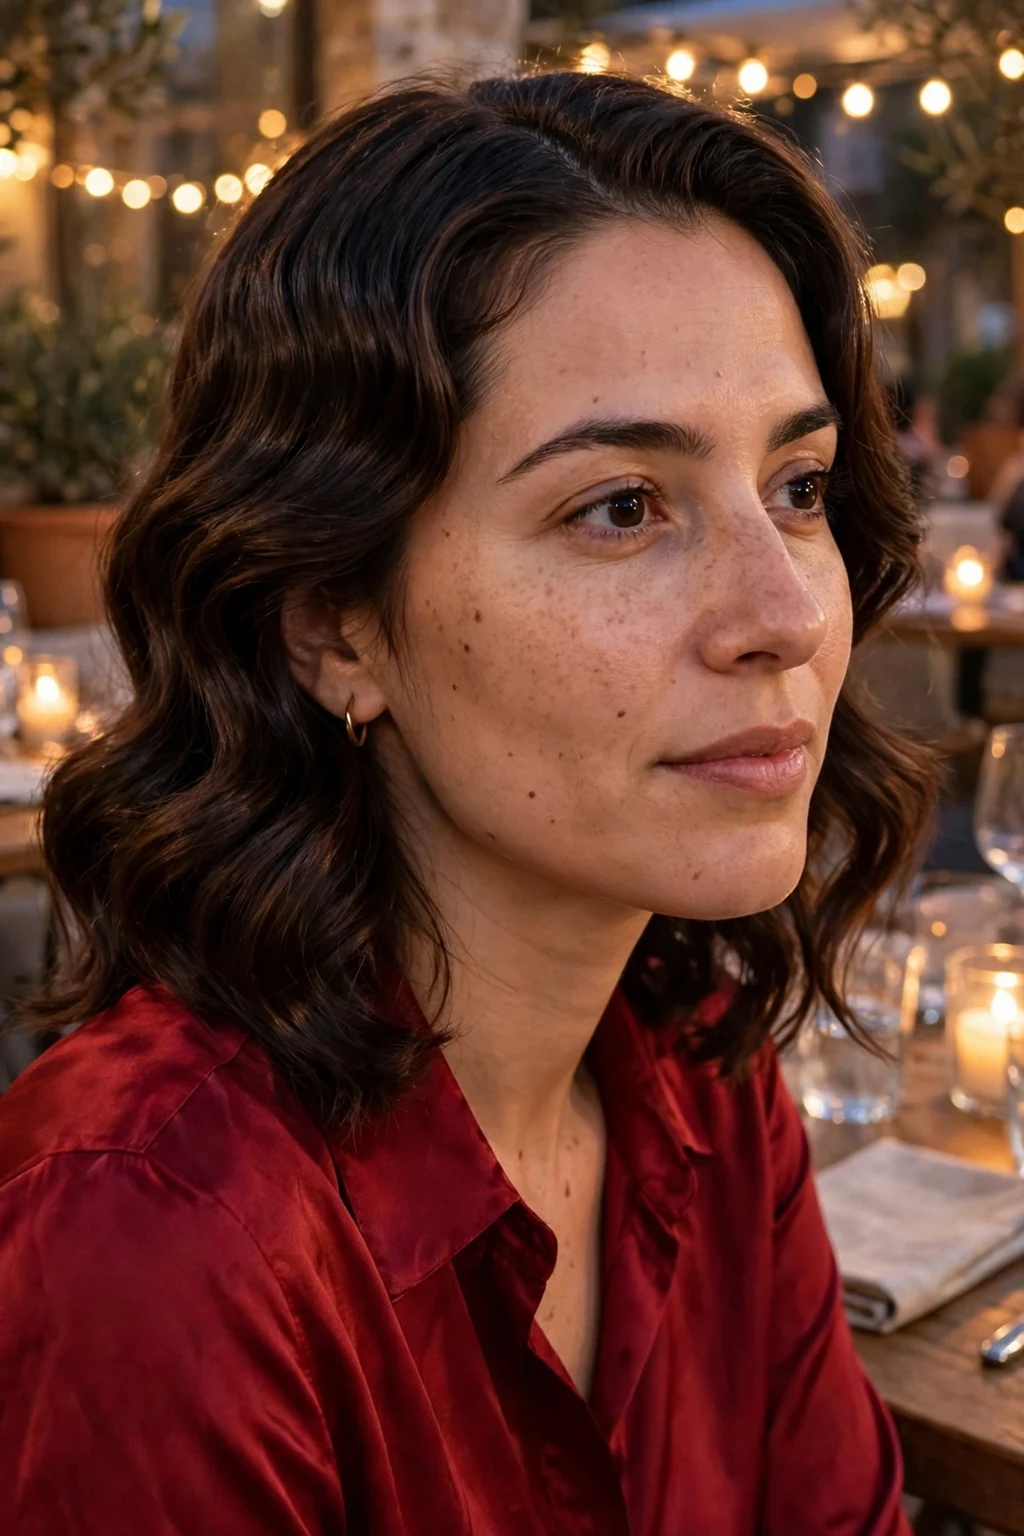
How to Choose the Right Free-Hand Hairstyle
The most flattering free-hand hairstyle is the one that works with your natural texture, your length, and the time you actually have in the morning. Finger curls and coils reward natural curl, scrunched waves and tousled lobs suit wavy hair, and twists, buns, and crowns work on almost any length with a little grip from texturising spray. Choose the style that makes you feel like yourself, only a little more polished, and your hairstyle will always look intentional rather than accidental.
Free-hand styling is wonderfully forgiving: it needs no heat tools, no expensive equipment, and very little practice before it starts looking good. Keep a texturising spray, a curl cream, and plenty of bobby pins on hand, trim every six to ten weeks to keep your base cut healthy, and do not be afraid to let a few strands escape. The best free-hand styles look hand-made, because they are, and that is exactly their charm.
Conclusion
From sculpted finger waves to hand-twisted crowns and soft, relaxed buns, these 42 free-hand hairstyles prove that your hands are the most versatile styling tools you own. Choose the style that suits your texture and your day, keep up with regular trims, and wear your hand-crafted hair with total confidence.