

A great hair care routine is not about owning dozens of products or spending hours every morning. These 47 simple, proven steps cover washing, conditioning, styling, protection, and maintenance, so you can build a routine that keeps your hair healthy, shiny, and strong every single day.
1. The Gentle Sulfate-Free Wash
The gentle sulfate-free wash is the foundation of a truly healthy hair care routine, replacing harsh detergents with a mild cleanser that removes dirt, sweat, and buildup without stripping away the natural oils your scalp and strands need to stay soft and resilient. Instead of a big, foamy lather, you will notice a lighter, creamier cleanse that leaves hair feeling clean but never squeaky, tight, or tangled. Start by soaking hair thoroughly with lukewarm water, then massage a coin-sized amount of sulfate-free shampoo into the scalp with your fingertips, working in small circles before letting the suds glide down the lengths as you rinse. This method cleans where oil actually builds up while protecting the drier mid-lengths and ends from unnecessary friction and dryness. For most people, a gentle wash means hair that stays softer between washes, a scalp that feels less itchy or tight, and ends that split less often over time. It also makes styling easier, since hair that has not been stripped holds moisture and responds better to leave-in products and heat tools.
This step suits almost every hair type, but it is especially valuable for dry, curly, colour-treated, damaged, or sensitive scalps that react badly to strong surfactants. Women in their twenties and early thirties who heat-style, colour, or swim regularly will often see less breakage, less frizz, and longer-lasting colour within a few weeks of switching. Wash two to four times a week depending on oiliness and activity, and choose a formula matched to your concern, whether that is hydration, volume, or colour protection. Pair it with a good conditioner and resist the urge to scrub hard or pile hair on top of your head, which causes tangles. Try this wash first because every other step in your routine works better on a calm, balanced scalp. If your hair feels greasy after switching, give it two weeks to rebalance and check that you are massaging the scalp long enough, rather than immediately returning to a harsh shampoo. A clarifying wash once a month can remove stubborn product buildup without undoing the benefits. The payoff is cumulative: consistent gentle cleansing builds healthier hair month after month, and it is the single easiest upgrade in this entire routine.
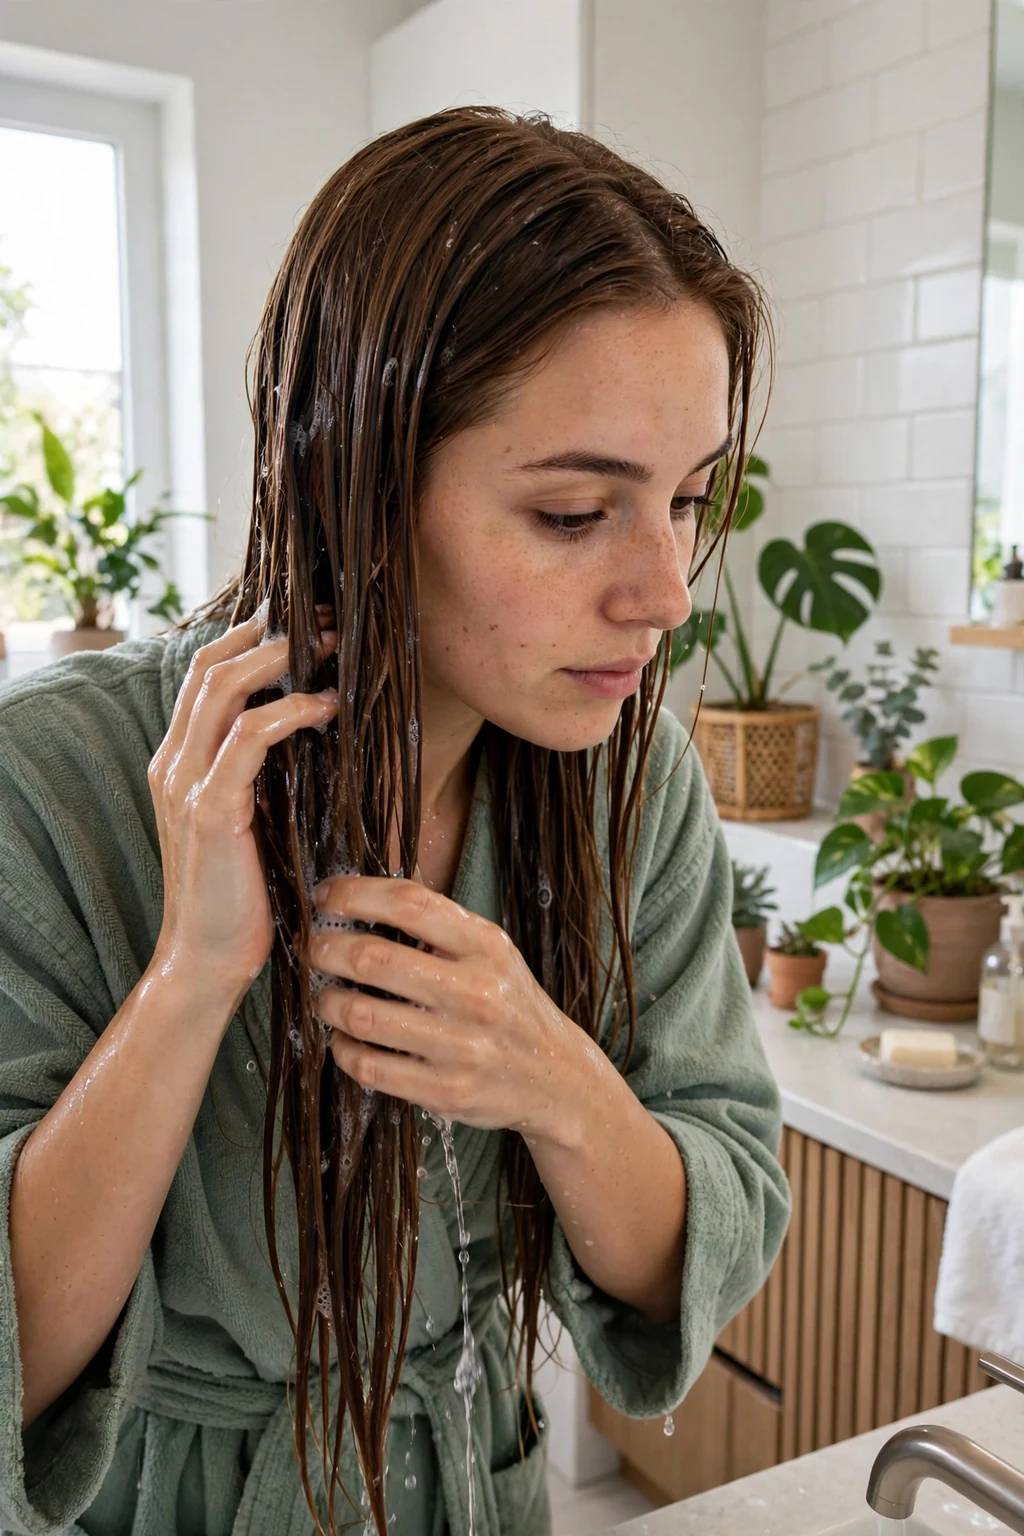
2. The Lukewarm-Water Rule
The lukewarm-water rule is a deceptively simple habit: wash and rinse your hair in comfortably warm, never hot, water, because very hot water lifts the hair cuticle, strips natural oils, and leaves strands rougher, drier, and far more prone to frizz and breakage. Lukewarm water still dissolves oil, sweat, and product residue effectively, but it treats the cuticle with respect, keeping the outer layer of each strand smoother and more reflective. You will know the temperature is right when it feels pleasant on your wrist and your scalp never turns pink or tingly. Keep the shower stream gentle rather than blasting, and let water run down the hair in one direction instead of scrunching everything into a tangled pile. Over weeks, lukewarm washing helps colour last longer, reduces the puffy, flyaway look that follows a very hot shower, and makes conditioner work harder because the cuticle is not already roughed up. Many women notice their hair feels smoother on wash day and stays manageable for an extra day before needing another wash.
This habit suits every hair type and age, but it matters most for fine, dry, curly, colour-treated, or already damaged hair, where heat damage shows up fastest as dullness and split ends. It is also a kindness to sensitive or flaky scalps, which hot water can irritate and dry out further. Make it part of every single wash, and finish with a brief cool rinse if you can tolerate it, since cooler water helps the cuticle lie flatter and boosts shine. No special product or tool is required, just a moment of attention before you step under the shower. Try it because it costs nothing, takes no extra time, and quietly protects all the money you spend on good shampoo, masks, and treatments. If you love hot showers, keep the heat for your body and turn the temperature down just for the hair-washing portion, or wash your hair first at a lower setting. Combined with gentle shampoo and careful drying, this one small temperature change becomes a powerful daily defence. It is the kind of unglamorous, reliable step that separates hair that merely looks clean from hair that genuinely stays healthy.
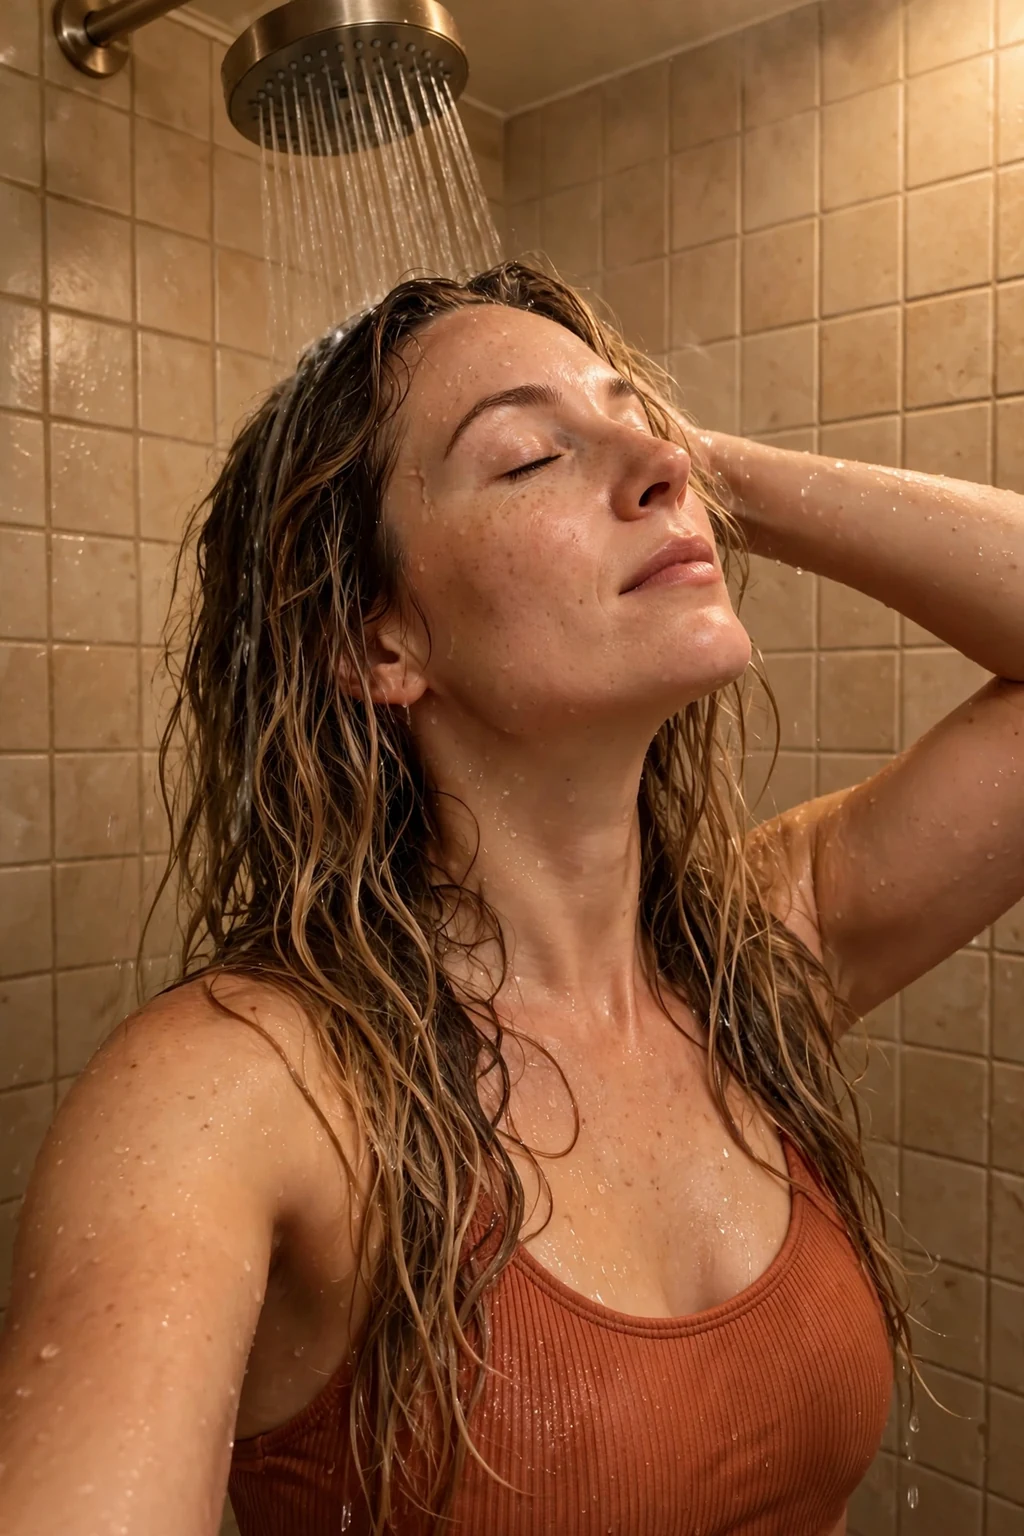
3. The Pre-Wash Scalp Massage
The pre-wash scalp massage is a five-minute ritual that wakes up your scalp before shampoo ever touches it, using slow, firm fingertip circles to loosen flakes, lift buildup, and boost blood flow to the hair follicles. Work in sections from your hairline to the nape, pressing with the pads of your fingers rather than your nails, and spend extra time on areas that feel tight, itchy, or congested. You can do it on dry hair before stepping into the shower, or add a few drops of a light scalp oil if your scalp feels dry. The result is a scalp that feels refreshed and a wash that actually reaches the skin, instead of shampoo sitting on top of a layer of residue and dead skin. With regular practice, many women notice less itching, less flaking, and roots that stay fresher for longer, which can even stretch the time between washes. The massage also helps distribute your scalp's natural oils more evenly, so the lengths benefit instead of the roots looking greasy while the ends stay dry.
This ritual suits nearly everyone, and it is especially helpful for people with oily roots, product buildup, dandruff-prone scalps, or hair that seems to have stalled in growth. It is also a genuinely calming moment of self-care for busy women in their twenties and early thirties, turning a rushed shower into a slower, more intentional routine. Aim for three to five minutes, two or three times a week, using only your hands or a soft silicone scalp massager if you prefer a tool. Avoid scratching, aggressive pressure, or massaging over irritated, broken, or sunburned skin. Try it because a healthy scalp is where healthy hair starts, and no conditioner can compensate for follicles that are clogged and undernourished. Keep the pressure comfortable and consistent, and pair the ritual with a gentle shampoo so you are not undoing the calm you just created. If you notice persistent soreness, heavy shedding, or patches of irritation, see a dermatologist rather than massaging harder. Done gently and regularly, this small pre-wash step makes the whole routine feel more effective and far more enjoyable.

4. The Double-Cleanse for Oily Roots
The double-cleanse for oily roots borrows a simple idea from skincare: the first wash removes surface oil, sweat, and styling product, and the second wash actually cleans the scalp properly. On the first pass, use a small amount of shampoo and do not worry if it barely lathers, because oil suppresses foam and that thin lather is a sign the cleanser is dissolving buildup. Rinse, then repeat with a second, equally small amount, massaging for a full minute so the shampoo can reach the scalp skin itself. The second lather will be richer, the rinse will feel cleaner, and your roots will stay fresher noticeably longer than after a single hurried wash. Done well, double-cleansing reduces the greasy, weighed-down feeling that makes fine hair look thinner, and it helps volume products and root lifts actually work instead of sliding off an oily base. It also means you may need less dry shampoo between washes, which itself prevents the dull, powdery buildup that irritates many scalps.
This technique is ideal for fine or straight hair that goes flat by midday, for oily or combination scalps, for women who work out daily, and for anyone who uses dry shampoo, heavy oils, or strong-hold styling products. It is less necessary for very dry or curly hair, which should keep double-cleansing to once a week or skip the second pass on the lengths entirely. Use a gentle or balancing shampoo for both passes rather than a harsh clarifying formula, and keep conditioner focused on the mid-lengths and ends. Try it two or three times a week on wash days when your roots feel heavy, and judge the result by how your hair looks on day two, not just immediately after drying. Watch for warning signs of over-washing, such as a tight scalp, increased flaking, or ends that feel straw-like, and scale back to a single wash if they appear. The goal is a scalp that feels clean and calm, not stripped. For oily roots, this is one of the highest-impact changes in the whole routine, and it takes only one extra minute.
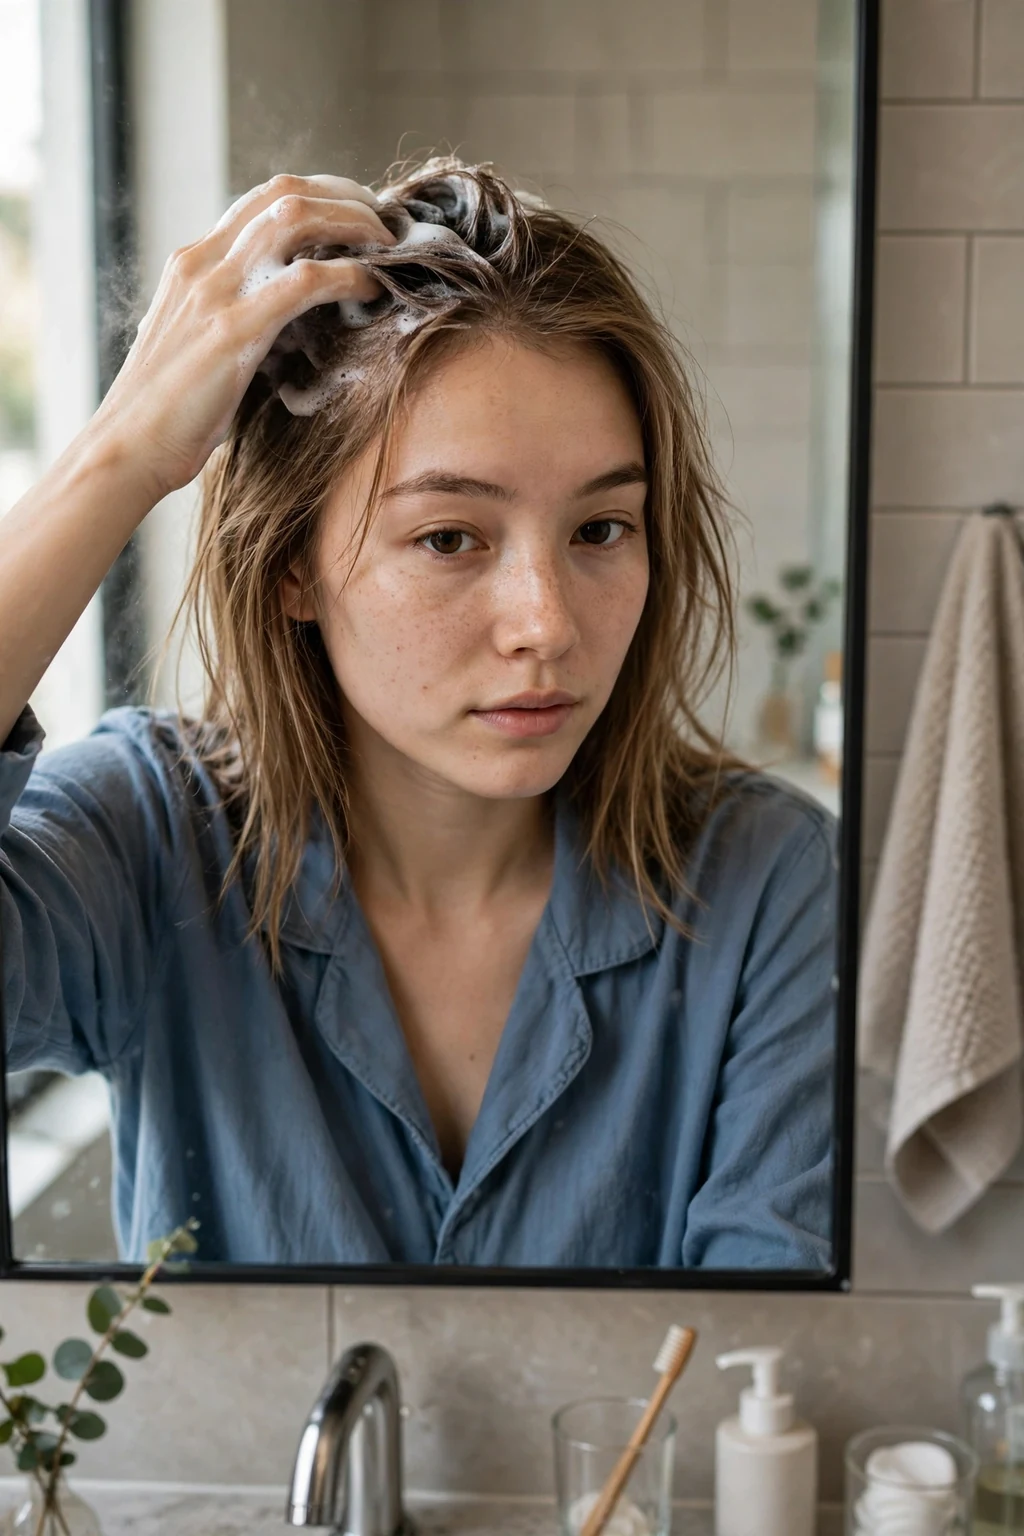
5. The Weekly Deep-Conditioning Mask
The weekly deep-conditioning mask is your hair's intensive care session, a richer, longer-acting treatment that penetrates beyond what a daily conditioner can do to restore moisture, smoothness, and strength. After shampooing, squeeze out excess water, then work a generous amount of mask through the mid-lengths and ends, where hair is oldest and driest, combing it through with your fingers or a wide-tooth comb for even coverage. Leave it on for ten to twenty minutes, longer if the label allows, while the warmth of the shower or a warm towel helps the ingredients absorb. Rinse thoroughly with lukewarm water and you will feel the difference immediately: hair that is softer, heavier in a good way, and far easier to detangle. Consistency is what makes the mask work, so pick a day that fits your life, such as a Sunday evening, and treat it as non-negotiable as washing your face. Over a month, expect fewer tangles, less breakage during brushing, and ends that look thicker and less frayed, which means you can stretch the time between trims.
This step is essential for dry, curly, coarse, bleached, colour-treated, or heat-damaged hair, and it is valuable for almost any woman in her twenties or early thirties who styles regularly or spends time in sun, wind, or chlorinated water. Fine hair should use a lighter mask and a smaller amount, applied only from the ears down, to avoid flat roots. Choose a formula for your main concern, whether that is hydration, repair, frizz control, or colour protection, and use it once a week as a standing appointment. Rotate in a protein-rich mask occasionally if your hair feels mushy when wet, but do not overload on protein every week. Try it because daily conditioner maintains hair, while a weekly mask genuinely improves it. Avoid applying heavy masks directly to the scalp, which can weigh roots down and trigger greasiness, and always rinse until the water runs clear. If hair feels coated or limp after masking, you are using too much or leaving it on too long. Used correctly, the weekly mask is the most luxurious and most effective single step in this routine, and it turns wash day into something to look forward to.
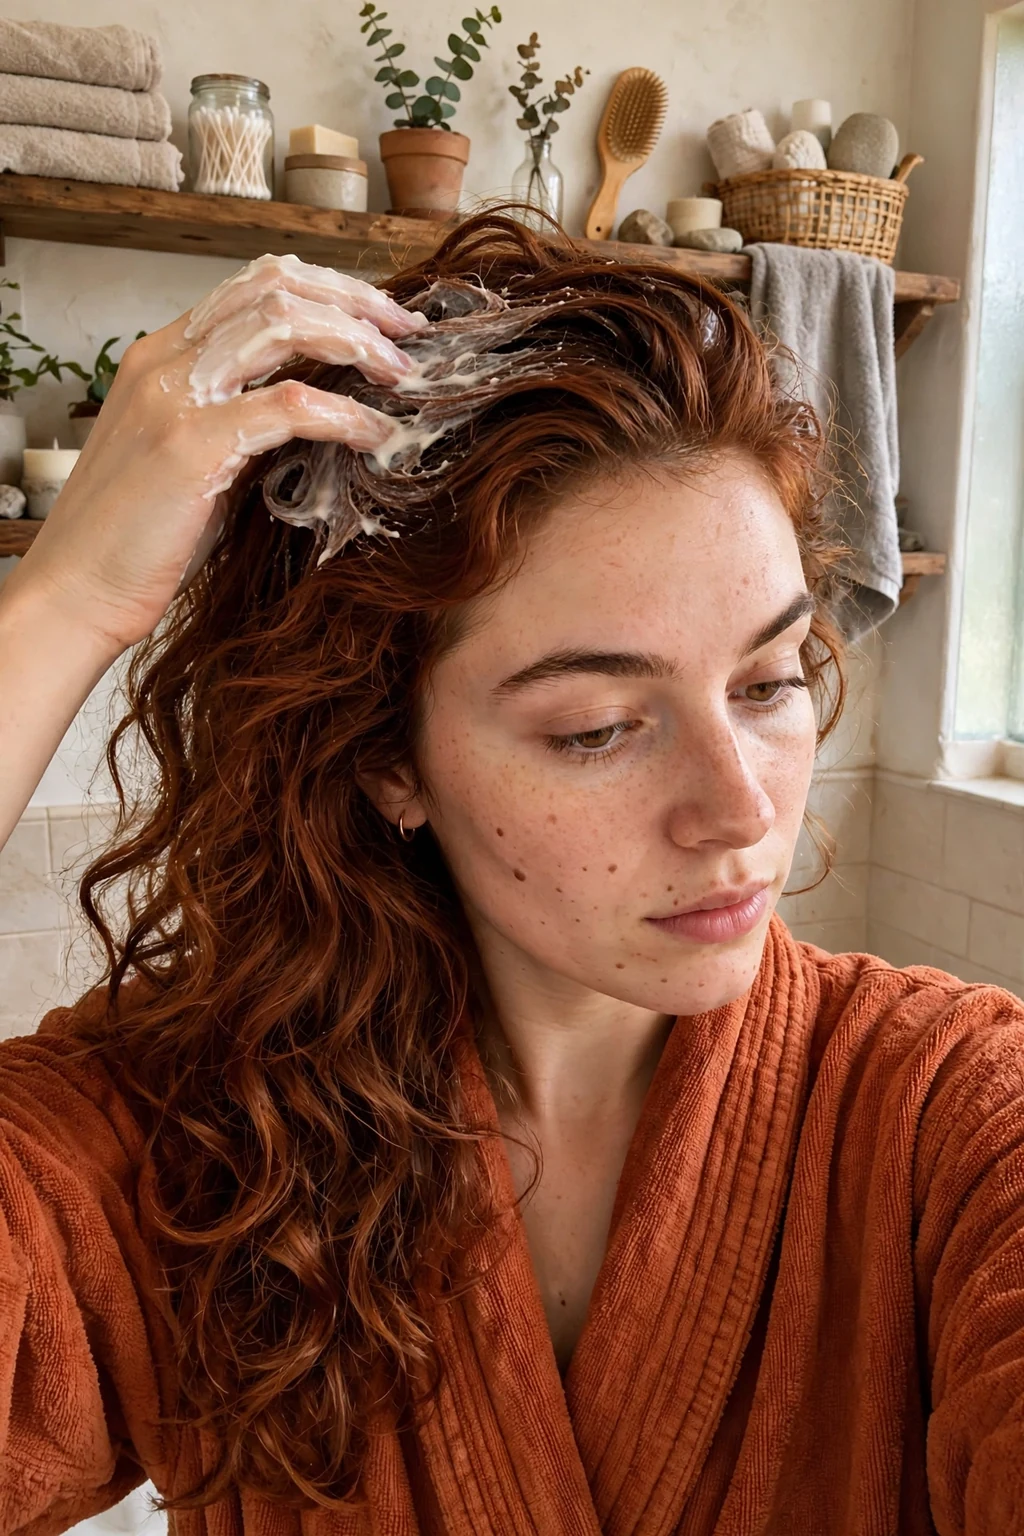
6. The Leave-In Conditioner Seal
The leave-in conditioner seal is the lightweight layer you apply to damp hair after washing, locking in the moisture from your conditioner and creating a smooth, protected surface for styling. Unlike rinse-out conditioner, it stays on the hair all day, detangling as you comb, reducing friction between strands, and shielding the cuticle from heat, wind, and humidity. Apply a small amount to towel-dried hair, focusing on the mid-lengths and ends, then comb through gently so every strand is coated evenly. The right leave-in should disappear into the hair, leaving it soft and manageable rather than sticky, heavy, or coated, and it should make your next steps, from air-drying to blow-drying, noticeably easier. Over time, a good leave-in routine means fewer knots, less breakage when brushing, and hair that holds its style better because the cuticle is smoother and more even. It also helps other products work better, since serums and styling creams spread more evenly over conditioned hair than over dry, rough strands.
This step suits every hair type, with the formula doing the tailoring: fine hair needs a light spray or milky lotion, thick or curly hair benefits from a richer cream, and damaged hair does best with a leave-in that includes strengthening or bond-supporting ingredients. It is particularly valuable for women who detangle, heat-style, or wear their hair loose in wind and weather, since it reduces the daily wear that causes split ends. Use it after every wash, adjusting the amount to your hair's density and length, and reapply a tiny amount to dry ends between washes if they feel rough. Try it because it is the bridge between washing and styling, and skipping it is like moisturising your face and then walking straight into a dry wind without protection. If your hair feels limp, you are likely using too much or applying too close to the roots, so scale back and keep the product from the ears down. If ends still feel dry by afternoon, try a slightly richer formula or a second light layer on the very tips. This small, quick step pays off every single day, and it is one of the easiest habits in the routine to keep for life.
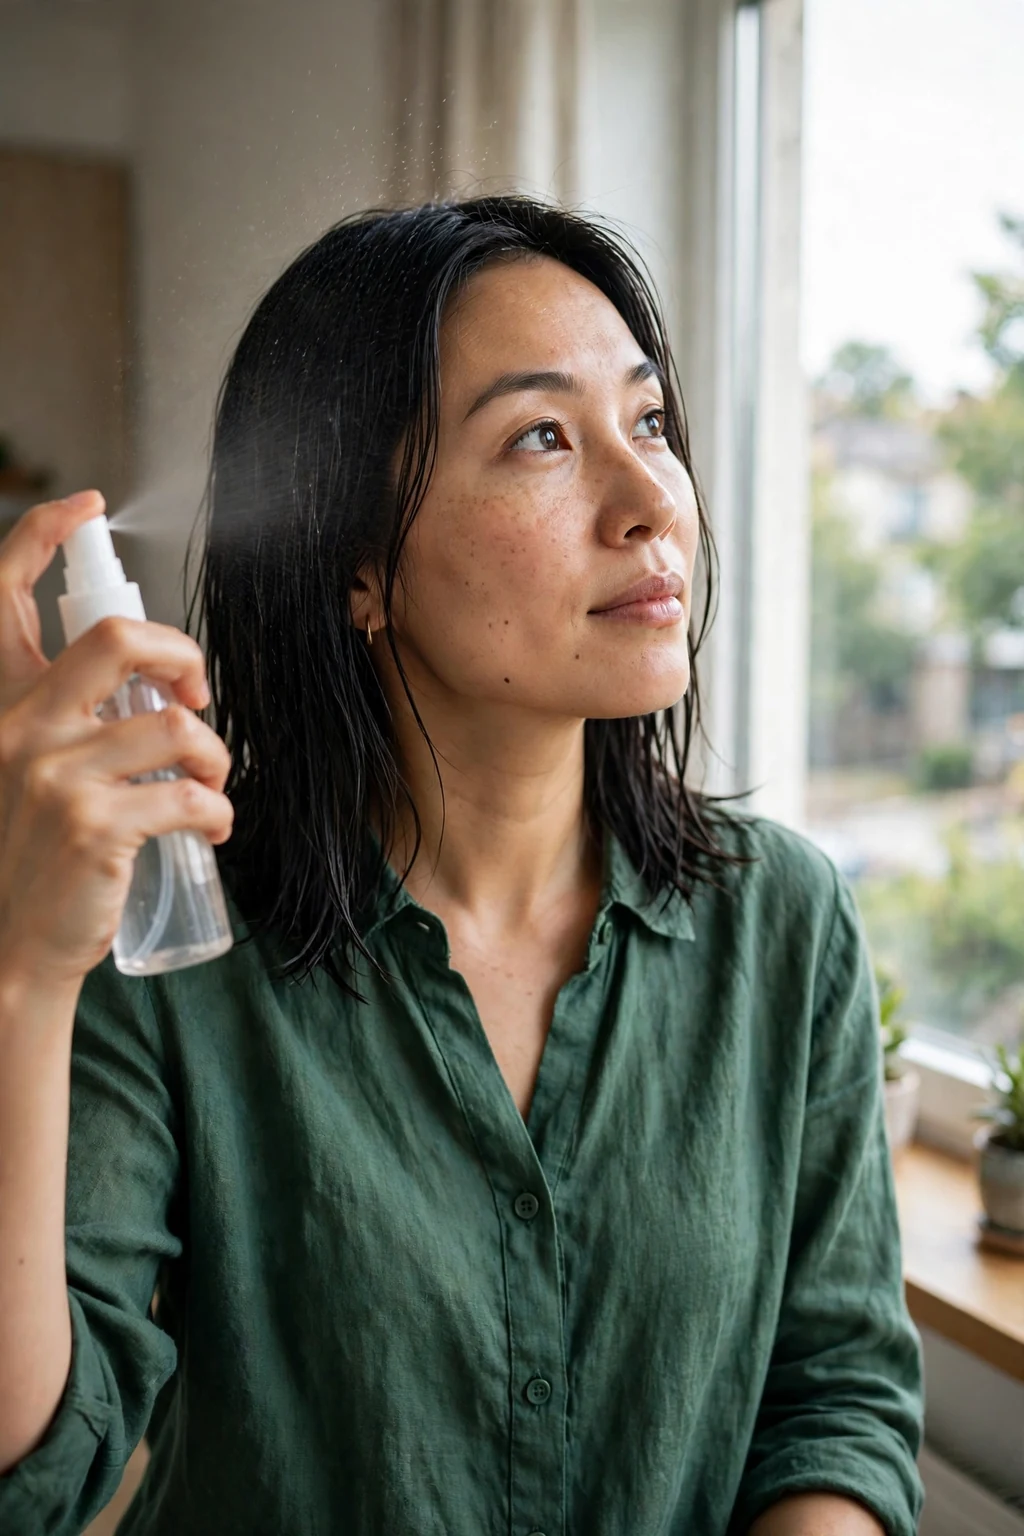
7. Detangle from the Ends Up
Detangling from the ends up is the kindest way to remove knots, working in small sections from the tips upward so each tangle is released gently instead of being dragged down the entire length of the hair. Start with the bottom few centimetres, comb or brush through until they move freely, then move a little higher and repeat, gradually working toward the roots. This method prevents the painful snapping and breakage that happens when a brush is forced from the scalp down through a knot, which pulls, stretches, and often breaks the strand. Work on damp hair coated with leave-in conditioner, hold each section above the tangle so you are not pulling directly on the scalp, and be patient with stubborn knots, easing them apart with your fingers first. Over weeks, ends-up detangling preserves length, reduces split ends, and keeps hair looking thicker, because you are no longer breaking off the very ends you are trying to grow. It also makes the rest of your routine work better, since evenly detangled hair absorbs masks and styling products more uniformly and dries with less frizz.
This technique is essential for long, curly, wavy, fine, or easily tangled hair, and it is a game changer for women who dread wash day because brushing hurts or seems to cause shedding. It suits every age, but young women growing their hair long will benefit most, since breakage is the main reason length stalls. Use a wide-tooth comb or a flexible detangling brush, never a fine-tooth comb or a hard paddle brush on wet, knotted hair. Detangle once after washing and once more before styling or bed if needed, rather than brushing repeatedly through the day. Try it because the difference is immediate: less hair in the brush, less pain, and strands that stay intact instead of snapping at the weakest point. If you find a knot that will not budge, apply a little extra conditioner or detangling spray and work it apart slowly rather than forcing it, and consider a trim if the same section tangles every time. Teach yourself to slow down for these few minutes, especially when you are in a hurry, because rushed detangling undoes a week of careful care in seconds. Gentle, section by section, is the rule that protects your length.
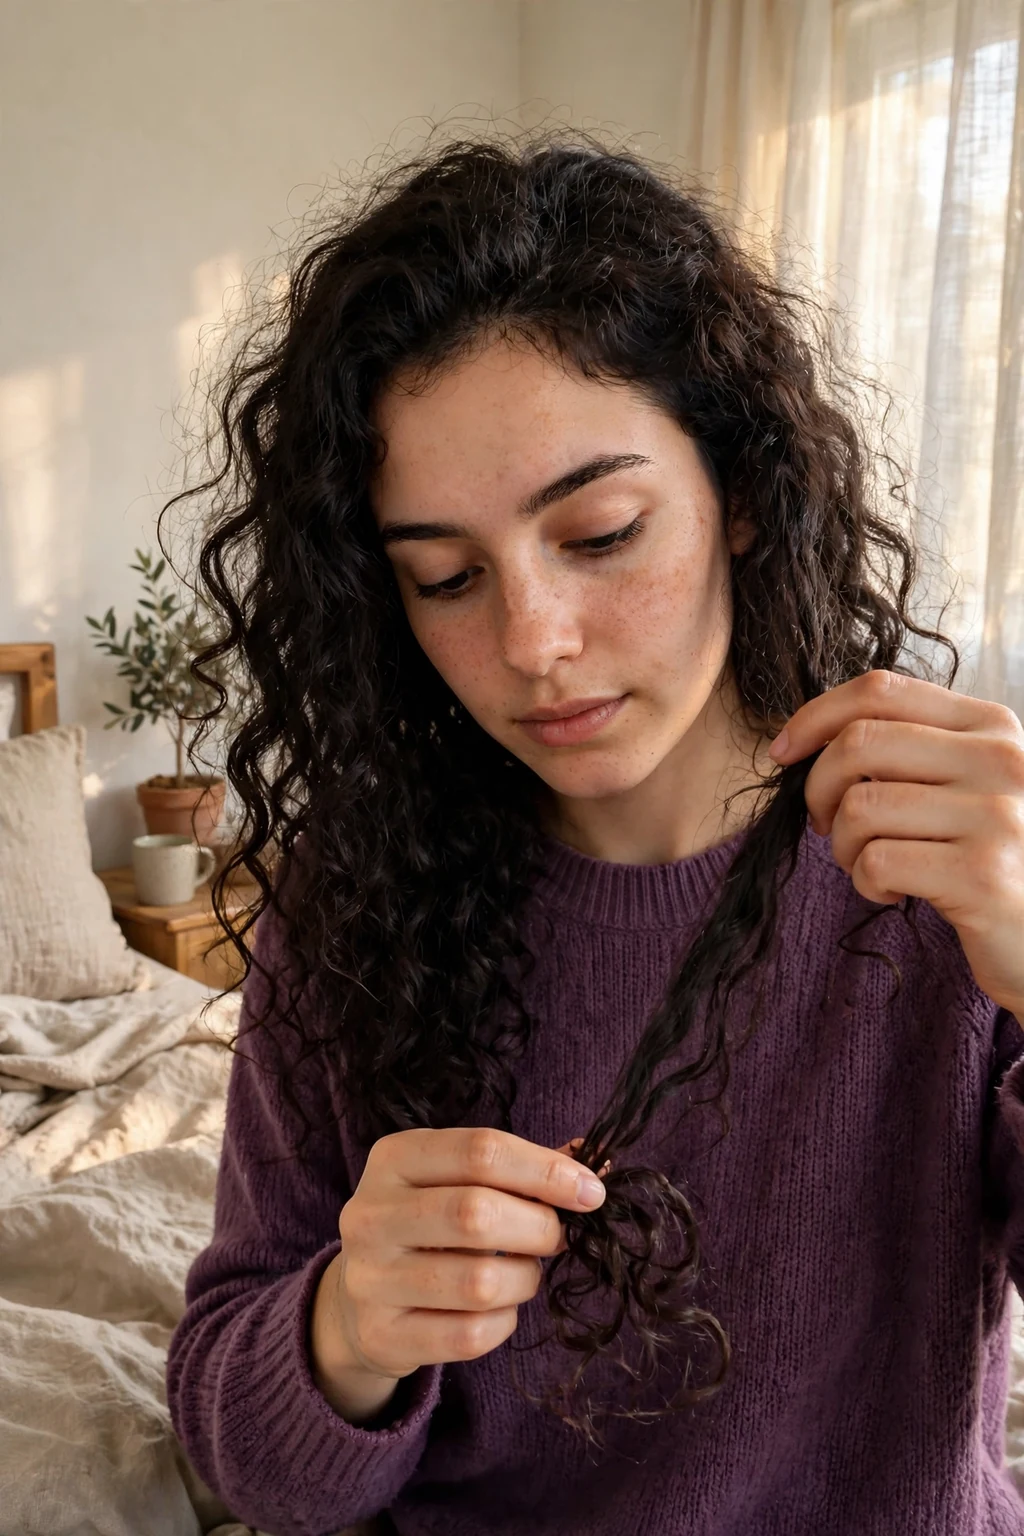
8. Microfiber Towel Drying
Microfiber towel drying replaces rough terry cloth and vigorous rubbing with a soft, highly absorbent towel that soaks up water gently, protecting the fragile cuticle while hair is wet and at its weakest. Instead of scrubbing your head back and forth, wrap the microfiber towel around your hair or scrunch sections gently inside it, pressing to absorb water without friction. Microfiber holds far more water than cotton for its weight, so hair dries faster with less handling, and the smooth fibres do not catch, snag, or rough up the cuticle the way looped terry towels do. Leave the wrap on for ten to fifteen minutes while you get dressed, then remove it and let hair continue drying naturally or style as usual. Within a few washes, many women report smoother, less frizzy results, faster drying times, and curls or waves that hold their pattern better instead of being disrupted before they set. The gentler drying also means less breakage over time, which shows up as fuller-looking ends and fewer flyaways around the hairline.
This step suits every hair type, but it is transformative for curly, wavy, fine, and frizz-prone hair, where towel friction is a major cause of puffiness and broken strands. Women who wash daily or work out often will notice the benefit fastest, since they expose wet hair to friction most frequently. A microfiber towel or a soft cotton T-shirt works equally well, and both are inexpensive, washable, and easy to keep in the bathroom. Use it after every wash, and avoid twisting the towel tightly, wringing the hair, or leaving a heavy wrap on for hours, which can strain roots. Try it because it is a one-time purchase that quietly prevents daily damage, and the reduction in frizz is often visible from the very first use. Wash your microfiber towel regularly without fabric softener, which coats the fibres and reduces absorbency, and replace it when it feels rough or thin. Pair this step with leave-in conditioner and gentle detangling for a wash routine that treats wet hair as the delicate state it truly is. Small as it seems, swapping your towel is one of the smartest low-effort upgrades in hair care.
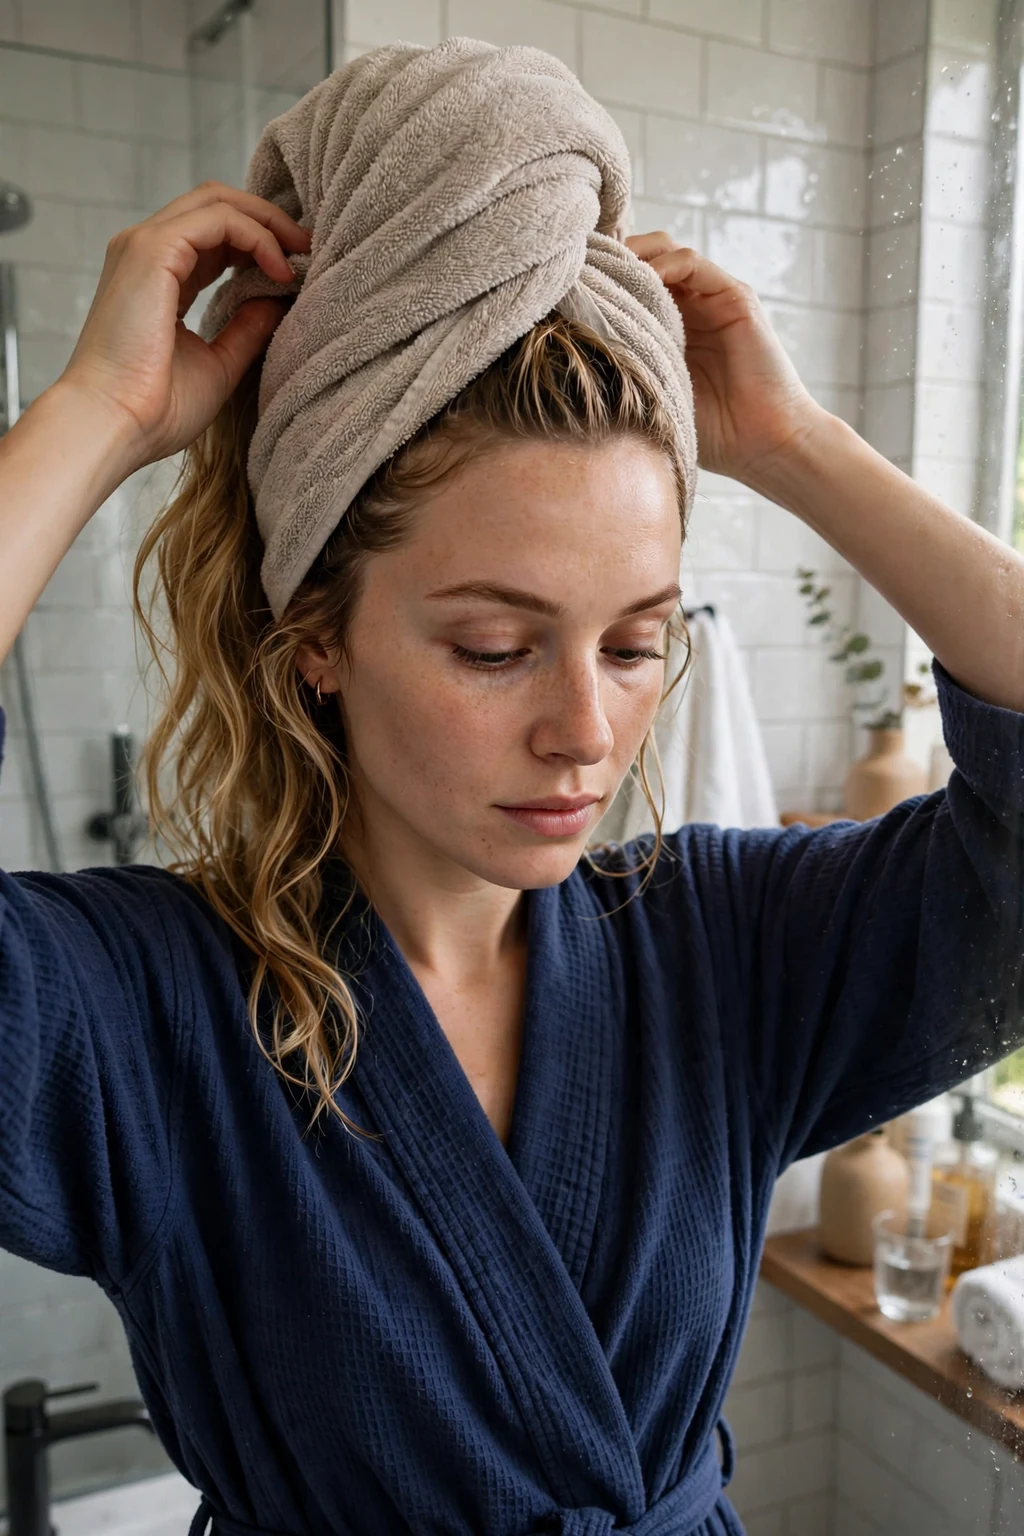
9. Heat-Free Air-Drying Days
Heat-free air-drying days are planned breaks from blow-dryers, straighteners, and curling tools, giving your hair regular recovery time so cumulative heat damage never gets a chance to build up. On these days, wash as usual, apply leave-in conditioner and a styling cream or curl enhancer if needed, then let hair dry naturally, reshaping waves or curls with your fingers as it sets. Air-drying takes longer, but it preserves the hair's internal moisture, keeps the cuticle smoother, and avoids the repeated high temperatures that gradually weaken strands, fade colour, and create split ends. Choose days when you have time, such as weekends or work-from-home days, and treat them as part of the routine rather than a fallback when you are in a rush. Over a month of regular air-drying, hair typically feels softer, looks shinier, and breaks less during brushing, because the cuticle has had time to settle and moisture levels have stabilised. You may also discover your natural texture again, whether that is a soft wave, a loose curl, or a smooth straight fall, and learn to style it with less effort than you expected.
This habit suits everyone who heat-styles regularly, and it is especially important for fine, damaged, bleached, or colour-treated hair, where heat damage appears quickly as dryness and breakage. Women in their twenties and early thirties who straighten or curl daily will see the biggest long-term benefit, since their hair faces the most heat exposure. Aim for at least two or three heat-free days a week, using braids, twists, or a loose bun on damp hair to create gentle waves without any tools. A microfiber towel and a good leave-in make air-drying far more successful, reducing frizz and helping your natural texture look intentional. Try it because rest days are how hair recovers, just as rest days are how muscles recover, and no heat protectant fully replaces time away from heat. If air-drying leaves your hair flat or frizzy at first, experiment with product amounts, parting, and drying position, and give it a few attempts before judging. Combine heat-free days with heat protectant on styling days for a balanced approach that still lets you enjoy polished looks. Your hair will thank you with strength and shine that no single product can fake.

10. Heat Protectant Every Single Time
Heat protectant every single time is a non-negotiable rule: whenever a blow-dryer, straightener, curling iron, or hot brush touches your hair, a heat-protecting product goes on first, without exception. These products form a thin barrier around each strand, slowing moisture loss and reducing the direct thermal shock that cracks the cuticle and weakens the inner cortex. Spray or smooth it evenly through damp hair before blow-drying, and add a light layer to dry hair before flat-ironing or curling, making sure the ends, which are oldest and most vulnerable, are well covered. No protectant makes high heat harmless, but it significantly lowers the damage from each pass, and that difference compounds over hundreds of styling sessions. Consistent heat protection preserves shine, colour vibrancy, and elasticity, meaning hair stretches and bounces back instead of snapping when brushed or styled. It also makes styling faster over time, since healthier hair holds a blowout or curl better than damaged, porous hair that fights every tool.
This rule applies to every woman who uses heat tools, regardless of hair type, and it matters most for fine, bleached, colour-treated, or already damaged hair, where a single overheated pass can cause visible breakage. It is also essential for thick hair that needs multiple passes or higher temperatures to style, since total heat exposure is greater. Choose a spray for fine hair, a cream for thick or coarse hair, and a formula that matches your styling goal, whether that is smoothing, volume, or curl definition. Use it on every heat day, keep tool temperatures as low as will achieve the style, and work in one slow pass rather than repeatedly going over the same section. Try it because skipping protectant even once in a while quietly adds up to the dryness and split ends you later blame on your shampoo. If your protectant feels heavy or sticky, switch to a lighter spray and use less product, focusing on the lengths rather than the roots. Pair this rule with heat-free days and regular trims for a complete heat strategy. The habit takes ten seconds, costs very little, and is the single most effective defence for anyone who loves the polished finish only hot tools can give.
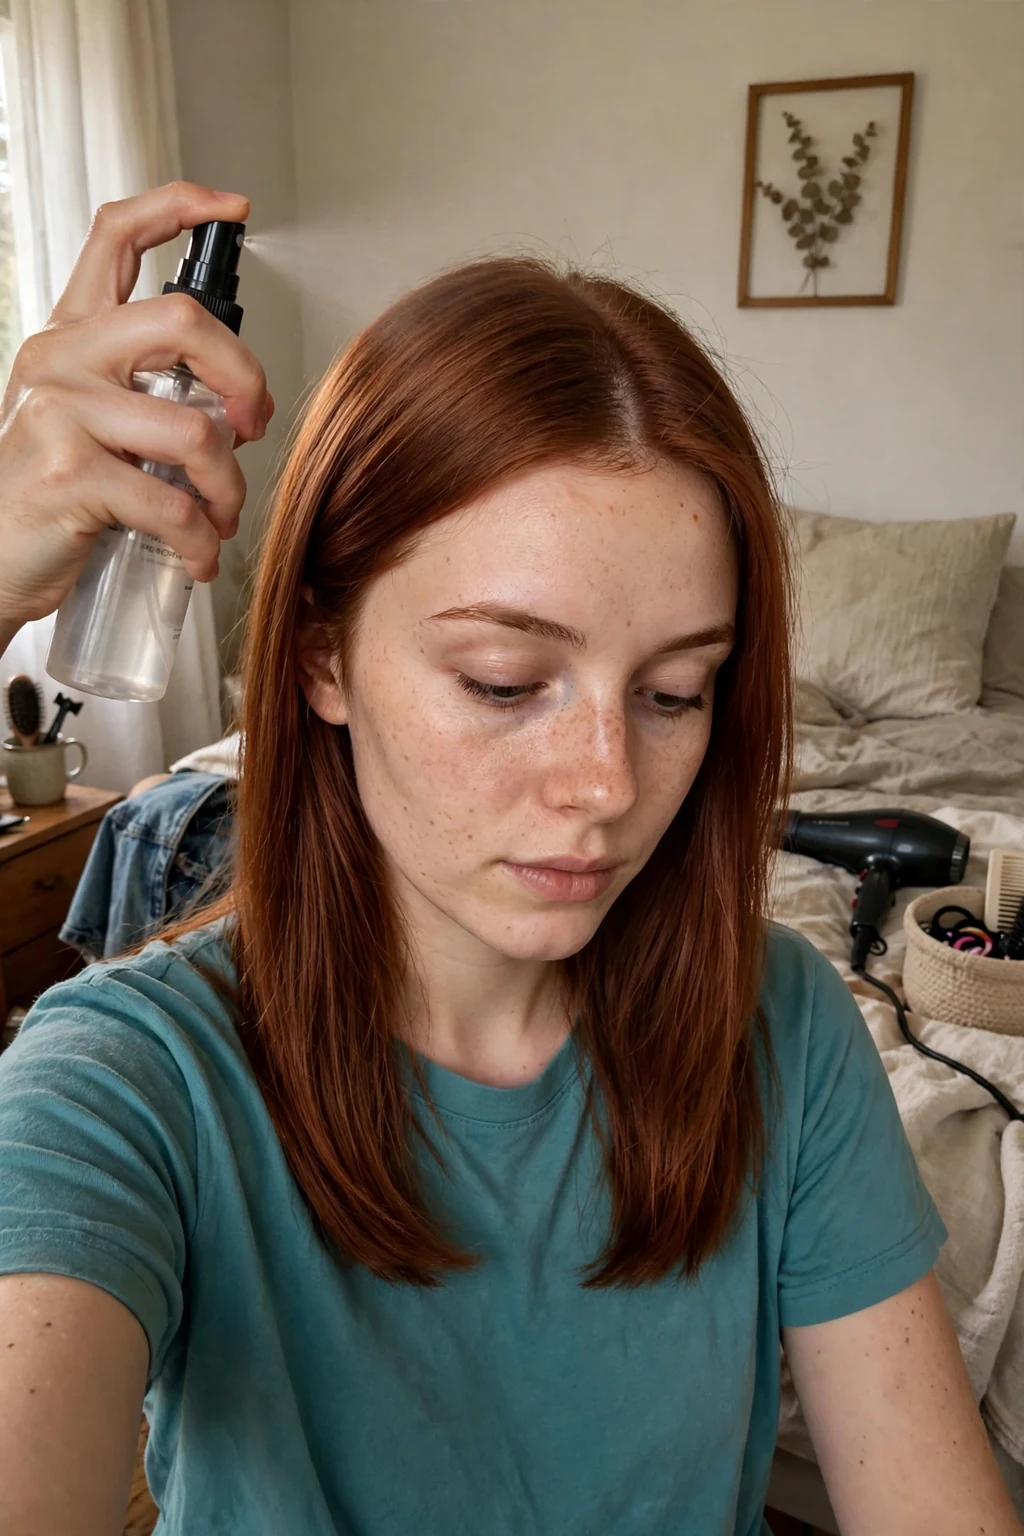
11. Weekly Scalp Exfoliation
Weekly scalp exfoliation is a gentle deep-clean for the skin under your hair, removing dead skin cells, excess oil, and product residue that regular shampoo can leave behind. Use a scalp scrub with fine, dissolving particles or a chemical exfoliant with mild acids, massage it into a damp scalp in small circles for two to three minutes, then rinse thoroughly and shampoo as usual. The process feels refreshing and slightly tingly, and it leaves the scalp feeling genuinely clean rather than just surface-clean, with roots that lift better and hair that stays fresh longer. Think of it as the scalp equivalent of exfoliating your face: a periodic reset that keeps the surface clear so everything else can work properly. With regular exfoliation, many women notice less itching and flaking, better volume at the roots, and a longer-lasting clean feeling between washes. It can also reduce the dull, coated look that builds up from silicone-heavy products and dry shampoo, revealing natural shine that was hidden under residue.
This step is most valuable for oily scalps, heavy product users, dry-shampoo devotees, and anyone with flaking, itching, or dull, flat roots. It also helps women who wear hats, helmets, or tight hairstyles that trap sweat and oil against the scalp. Exfoliate once a week, or once every two weeks for dry or sensitive scalps, and choose a gentle formula without large, sharp particles that could scratch the skin. Avoid exfoliating over cuts, sunburn, or active irritation, and always follow with a gentle shampoo and conditioner. Try it because a clean, clear scalp absorbs treatments better, sheds less visibly, and creates the healthy environment that strong hair growth depends on. Do not overdo it: more than once a week can irritate the scalp and trigger extra oil production, undoing the benefit. If you use a chemical exfoliant, follow the label timing carefully and skip other strong scalp treatments that week. Used gently and consistently, weekly scalp exfoliation keeps the foundation of your hair care routine clear, balanced, and ready to support healthy growth.
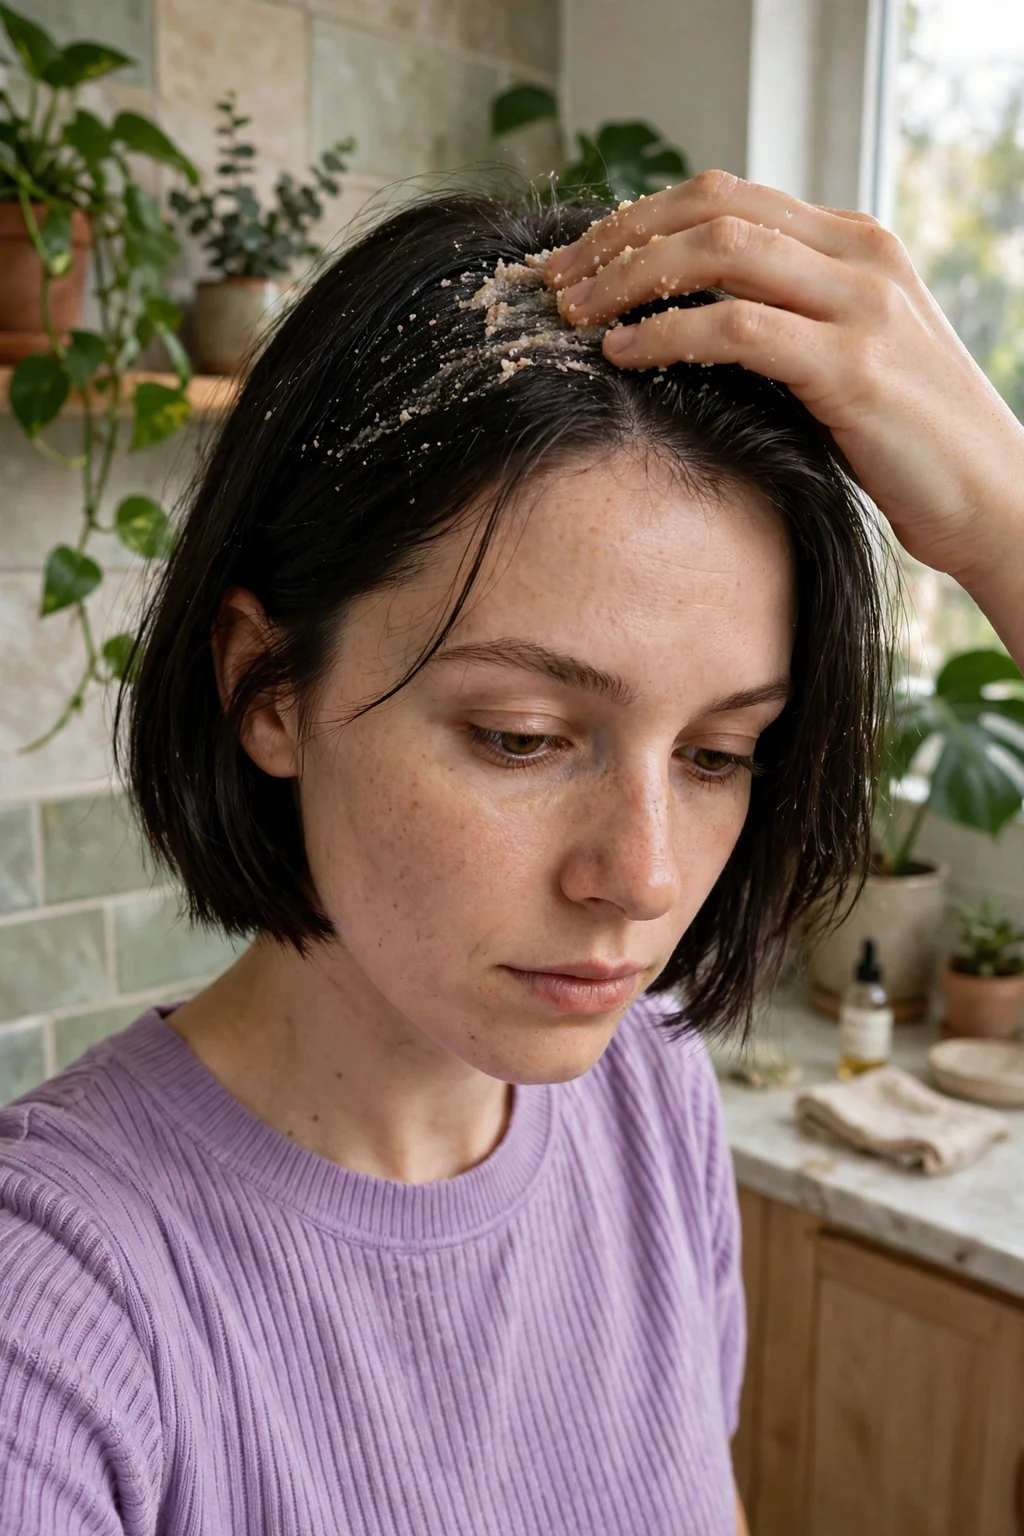
12. The Pre-Shampoo Hair Oil Treatment
The pre-shampoo hair oil treatment, often called pre-pooing, protects your hair before washing by coating the lengths with a light oil that reduces the swelling and friction that occur when hair gets wet. Apply a small amount of coconut, argan, or jojoba oil to dry hair, focusing on the mid-lengths and ends, and leave it on for twenty to thirty minutes, or overnight for very dry hair, before shampooing as usual. The oil fills gaps in the cuticle, limits how much water the strand absorbs, and means the wash removes dirt without stripping as much internal moisture. Hair feels softer after rinsing, detangles more easily, and shows less of the rough, puffy texture that follows a harsh wash. Over time, regular pre-shampoo oiling reduces breakage, improves shine, and helps ends stay intact between trims, which is especially valuable if you are growing your hair long. It also makes masks and conditioners more effective, since the cuticle is smoother and less swollen after washing.
This treatment is a lifeline for dry, curly, coarse, bleached, or damaged hair, and for anyone whose hair feels worse after washing than before. Fine hair can still benefit, but should use only a few drops and shampoo thoroughly afterwards to avoid a weighed-down result. Use it once a week, or before every wash if your hair is very dry, and choose an oil that suits your porosity: lighter oils like argan or jojoba for fine or low-porosity hair, richer coconut oil for thick or high-porosity hair. Warm the oil between your palms first, keep it off the scalp unless your scalp is dry, and always follow with your normal gentle shampoo. Try it because washing is, surprisingly, one of the most stressful things hair endures, and a little pre-protection changes that entirely. If hair feels greasy after oiling, you are using too much or not shampooing well enough, so reduce the amount and focus shampoo on the scalp, letting the suds clean the oiled lengths on the way down. Experiment with different oils and timings until you find the combination your hair loves. This ancient, simple ritual remains one of the most effective treatments in modern hair care, and it costs very little to try.

13. The Silk Pillowcase Sleep Ritual
The silk pillowcase sleep ritual swaps rough cotton for smooth silk or satin, so your hair glides instead of catching, snagging, and rubbing all night long. Cotton fibres create friction with every toss and turn, roughing up the cuticle, encouraging frizz, tangles, and breakage, especially at the nape and hairline where hair presses hardest against the pillow. Silk, by contrast, has a slippery, low-friction surface that lets hair move freely, preserving your blowout, waves, or curls far better overnight. It also absorbs less moisture than cotton, so the leave-in products and natural oils you applied in the evening stay in your hair rather than being wicked away into the pillowcase. Within a week, most women notice less morning frizz, fewer tangles, and styles that last an extra day, which means less heat styling and less washing overall. Over months, the reduction in nightly breakage shows up as healthier ends, less thinning around the hairline, and hair that generally looks smoother and more polished.
This ritual suits everyone, but it is a revelation for curly, wavy, fine, or frizz-prone hair, and for women who wake up with tangled, flattened, or frizzy hair no matter how carefully they styled it the night before. It also benefits skin, since the smooth surface is gentler on the face, but the hair payoff alone justifies the switch. Use a real silk or good-quality satin pillowcase every night, wash it gently with a mild detergent, and keep a spare so you are never tempted back to cotton on laundry day. Pair it with a loose braid or a silk scrunchie for even better overnight results. Try it because you spend roughly a third of your life asleep, and that is a lot of friction to leave unaddressed. Silk pillowcases vary in price, but even an affordable satin version delivers most of the friction benefit, so start there if budget matters. Keep the pillowcase clean, since oil and product buildup can transfer back to hair, and replace it when the fabric thins or roughens. This is the easiest overnight upgrade in the routine, and it works while you do absolutely nothing.

14. The Loose Protective Night Braid
The loose protective night braid is a simple bedtime habit that keeps long hair contained, tangle-free, and safe from the friction and pulling that happen while you sleep. Before bed, gently detangle, apply a drop of oil or leave-in to the ends, then plait a single loose braid starting at the nape, securing it softly with a silk scrunchie or a snag-free band. The braid keeps strands moving as one unit instead of wrapping around your neck, catching under your shoulders, or rubbing against the pillow in every direction. In the morning, you will undo far fewer knots, and you may even wake up with soft, natural waves that need almost no styling. Over time, the night braid reduces split ends, preserves length, and means you need less heat styling in the morning, since the gentle waves it creates often look intentional on their own. It also protects hair from pillow friction even if you do not own a silk pillowcase, making it a perfect partner to that upgrade.
This habit is ideal for long, medium, curly, or tangle-prone hair, and for women who sleep restlessly or wake up with matted sections at the back of the head. It suits every age, but young women growing out their hair will appreciate it most, since nightly tangles are a hidden source of breakage. Keep the braid genuinely loose, never tight at the scalp, and avoid elastic bands with metal parts that snag and snap strands. Braid every night, or at least on nights when your hair is freshly washed and most vulnerable to tangling. Try it because it takes less than a minute, costs nothing, and prevents the morning detangling session that breaks more hair than any other part of the day. If braiding feels fiddly, a loose low bun or a couple of soft twists achieve a similar protective effect, as long as nothing is pulled tight. Check the braid tension regularly, since a braid that feels comfortable at night but leaves a sore scalp by morning is too tight. This tiny bedtime ritual is one of the most reliable ways to wake up with hair that is calmer, healthier, and ready to style.

15. The Eight-Week Trim Schedule
The eight-week trim schedule is the maintenance appointment that keeps healthy hair healthy, removing split and frayed ends before they travel up the strand and cause far more breakage. A trim is not a haircut: your stylist removes only a small amount, usually less than a centimetre, just enough to cut away damaged ends and restore a clean, even edge. Healthy ends look thicker, reflect more light, and tangle less, which means the whole length of your hair appears fuller and more polished. Book the appointment in advance, tell your stylist you are maintaining length rather than changing style, and bring a photo of your current shape so the trim preserves it exactly. Consistent trimming transforms how hair behaves: it detangles faster, styles more smoothly, and holds its shape instead of looking thin and wispy at the bottom. It also makes growing hair out genuinely possible, since you retain more length overall by removing tiny amounts regularly than by losing large broken sections later.
This schedule suits every hair type, with timing adjusted to your needs: fine or damaged hair may need a trim every six weeks, while thick, healthy, low-maintenance hair can stretch to ten or twelve. Women growing their hair long often fear trims, but skipping them is counterproductive, since split ends keep splitting upward and eventually force a much bigger cut. Pair the trim with a quick consultation about your routine, products, and any new damage from colour or heat, so your stylist can adjust advice as your hair changes. Try it because no mask, oil, or serum can repair a split end once it has formed; cutting it off is the only real fix, and doing it regularly keeps the damage small. Track your trims in your phone calendar so they do not slip, and resist the temptation to trim at home unless you have proper shears, since blunt scissors crush ends and create new splits. Think of the eight-week trim as routine maintenance, like servicing a car, and your hair will reward you with strength, fullness, and ends you are proud to show off.
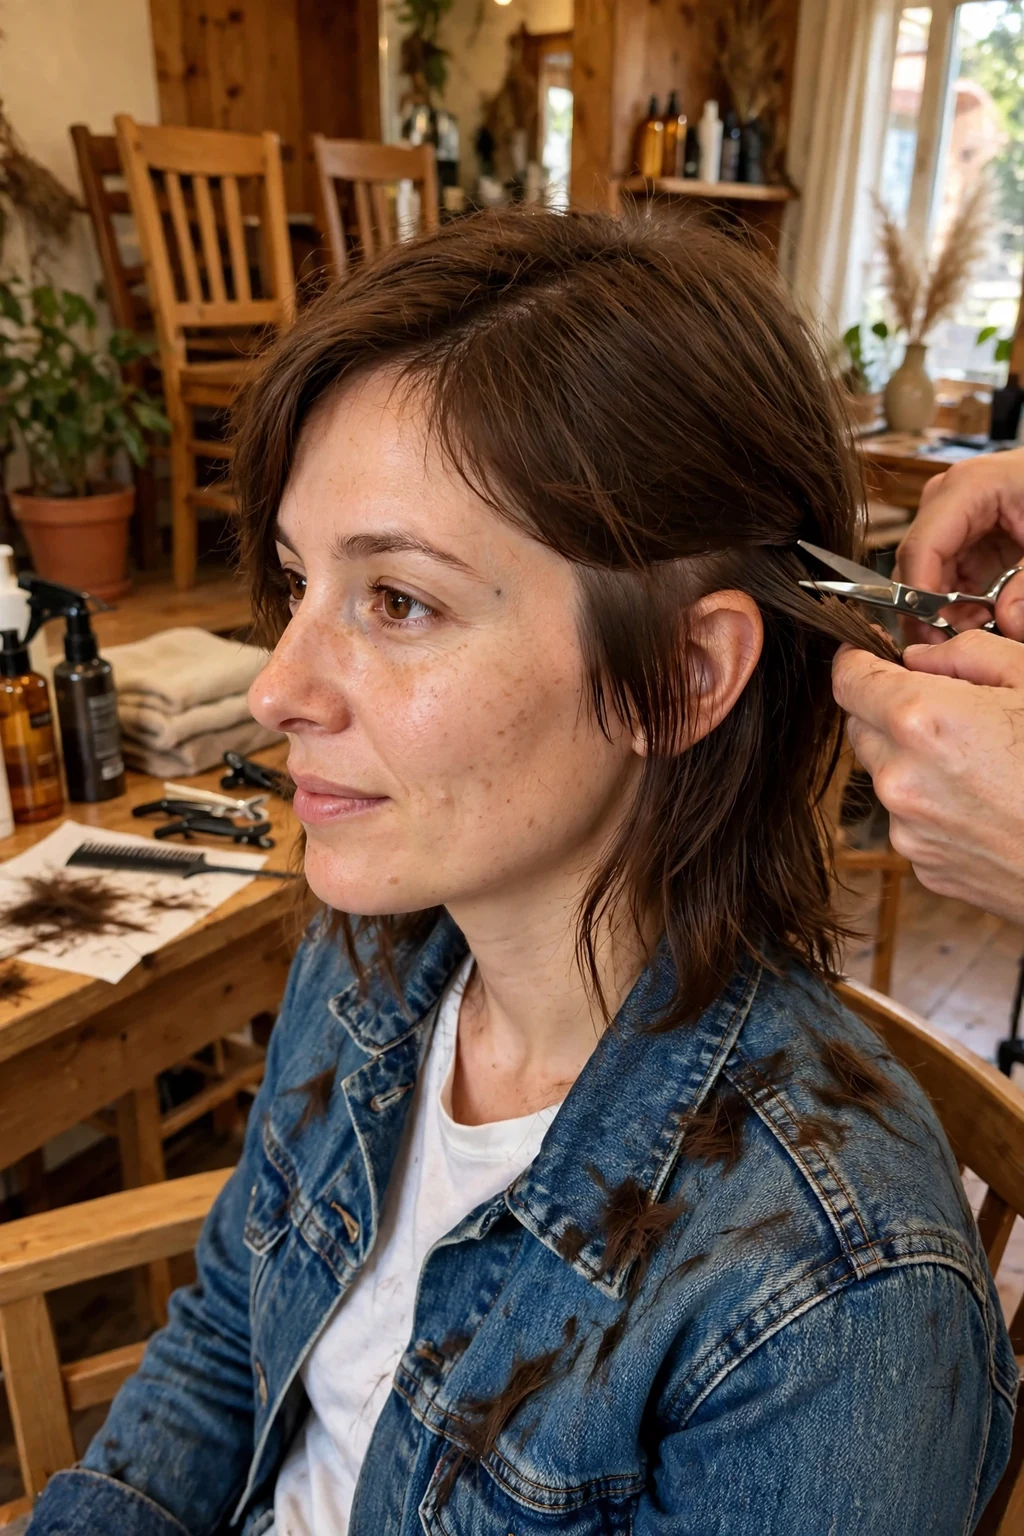
16. The Monthly Protein Treatment
The monthly protein treatment rebuilds strength from within, using hydrolysed proteins and amino acids to patch the tiny gaps in damaged hair where the cuticle has worn away and the inner cortex is exposed. After shampooing, apply the treatment evenly through the lengths, leave it for the time stated on the label, then rinse and follow with a moisturising conditioner to restore softness and balance. Hair that needs protein feels stretchy and mushy when wet, snaps easily, or looks limp and overly soft, and a good protein treatment restores a firmer, more resilient feel almost immediately. The result is hair that holds its shape better, resists breakage during brushing and styling, and feels denser and more substantial. Used correctly, monthly protein treatments reduce breakage noticeably, improve elasticity so hair stretches instead of snapping, and help colour and styles last longer on a stronger base. Keep a simple note of when you last used protein, and watch for signs of overload, such as hair that feels dry, rough, or straw-like despite conditioning, which means you should pause protein and focus on moisture for a few weeks.
This treatment is most important for bleached, colour-treated, heat-damaged, or chemically processed hair, and for fine hair that loses strength easily. Healthy, virgin hair needs it far less often, perhaps every two months, while very damaged hair may benefit from a lighter protein product weekly until it recovers. Choose a treatment matched to your damage level, follow the timing exactly, and always balance protein with moisture, since protein without moisture can make hair feel stiff or brittle. Use it once a month as a starting point, and adjust based on how your hair responds. Try it because moisture alone cannot fix hair that has lost its structural strength, and protein is the ingredient that actually rebuilds it. Rotate protein treatments with your weekly hydrating mask so the two work in balance rather than competing. For damaged hair, this monthly step is often the turning point between hair that keeps breaking and hair that finally starts to recover and grow.
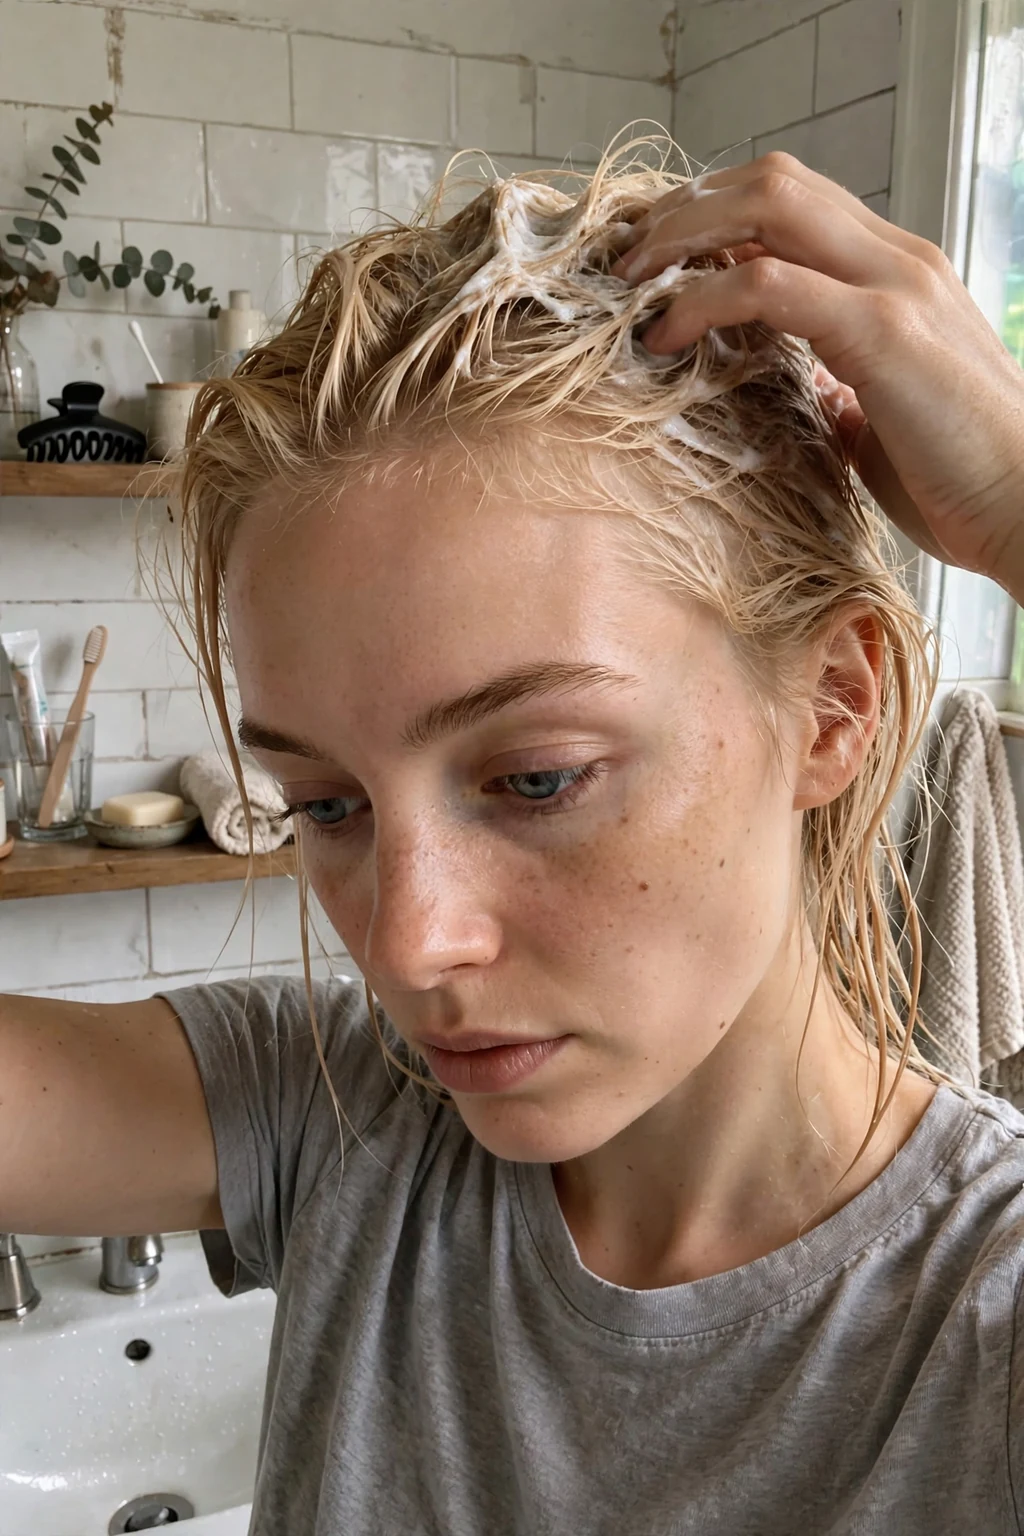
17. The Cold-Water Final Rinse
The cold-water final rinse is the thirty-second finish that seals your wash with a burst of cool water, helping the hair cuticle lie flat so strands look smoother, shinier, and less frizzy. After you have rinsed out your conditioner with lukewarm water, turn the temperature down for a final rinse, letting cool water run down the lengths for twenty to thirty seconds. The cool temperature encourages the cuticle scales to close, which locks in conditioner, reduces surface roughness, and reflects light more evenly, giving that glossy, salon-finished look. It does not need to be icy to work, just noticeably cooler than your wash water, and you only need to rinse the hair, not stand under a cold shower. Over time, the cold rinse contributes to smoother, less tangled hair that is easier to comb and style, and it helps colour look richer because a closed cuticle holds pigment better than a rough, open one. Some women also find their scalp feels refreshed and less oily after a cool finish, which can help styles last a little longer.
This finish suits every hair type, and it is especially rewarding for straight, fine, or frizz-prone hair, where smoothness and shine are most visible. Curly hair also benefits, since a flatter cuticle means better-defined curls with less halo frizz, though very dry hair should follow with a leave-in to keep moisture sealed in. Do it at the end of every wash, after conditioner and before you step out of the shower, and keep the rinse brief so you do not undo the warmth and relaxation of the wash itself. No product or tool is needed, just a quick turn of the tap. Try it because it is free, fast, and gives an immediate visible payoff that makes the rest of your routine look even better. If a full cold rinse feels too bracing, start with cool rather than cold water and build up gradually, or rinse just the lengths while keeping warm water off your body. Combined with lukewarm washing and gentle drying, this final rinse completes a wash routine that treats the cuticle with care at every stage. It is a small habit with an outsized shine payoff.

18. The Wide-Tooth Comb Rule for Wet Hair
The wide-tooth comb rule for wet hair is a simple equipment change with a big protective effect: when hair is wet, use only a wide-tooth comb or a flexible detangling brush, never a fine-tooth comb or a stiff bristle brush. Wet hair stretches more than dry hair and breaks far more easily, and the wide gaps between comb teeth let strands slide through with minimal pulling, while a fine comb catches every tangle and forces it to snap. Start at the ends, work upward in sections, and let leave-in conditioner provide slip so the comb glides rather than drags. Keep a wide-tooth comb in the shower or beside your styling products so reaching for the wrong tool is never the easy option. Consistent use of a wide-tooth comb on wet hair means visibly less breakage in the shower drain and brush, smoother ends, and curls or waves that keep their pattern instead of being disrupted into frizz. It also makes the rest of your styling routine easier, since hair that has been detangled gently dries with fewer knots and needs less reworking.
This rule is critical for curly, wavy, long, fine, or damaged hair, all of which tangle and break most when wet, and it is valuable for anyone who has ever noticed alarming amounts of hair in a brush after washing. Straight, short, resilient hair can tolerate more, but even it benefits from gentler wet detangling. Comb wet hair only once, after applying leave-in, and save brushing for when hair is mostly dry, using a soft brush and the same ends-up method. Replace combs with bent, rough, or broken teeth, which snag and tear the cuticle. Try it because wet hair is the most fragile state your hair will ever be in, and the tool you choose in those few minutes determines how much of it survives to become healthy length. If you love brushing, keep that habit for dry hair, when strands are stronger and more elastic, and use a brush designed for your texture. Pair the comb with microfiber drying and leave-in conditioner for a wet-hair routine that treats every strand as worth protecting. This one inexpensive tool is a quiet hero of healthy hair care.
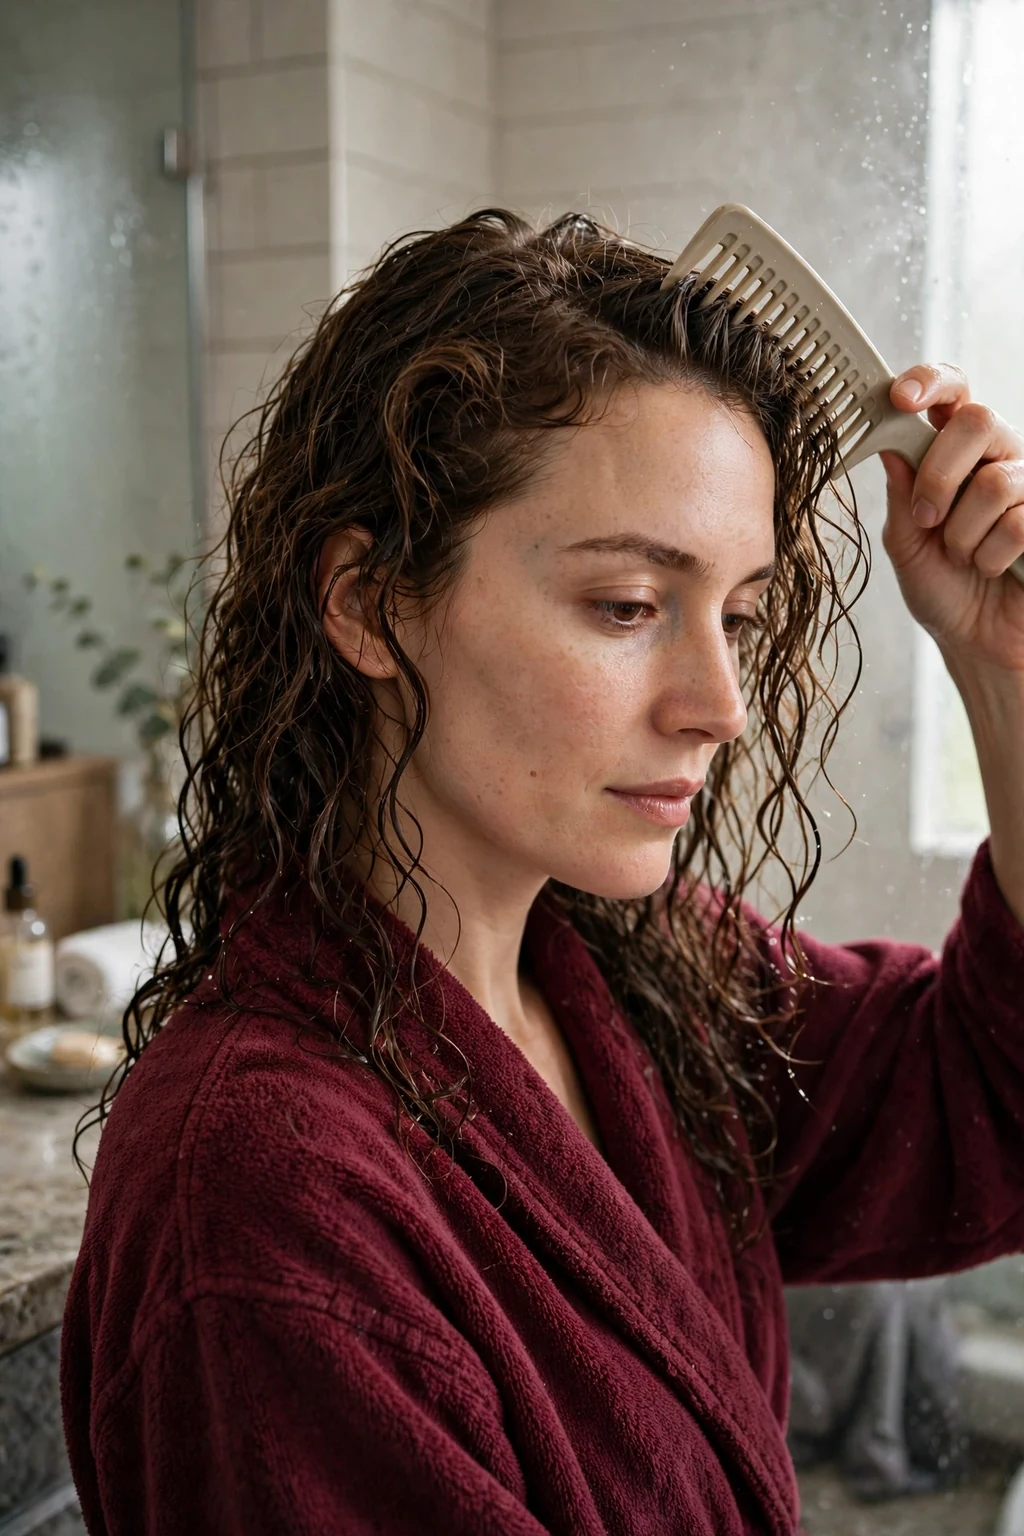
19. Sun and UV Protection for Hair
Sun and UV protection for hair is the often-forgotten step that shields your strands from the same ultraviolet damage that harms skin, fading colour, drying out the cuticle, and weakening the protein structure of the hair. On sunny days, wear a hat or scarf when you will be outdoors for a long time, and use a leave-in product with UV filters before swimming, hiking, or spending a day at the beach. UV rays break down melanin and keratin alike, so even uncoloured hair becomes drier, rougher, and more brittle after sustained sun exposure, while coloured hair fades and turns brassy far faster. A hat is the most reliable protection, since it physically blocks the rays, while UV sprays add a helpful second layer for the hair that peeks out. Consistent sun protection keeps colour richer for longer, preserves softness and shine through the summer, and reduces the autumn damage-control period many women face after holidays. It also protects the scalp from sunburn, which can cause flaking, soreness, and temporary shedding if severe.
This step matters most in summer, on holidays, and for anyone who spends long hours outdoors, swims, or has colour-treated, bleached, or fine hair that shows sun damage quickly. Women in their twenties and early thirties who love beach holidays and outdoor sports should treat hair sun protection as part of their usual sun routine, alongside sunscreen for skin. Apply UV leave-in to damp or dry hair before going out, reapply after swimming, and rinse hair with fresh water after sea or pool exposure to remove salt and chlorine. Try it because sun damage is cumulative and largely invisible until it shows up as dryness, fading, and breakage weeks later, when it is much harder to reverse. Keep a hat in your bag during summer months so protection is convenient rather than an afterthought, and choose UV products that do not weigh hair down. Combined with post-swim rinsing and regular conditioning, sun protection ensures that summer fun does not cost you months of healthy growth. Your future hair will look noticeably better for this simple seasonal habit.

20. Eating and Hydration for Stronger Hair
Eating and hydration for stronger hair recognises that hair is built from the inside out, and that no shampoo can fully compensate for a diet low in protein, iron, healthy fats, and key vitamins. Hair is mostly keratin, a protein, so adequate daily protein from eggs, fish, beans, yoghurt, or meat provides the building blocks follicles need to produce strong strands. Iron, zinc, biotin, and vitamin D all play supporting roles, while omega-3 fats help keep the scalp supple and drinking enough water keeps hair hydrated from within. A varied, balanced diet with plenty of colourful vegetables, whole grains, and healthy fats gives your follicles a far better chance than any single supplement, and consistency matters more than any short-term superfood trend. Over three to six months of better eating and hydration, many women notice less shedding, stronger-feeling strands, and new growth that looks healthier and shinier than before. The scalp often improves too, becoming less dry or flaky as overall hydration and fat intake normalise.
This step suits everyone, but it is especially important for women experiencing shedding, slow growth, or dull, weak hair after restrictive dieting, illness, stress, or major lifestyle changes. Young women who skip meals, follow very low-protein diets, or rely heavily on processed food often notice hair changes before any other symptom. Aim for protein at most meals, a rainbow of vegetables across the week, and water throughout the day, rather than chasing expensive hair gummies that cannot replace a balanced diet. If shedding is sudden, heavy, or accompanied by other symptoms, see a doctor to check iron, thyroid, and vitamin levels rather than self-diagnosing. Try it because hair growth is a long-term project, and follicles respond to months of steady nourishment, not a week of good intentions. Keep expectations realistic: diet will not change your natural texture or density overnight, and genetics still set the baseline, but it ensures you reach your full potential rather than holding your hair back. Pair good nutrition with gentle external care, and the two approaches reinforce each other beautifully. Healthy hair truly starts at the table, and this step makes every product you use afterwards work on a stronger foundation.

21. The Monthly Clarifying Wash
The monthly clarifying wash is a deeper cleanse that removes the stubborn buildup gentle shampoo leaves behind, including silicones, hard-water minerals, dry shampoo residue, and heavy styling products, plus other stubborn residues that dull shine. Once a month, after your normal routine starts to feel less effective, swap your gentle shampoo for a clarifying formula, massage it into the scalp and through the lengths, and rinse thoroughly. Hair that needs clarifying often feels coated, looks dull despite conditioning, refuses to hold volume, or seems to absorb products without improving. The clarifying wash strips that layer away, leaving hair feeling genuinely clean, lighter, and ready to absorb conditioner and treatments properly again. After clarifying, most women notice instant lightness, better root volume, and shinier, more responsive hair that finally reacts to conditioner again. It also helps colour treatments and masks penetrate more evenly, since they are no longer sitting on top of a barrier of old product.
This step is most useful for product-heavy routines, hard-water areas, frequent dry-shampoo users, swimmers, and fine hair that goes flat under buildup. It is less necessary for very dry or damaged hair, which should clarify only every six to eight weeks and always follow with a deep mask. Use a true clarifying shampoo rather than simply washing twice with a gentle formula, and always follow immediately with a hydrating conditioner or mask, since clarifying is intentionally stronger than daily cleansing. Do it once a month as a reset, not weekly, and note the date so it stays occasional. Try it because even the best gentle routine accumulates residue over time, and a periodic reset keeps every other product working at full strength. Watch for over-clarifying signs, such as a squeaky, tangled, or straw-like feeling after washing, and scale back frequency or switch to a gentler clarifying formula if they appear. Pair the monthly wash with your deep-conditioning mask on the same day for a complete reset ritual. Used sparingly and followed by moisture, clarifying is the refresh button that keeps a gentle, long-term routine from slowly losing its effectiveness.
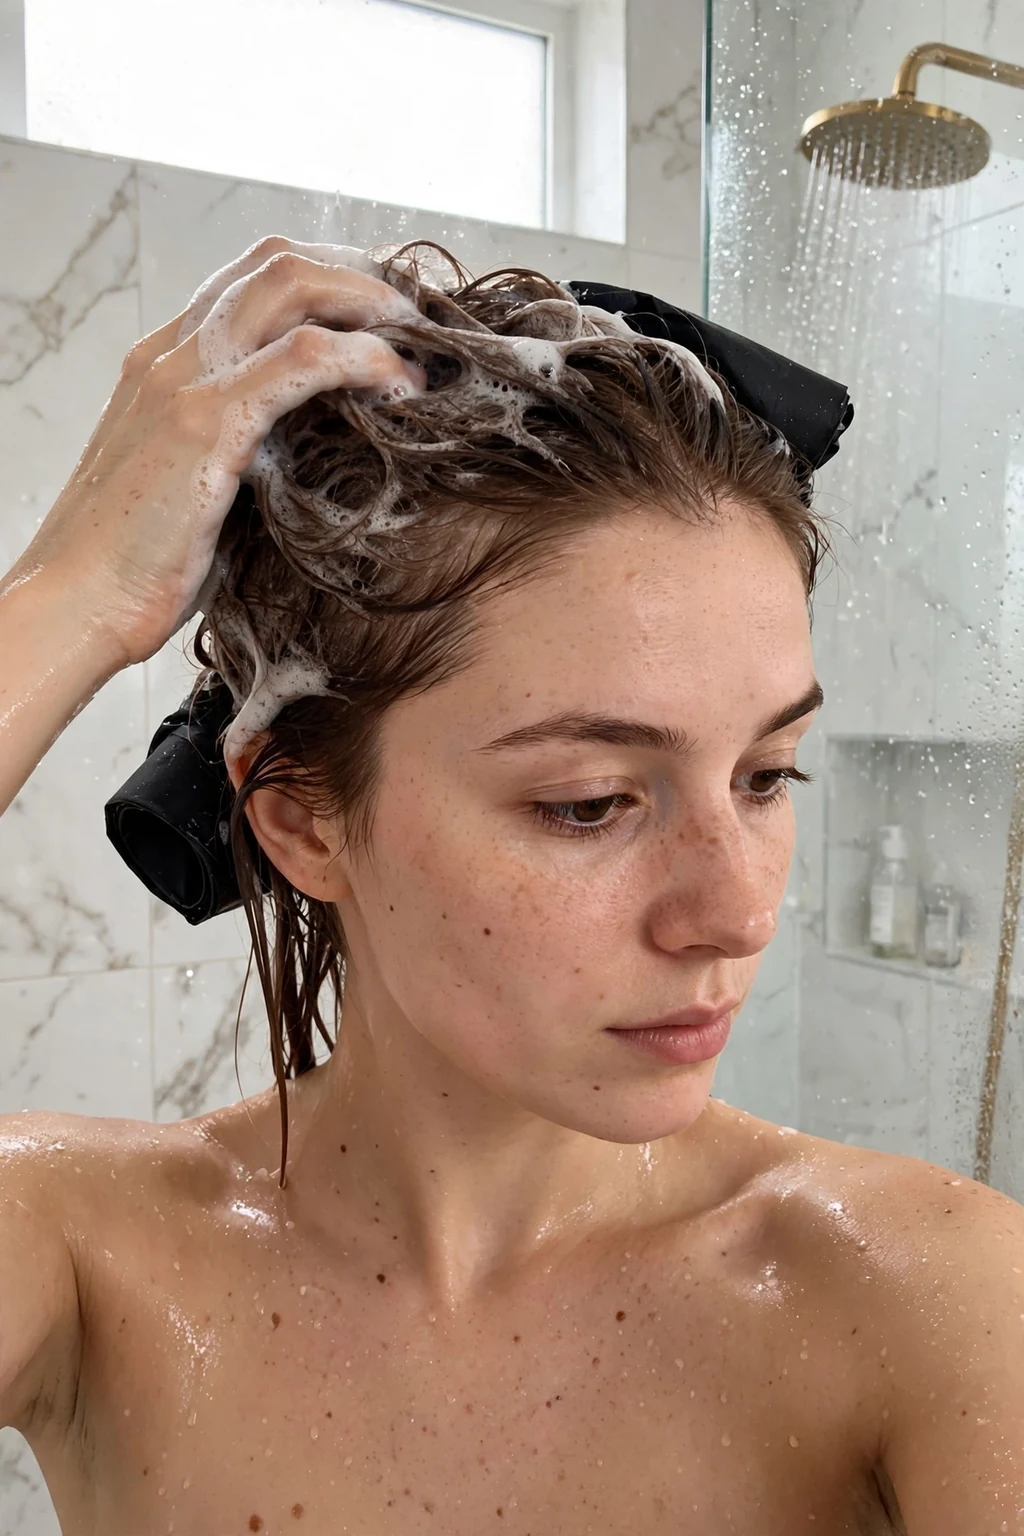
22. Bond-Building Care for Coloured Hair
Bond-building care for coloured hair uses modern repair technology to reconnect the internal bonds that bleaching and colouring break, strengthening hair from the inside rather than merely coating it. These treatments, used as a mask or a leave-in step, contain ingredients that seek out broken disulfide bonds and help reform them, restoring elasticity and reducing the snap-prone, gummy feeling that damaged coloured hair often has when wet. Apply after shampooing, leave for the recommended time, then rinse and condition as usual, and you will notice hair feels firmer, smoother, and more resilient rather than just superficially soft. It is the closest thing to genuinely repairing damage, rather than hiding it, that home hair care currently offers. With regular bond-building care, coloured hair breaks less, holds colour longer, and feels noticeably stronger during brushing and styling, which means you can enjoy colour changes without the cycle of damage and drastic cuts. It also makes future colour appointments safer, since your stylist is working with stronger hair that can handle processing better.
This step is essential for bleached, highlighted, or frequently coloured hair, and for anyone whose colour appointments leave hair feeling weaker, stretchier, or more tangled than before. Virgin, undamaged hair gains little from bond builders and should not waste money on them, but coloured hair in the twenties and early thirties age group, where bold colour changes are common, benefits enormously. Use a bond-building treatment every one to two weeks, or as directed, and combine it with gentle washing, heat protection, and regular trims for a complete coloured-hair strategy. Choose a reputable, well-reviewed formula rather than the cheapest option, since the active technology is what matters. Try it because colour is an investment, and bond care protects both the colour and the hair underneath it. Do not expect miracles on severely damaged hair, which still needs trims and time, but expect a clear improvement in strength and manageability within a few uses. Keep the treatment in your routine for as long as you colour, and pause if hair feels stiff, which can mean you need more moisture alongside the repair. For coloured hair, bond-building care is the modern essential that older routines simply did not have.
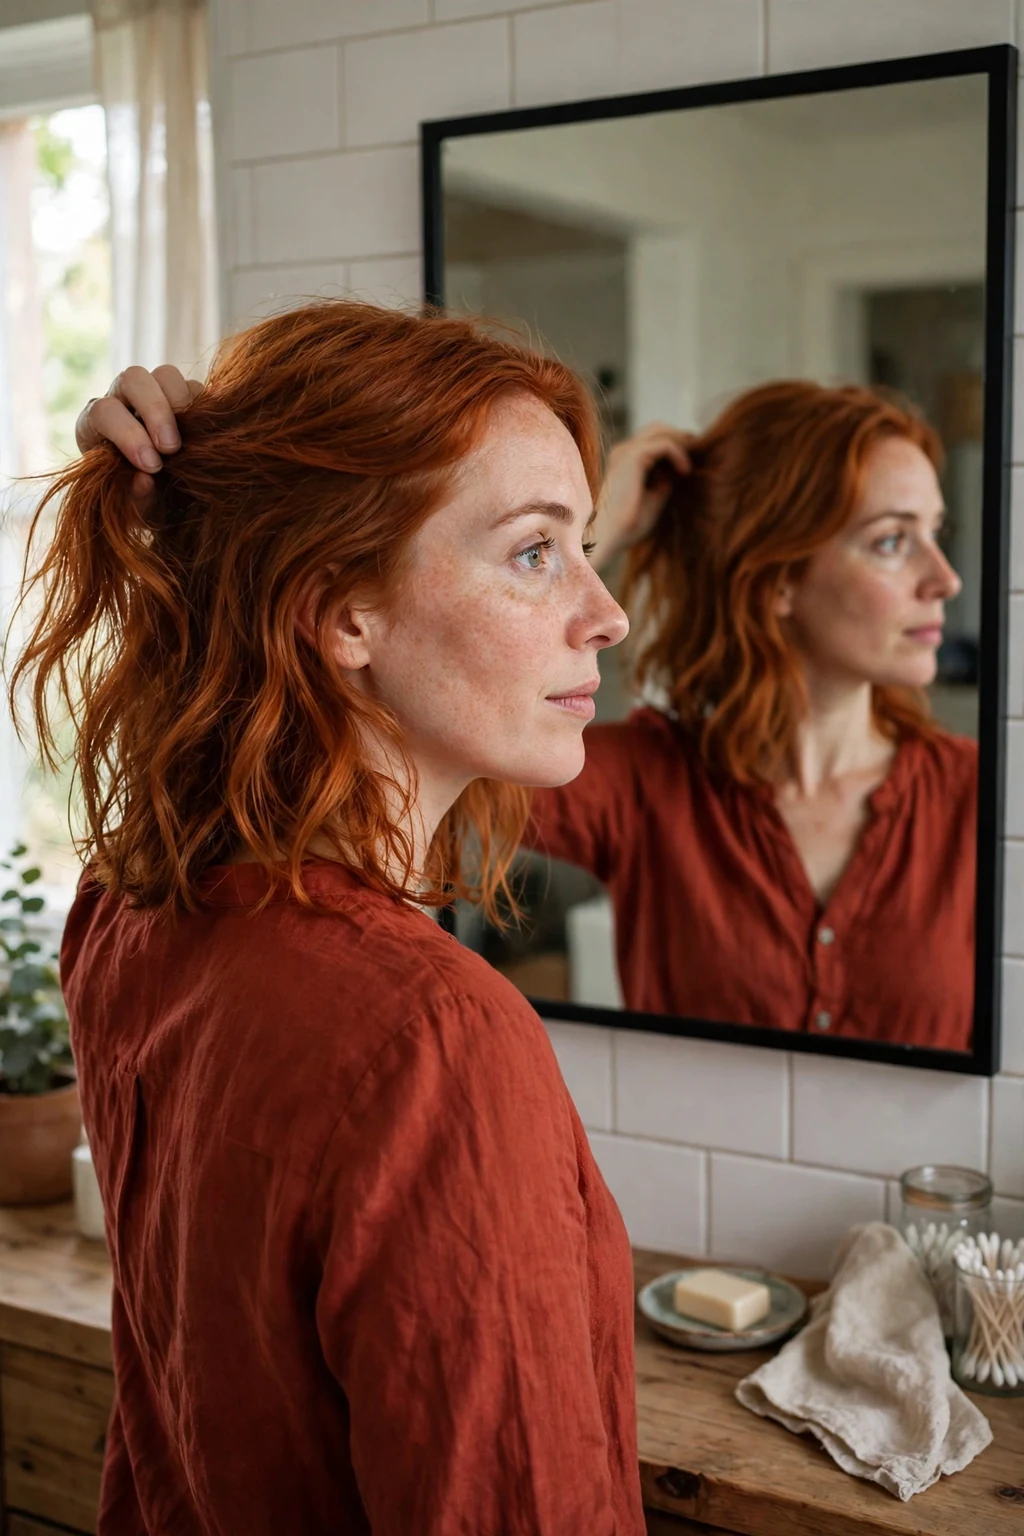
23. Low-Tension Hairstyles Every Day
Low-tension hairstyles every day protect your hairline and roots by avoiding the constant pulling that causes traction damage, thinning edges, and breakage around the face. Instead of tight ponytails, slicked-back buns, or braids pulled drum-tight, choose loose low ponytails, soft buns, loose braids, and claw clips that hold hair gently without dragging on the scalp. The style should feel comfortable all day, with no headache, no sore spots, and no visible pulling at the hairline when you look in the mirror. Vary your parting and the position of your updo regularly, so the same strands are not stressed in the same way every single day, and take hair down fully at night. Over months, low-tension styling preserves a fuller, healthier hairline, reduces breakage at the crown and temples, and means your hair looks thicker overall because fewer strands are being pulled out or snapped at the root. It also makes hair more comfortable to wear, which is a benefit in itself on long workdays.
This habit is crucial for women who wear their hair up daily for work, sport, or convenience, and for anyone noticing thinning at the temples, a receding hairline, or small broken hairs around the face. It suits every hair type, but fine, fragile, or already thinning hair is most vulnerable to traction damage and should be especially careful. Use snag-free bands, silk scrunchies, or claw clips instead of tight elastics with metal joins, and avoid wet updos, since wet hair stretches and breaks far more easily under tension. Keep styles loose enough that you can slip a finger underneath the band comfortably. Try it because traction damage is gradual and often permanent if ignored, yet it is almost entirely preventable with a little daily awareness. If you already notice thinning edges, switch to the loosest styles immediately, give your hairline a break from all pulling for several weeks, and consider seeing a dermatologist if thinning continues. Combine gentle daily styles with the night braid and silk pillowcase for round-the-clock protection. This everyday choice is unglamorous but powerful, and your future hairline will be grateful for it.

24. The Overnight Silk Bonnet or Wrap
The overnight silk bonnet or wrap is the ultimate protection for textured, curly, or fragile hair, enclosing your strands in smooth silk while you sleep so they cannot rub, tangle, or lose moisture to your pillow. Put it on over loosely gathered hair, tucking all the lengths inside without pulling tight, and secure it so it stays on through the night without squeezing your hairline. Inside the bonnet, curls keep their pattern, braids stay neat, and moisture from your evening leave-in stays in the hair instead of transferring to cotton bedding. In the morning, hair emerges far calmer, with less frizz, fewer tangles, and a style that often needs only a light refresh rather than a full restyle. Within a week, bonnet users typically report better curl definition in the morning, less frizz, and styles that last two or three days instead of one, which means less washing, less heat, and less manipulation overall. Over months, that reduction in daily handling shows up as stronger ends, better length retention, and hair that generally looks healthier and more intentional.
This step is a must for curly, coily, wavy, or very fragile hair, and it is also excellent for anyone with a silk pillowcase who wants an extra layer of protection, or for women who toss and turn a lot at night. It suits all ages, but young women learning to care for natural texture will find it transforms their morning routine and reduces the need for daily heat or heavy restyling. Choose a bonnet with a comfortable, non-tight band, wash it regularly with mild detergent, and keep a spare for laundry days. Wear it every night, especially after wash day or a fresh style you want to preserve. Try it because nighttime is when textured hair loses the most moisture and definition, and a bonnet turns those eight hours from damage time into protection time. If a bonnet slips off at night, try a wrap style with ties, or a bonnet with an adjustable band, and make sure your hair is not piled in a tight bun underneath. Pair the bonnet with a silk pillowcase for double protection on restless nights. For textured hair especially, this simple nightly habit is one of the highest-value steps in the entire routine.

25. The Seasonal Routine Reset
The seasonal routine reset is a quarterly check-in where you step back, look at how your hair has actually been behaving, and adjust your routine to match the season, your lifestyle, and any changes in colour, length, or health. Every three months, ask simple questions: is your scalp oilier or drier, are your ends splitting faster, has your colour faded, is humidity or cold weather changing your frizz, and are you still using products that suited last season's hair? Then make small, deliberate changes, such as a richer mask in winter, a lighter conditioner in summer, more UV protection on holidays, or an extra protein treatment after a colour appointment. Write down what you change, so you can tell what actually helped instead of guessing. Over a year of seasonal resets, your hair care becomes smarter and more personal, with products and habits that fit your real life rather than a generic routine copied from someone else. You will waste less money on products that do not suit you, catch damage earlier, and enjoy hair that stays balanced through summer humidity, winter dryness, and everything in between.
This reset suits everyone, because hair needs genuinely change with weather, water, hormones, stress, and styling habits, yet most routines stay frozen for years. It is especially valuable for women whose hair seems fine in one season and unmanageable in another, or who have recently changed colour, moved to a different climate, or started a new workout or work routine. Do it four times a year, at the start of each season, and keep changes small and one at a time where possible, so you can judge their effect. Review your products too, discarding anything expired, separated, or no longer suited to your hair, and restock only what you actually use. Try it because a routine that never adapts slowly stops working, while a routine that evolves with you keeps working for years. Keep a short note on your phone after each reset, recording what you changed and how your hair responded, and bring those notes to your stylist for even better advice. Combine the reset with your trim schedule and clarifying wash for a complete quarterly refresh. This final step turns the other twenty-four from a fixed list into a living routine, and that adaptability is what keeps hair healthy for the long term.

26. The Weekly Hair Steam Session
A weekly hair steam session uses gentle, moist heat to open the hair cuticle so that water and conditioning treatments can actually sink in rather than sitting on the surface. This step is a game changer for dry, curly, coily, or chemically treated hair, which often struggles to absorb moisture no matter how much product is applied. To do it at home, apply a deep conditioner or hair mask to damp hair, cover it with a shower cap, then wrap a warm, damp towel around your head or sit under a handheld steamer for fifteen to twenty minutes. The warmth softens the hair shaft, loosens product buildup around the cuticle, and lets the treatment penetrate deeply, leaving hair noticeably softer and more flexible once rinsed. It is a simple, low-cost ritual that turns an ordinary conditioning day into a salon-style treatment. For best results, detangle gently before steaming so the treatment spreads evenly, and use a shower cap under the towel to trap heat and prevent the towel from soaking up the conditioner before it can work.
Steam once a week for most hair types, and every two weeks if your hair is fine or easily weighed down, since too much moisture can leave fine strands limp. Always follow steaming with a cool-water rinse or a light leave-in conditioner to close the cuticle again and lock in the hydration you have just added. Avoid water that is scalding hot, and skip the session if your scalp is irritated, sunburned, or freshly color-treated within the last forty-eight hours. Over time, regular steaming reduces breakage, improves elasticity, and makes detangling far easier, which is why it earns its place in a serious routine. Pair it with your weekly mask day so the habit sticks, and you will notice shinier, bouncier hair within a month. If you do not own a steamer, a long hot shower with the bathroom door closed creates enough ambient steam for a perfectly effective at-home session without any extra equipment.
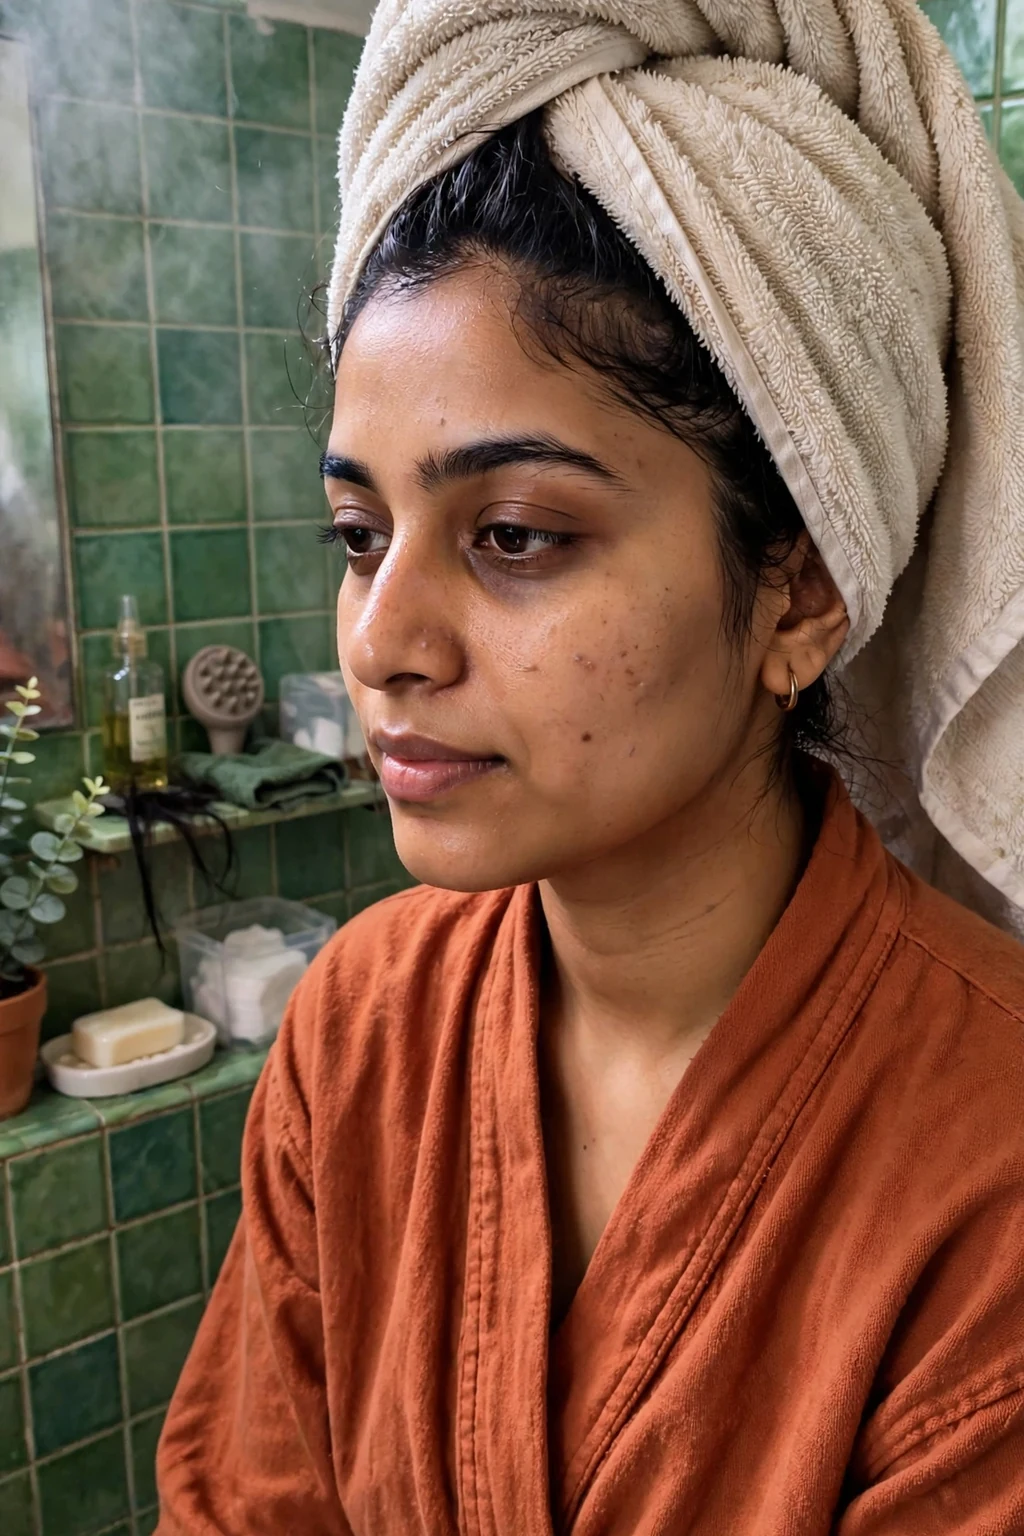
27. The Rice Water Strength Rinse
A rice water rinse is a traditional strengthening treatment that uses the starchy water left over from soaking or boiling rice to add protein-like support to the hair shaft. Rice water contains amino acids, antioxidants, and inositol, a carbohydrate that studies suggest can remain in the hair even after rinsing, helping to repair surface damage and reduce friction between strands. To make it, rinse half a cup of rice, soak it in two cups of water for thirty minutes, strain it, and let it ferment at room temperature for up to twenty-four hours before diluting it with plain water. After shampooing, pour it slowly over your hair, massage it into the scalp and lengths, leave it for five to ten minutes, then rinse thoroughly and condition as usual. Plain, unseasoned rice works best for this rinse, and you should avoid instant or pre-flavored varieties, which may contain additives that leave residue on the scalp and dull the hair.
This rinse suits weak, fine, or breakage-prone hair best, and it is also popular with people growing their hair longer, since stronger strands snap less during styling. Use it once every one to two weeks rather than daily, because overuse can make hair feel stiff or dry, especially if your hair is already protein-sensitive or coarse. If your hair feels straw-like afterward, follow with a moisturizing mask and stretch the interval to once a month. Fermented rice water should be refrigerated and used within a week, and it should never be applied to a broken or irritated scalp. Done correctly, it adds smoothness, shine, and resilience without costing anything extra. People with low-porosity hair should dilute the rinse more generously and rinse sooner, since their cuticles absorb less and are more likely to feel coated or stiff after treatment. Keep a dedicated bottle in the fridge, clearly labeled, so the rinse is ready whenever wash day arrives.
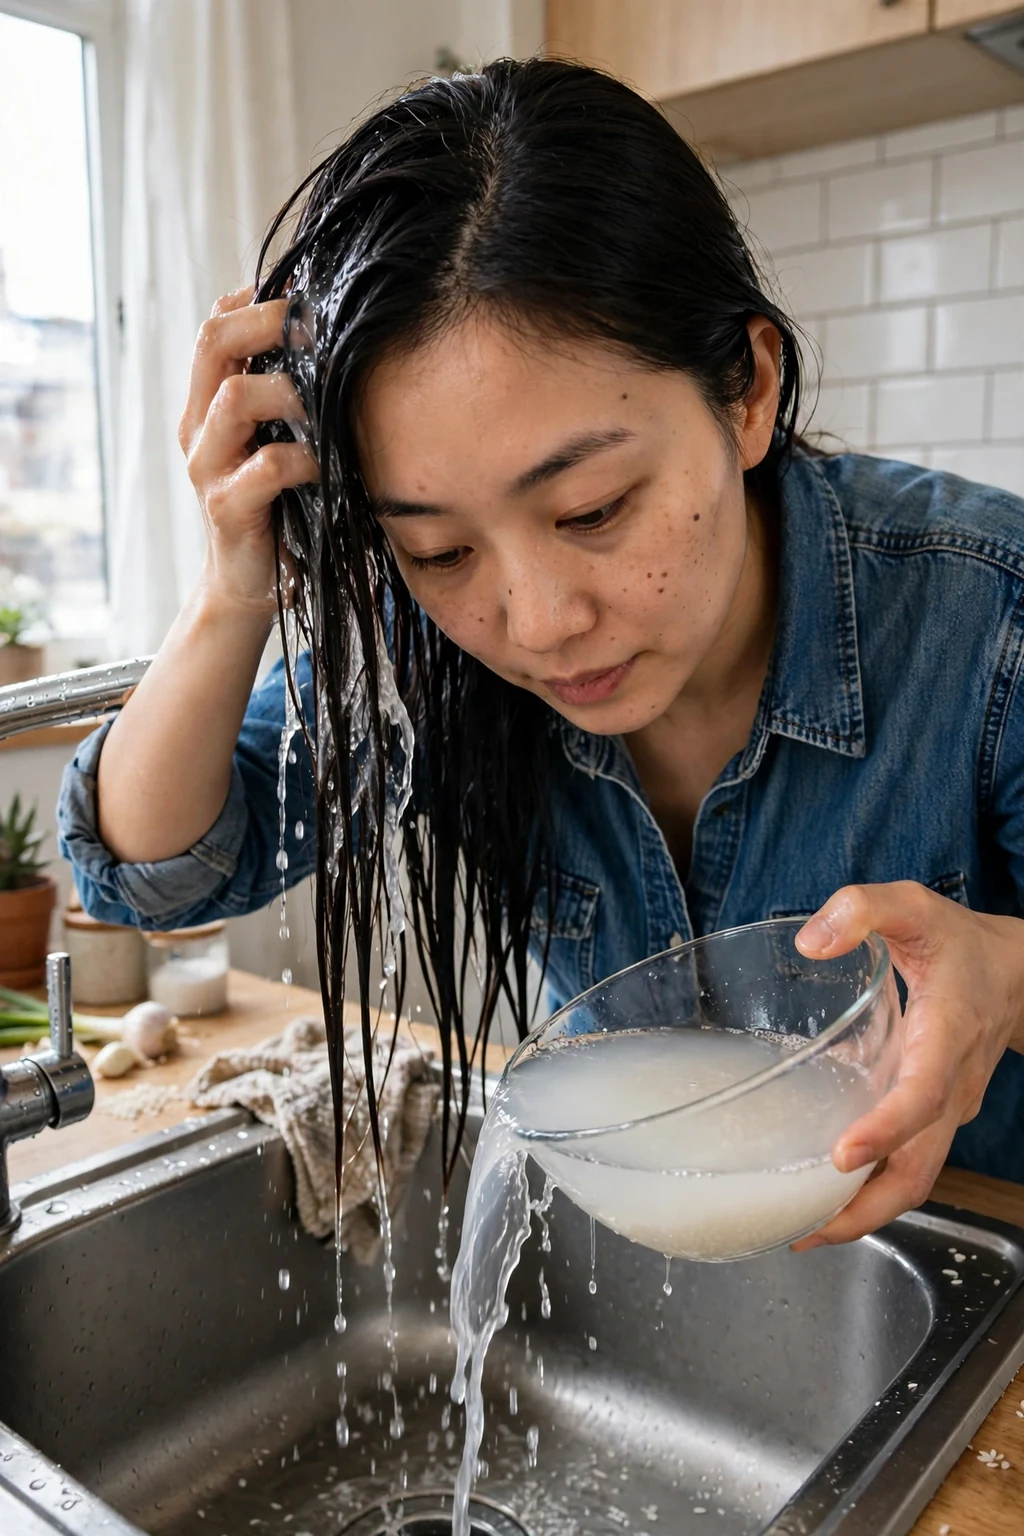
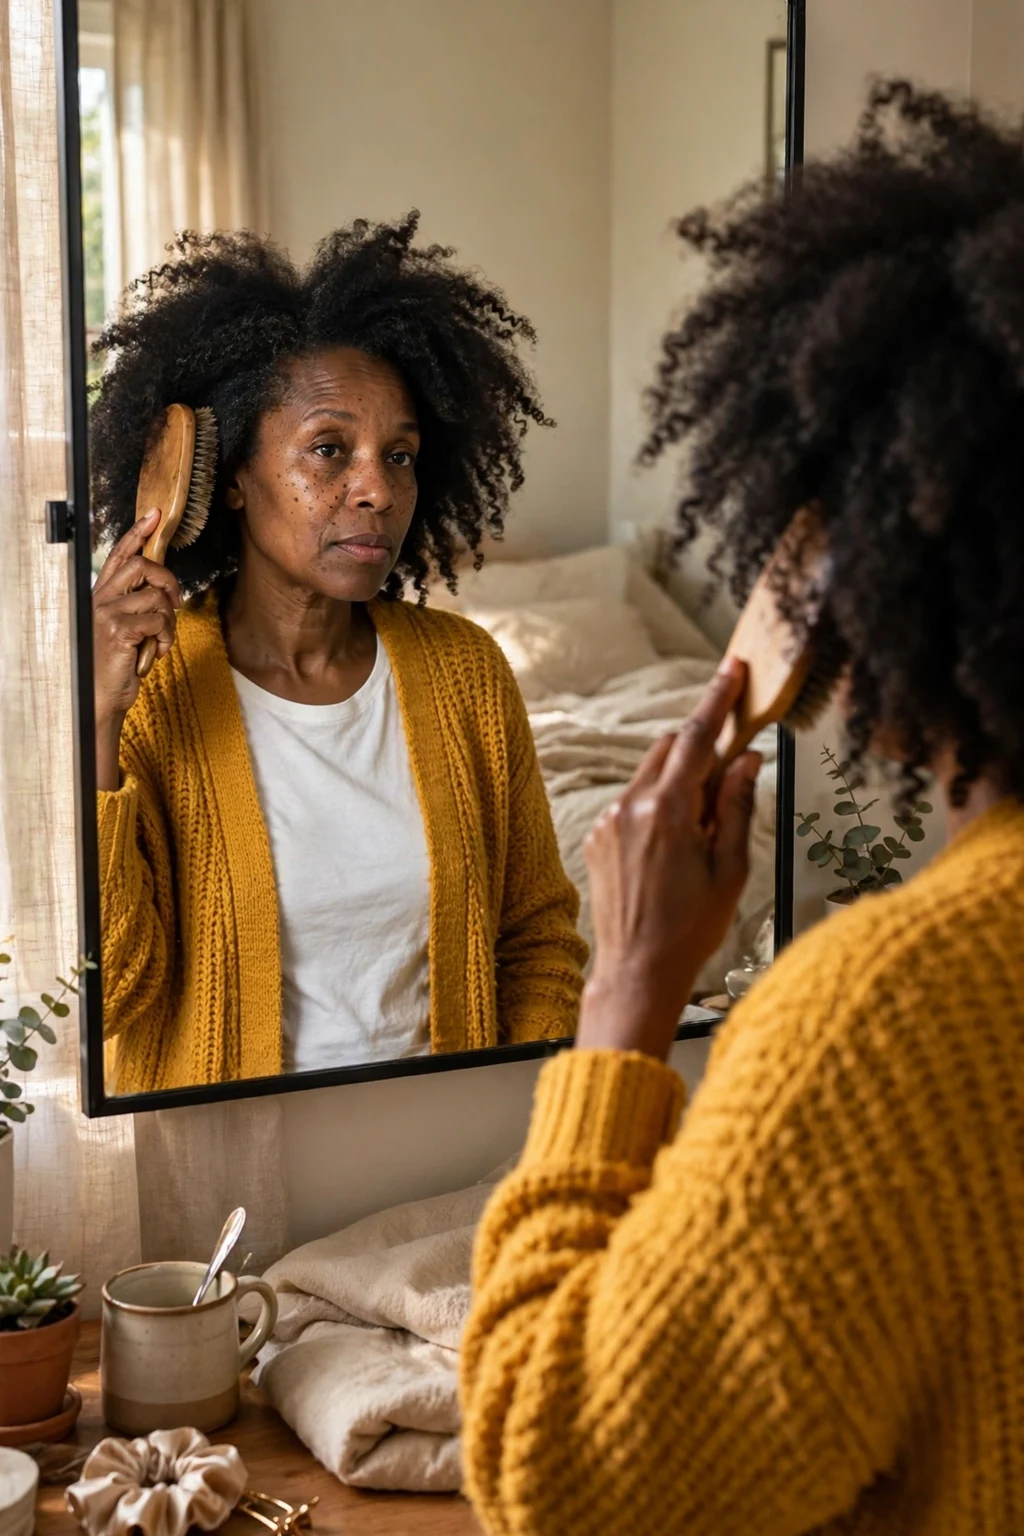
28. The Daily Boar-Bristle Brushing Ritual
A daily boar-bristle brushing ritual uses a natural-bristle brush to distribute your scalp's own oils from the roots down the lengths of your hair, acting like a built-in conditioning treatment. Unlike plastic brushes that can snag and create static, boar bristles are gentle, flexible, and closely mimic the structure of human hair, so they smooth the cuticle and add natural shine without roughing up the surface. To do it properly, start by detangling with a wide-tooth comb, then brush in sections from the scalp outward, bending forward so the brush can reach the nape and underside layers too. Spend two to three minutes on the ritual each evening, and finish with a few strokes over the canopy to lay flyaways flat and polish the surface. Work through the hair in four sections, starting at the nape and moving upward, so that every layer receives attention and the natural oils are distributed evenly rather than concentrated at the crown.
This habit suits straight, wavy, and lightly textured hair best, while very curly or coily hair should use it sparingly and only when the hair is stretched or damp with product, since dry brushing can disturb curl patterns. Choose a brush with a mix of boar and nylon pins if your hair is thick, and clean it weekly so oils and dust do not transfer back onto clean hair. Avoid aggressive brushing, which causes breakage at the mid-lengths, and never brush soaking-wet hair with a bristle brush. Over weeks, regular brushing improves shine, reduces the need for smoothing serums, and trains hair to fall more neatly. It is a quiet, old-fashioned habit with genuinely visible results. A brush with a cushioned base is more forgiving on the scalp than a rigid one, and it reduces pulling at tangles, which is the main cause of breakage during brushing. Replace the brush if bristles start to bend or fall out, since a worn brush snags more than it smooths.
29. The Post-Workout Hair Refresh
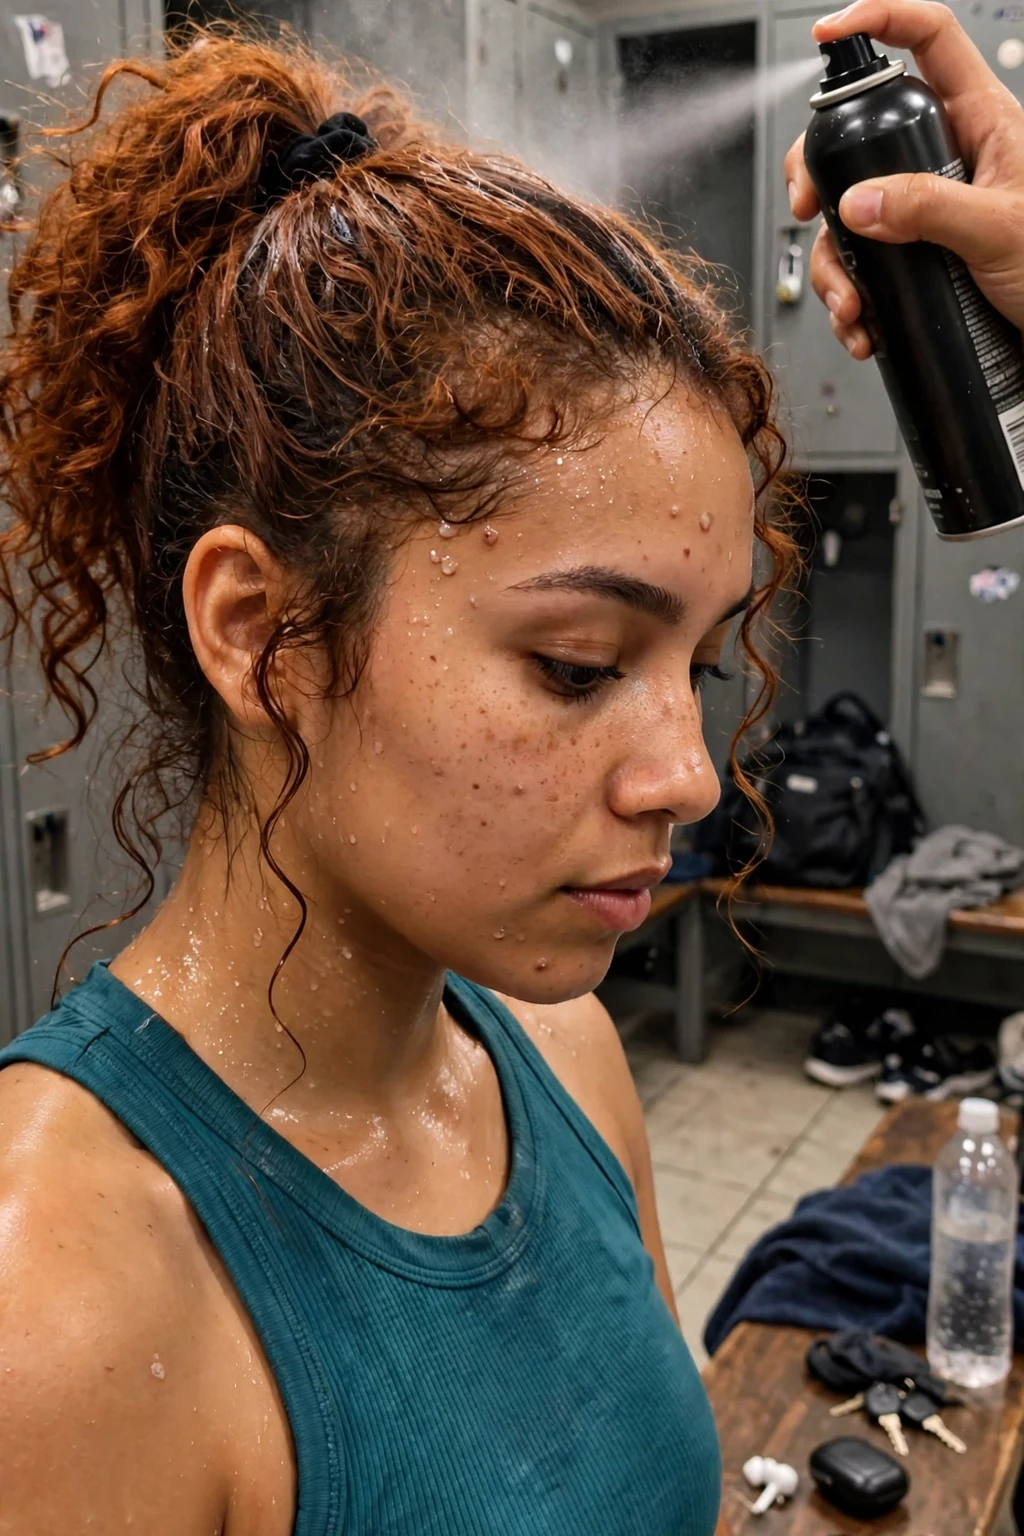
A post-workout hair refresh is a quick routine that deals with sweat, oil, and odor after exercise without forcing you into a full wash every single day. Sweat itself is mostly water and salt, but left to dry on the scalp it can leave itching, buildup, and a stale smell, while daily shampooing strips natural oils and fades color. The refresh starts with lifting the roots and blotting sweat with a microfiber towel or a quick blast of cool air from a dryer, then applying dry shampoo only at the roots, waiting two minutes, and massaging it through with your fingertips. A light mist of a scalp tonic or diluted apple cider vinegar spray can neutralize odor, and restyling into a loose braid or bun keeps damp strands off your face and neck. If your scalp feels itchy after training, a quick rinse with plain water followed by the refresh routine is better than layering dry shampoo over sweat, which only traps odor and buildup against the skin.
This routine suits anyone who trains three or more times a week, and it is especially valuable for color-treated, dry, or curly hair that cannot tolerate frequent washing. On non-wash days, keep the refresh light and avoid piling on more product over yesterday's residue, since buildup is exactly what you are trying to prevent. Wash properly at least every two to three workouts, or sooner if your scalp feels itchy or congested. Keep a small gym kit with dry shampoo, a microfiber towel, and a spare scrunchie so the habit is effortless. With this system, you protect your wash-day schedule, your scalp stays comfortable, and your hair looks presentable straight from the gym. On rest days, skip the refresh products entirely and let your scalp breathe, since even lightweight dry shampoo accumulates if it is applied day after day without a proper wash in between. A spare hair tie in your gym bag prevents the temptation of borrowing a tight elastic that breaks hairs.
30. The Chlorine and Saltwater Defence
A chlorine and saltwater defence routine protects your hair before, during, and after swimming, because both pool chemicals and sea salt are surprisingly harsh on the hair shaft. Chlorine strips natural oils, lifts color, and can leave blonde hair with a greenish tinge, while salt crystals draw moisture out of the strand and make it rough and tangled as they dry. The defence starts before you get in: wet your hair thoroughly with clean water so it absorbs less pool or sea water, then smooth a leave-in conditioner or a little coconut oil through the lengths as a barrier. Wear a swim cap for long sessions, and keep hair braided or twisted to reduce tangling and exposure. For extra protection, apply the barrier product the night before a beach holiday and braid the hair, so the strands are already coated and contained before they ever touch salt or chlorinated water.
After swimming, rinse immediately with fresh water, then wash with a gentle, chelating or swimmers' shampoo once or twice a week during swim season to remove chlorine and mineral deposits. Follow every swim wash with a deep conditioner, since chlorine-dried hair needs moisture restored quickly to avoid snapping. This routine is essential for swimmers, surfers, and holiday beachgoers, and it matters most for color-treated, blonde, fine, or already damaged hair. If you swim daily, alternate a full wash with a conditioner-only rinse so you are not over-shampooing. With this defence in place, you can enjoy the water all summer without paying for it with dry, brittle hair in autumn. A swimmer's shampoo used more than twice a week can be drying, so on lighter swim days a gentle sulfate-free shampoo followed by a rich conditioner is usually sufficient to remove residue. Rinse even after short dips, because chlorine begins drying the hair surface within minutes of contact.

31. The Anti-Frizz Humidity Seal
An anti-frizz humidity seal is a finishing step that locks moisture into the hair and blocks humid air from getting in, which is what causes frizz in the first place. Hair swells when it absorbs water from damp air, and the raised cuticle catches light unevenly and feels rough, so the goal is to seal the cuticle shut while the hair is still smooth. After styling, warm one or two drops of a silicone-based serum or a humidity-resistant cream between your palms and smooth it over the canopy and ends, working in small sections rather than dumping product on top. For curly hair, apply the sealant over a gel cast once it has dried, then scrunch out the crunch so the curls stay defined but soft and weatherproof. On extremely humid days, finish with a light-hold hairspray over the sealant, which adds a second barrier against moisture without making the hair stiff or sticky if applied from a distance.
This step suits wavy, curly, coily, and high-porosity hair best, and anyone living in a humid climate or travelling somewhere tropical will notice the difference immediately. Use it daily in summer and on rainy days, but keep the amount tiny on fine hair, where heavy serums cause greasiness and flat roots. If your hair still frizzes, the underlying cause is usually dryness, so add a weekly mask before blaming the sealant. Reapply a drop to the ends midday rather than restyling from scratch, and avoid touching your hair constantly, which breaks the seal. Done right, this single step keeps a blowout or curl pattern intact from morning to evening. Carry a travel-size serum in your bag during summer so you can smooth a single drop over frizzing sections midday instead of rewetting the hair, which restarts the frizz cycle from the beginning. Avoid overloading the roots with sealant, which flattens volume and makes hair look greasy by midday.

32. The Silk Scrunchie Switch
The silk scrunchie switch is a small change with an outsized effect: replacing tight elastic bands with soft silk scrunchies to stop the breakage, dents, and tension headaches that ordinary hair ties cause. Standard elastics grip by friction and squeeze the same few strands every time, which snaps fine hairs and leaves a sharp crease that is hard to smooth out. Silk, by contrast, slides over the cuticle with minimal friction, distributes pressure across a wider band, and holds a ponytail or bun securely without cinching it to breaking point. Keep a few scrunchies in your bag, your gym kit, and on your nightstand, and reach for them for every ponytail, topknot, and workout style. Silk scrunchies also make excellent sleep accessories, since a loose scrunchie bun keeps hair contained overnight without the creasing and breakage that tight elastics cause while you toss and turn. Choose scrunchies in colors you enjoy wearing, so reaching for them becomes an easy daily habit.
This switch suits everyone, but it matters most for fine, fragile, thinning, or color-treated hair, and for anyone who wears their hair up daily for work or sport. Choose scrunchies with a covered, snag-free elastic core, and avoid metal clasps or exposed rubber bands entirely. Pair the switch with looser styling: a low, slightly slack ponytail puts far less stress on the hairline than a scraped-back high pony, and varying the position of your updo prevents one weak spot from forming. The result is fewer broken hairs on your pillow and in your brush, no more painful ponytail dents, and a genuinely kinder daily habit that costs almost nothing to adopt. Rotate between two or three scrunchies during the week so the elastic in each one recovers its stretch, which keeps the hold secure without needing to wrap the band extra times around the hair. A loose braid secured with a scrunchie is an ideal overnight style for longer hair types.

33. The Split-End Dusting Habit
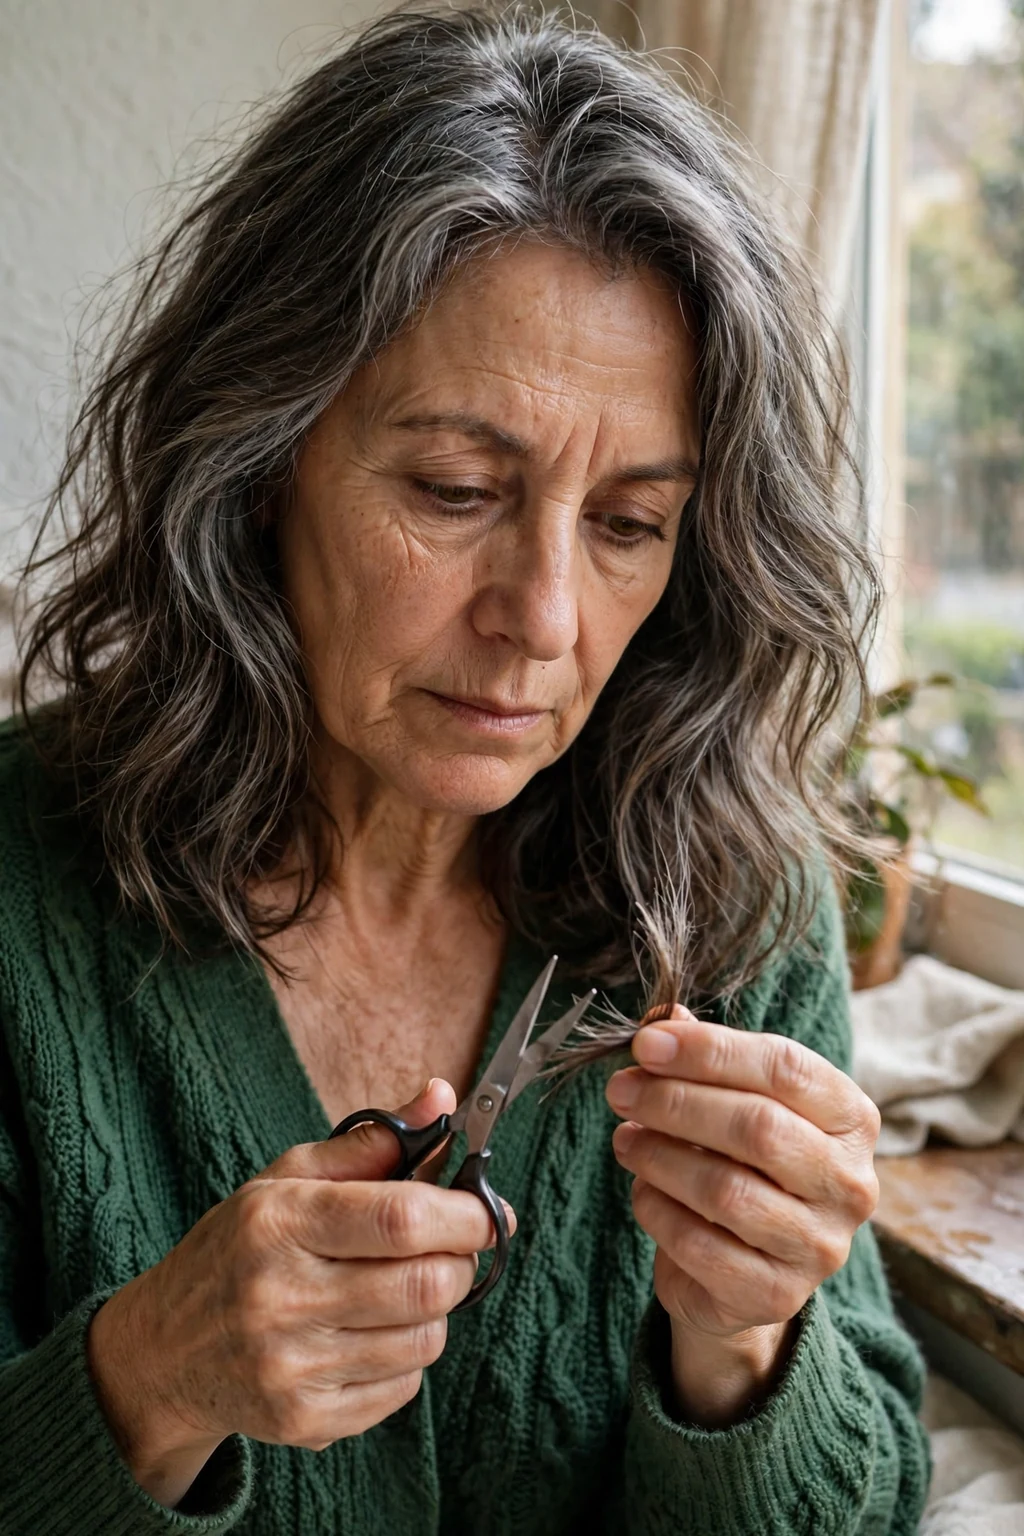
Split-end dusting is a gentle maintenance technique where you trim only the very tips of damaged strands, usually a quarter of an inch or less, between full haircuts, to stop splits from travelling further up the shaft. A split end is not just a cosmetic flaw: once the strand frays, the damage creeps upward, causing tangling, breakage, and a thin, see-through hemline that no conditioner can repair. To dust at home, work in small sections under good light, twist each section gently so damaged ends stick out, and snip only the frayed tips with sharp hair scissors, never kitchen or craft scissors, which crush the cuticle and create new splits. Dust every six to eight weeks if you heat-style often, or every ten to twelve weeks for low-manipulation hair. Use bright, natural daylight or a well-lit mirror for dusting, because poor lighting makes it easy to miss splits or to cut healthy hair by mistake, which defeats the purpose of the technique.
This habit suits people growing their hair out, since it preserves length while keeping ends healthy, and it is ideal for long, fine, or frequently colored hair that splits easily. It does not replace a proper trim, which evens the overall shape, but it stretches the time between salon visits and keeps hair looking polished in between. If you find splits on most strands, that is a sign your routine needs more moisture, less heat, or gentler detangling, not more dusting. Stop immediately if you feel tempted to cut further up the strand, and book a professional trim if the damage is extensive. Regular dusting keeps ends thick, reduces tangles, and helps length actually accumulate instead of breaking off. Keep a dedicated pair of hair scissors that is never used on paper or fabric, since even one cut through cardboard dulls the blades enough to crush hair ends instead of slicing them cleanly.
34. The Weekly Brush and Tool Cleaning
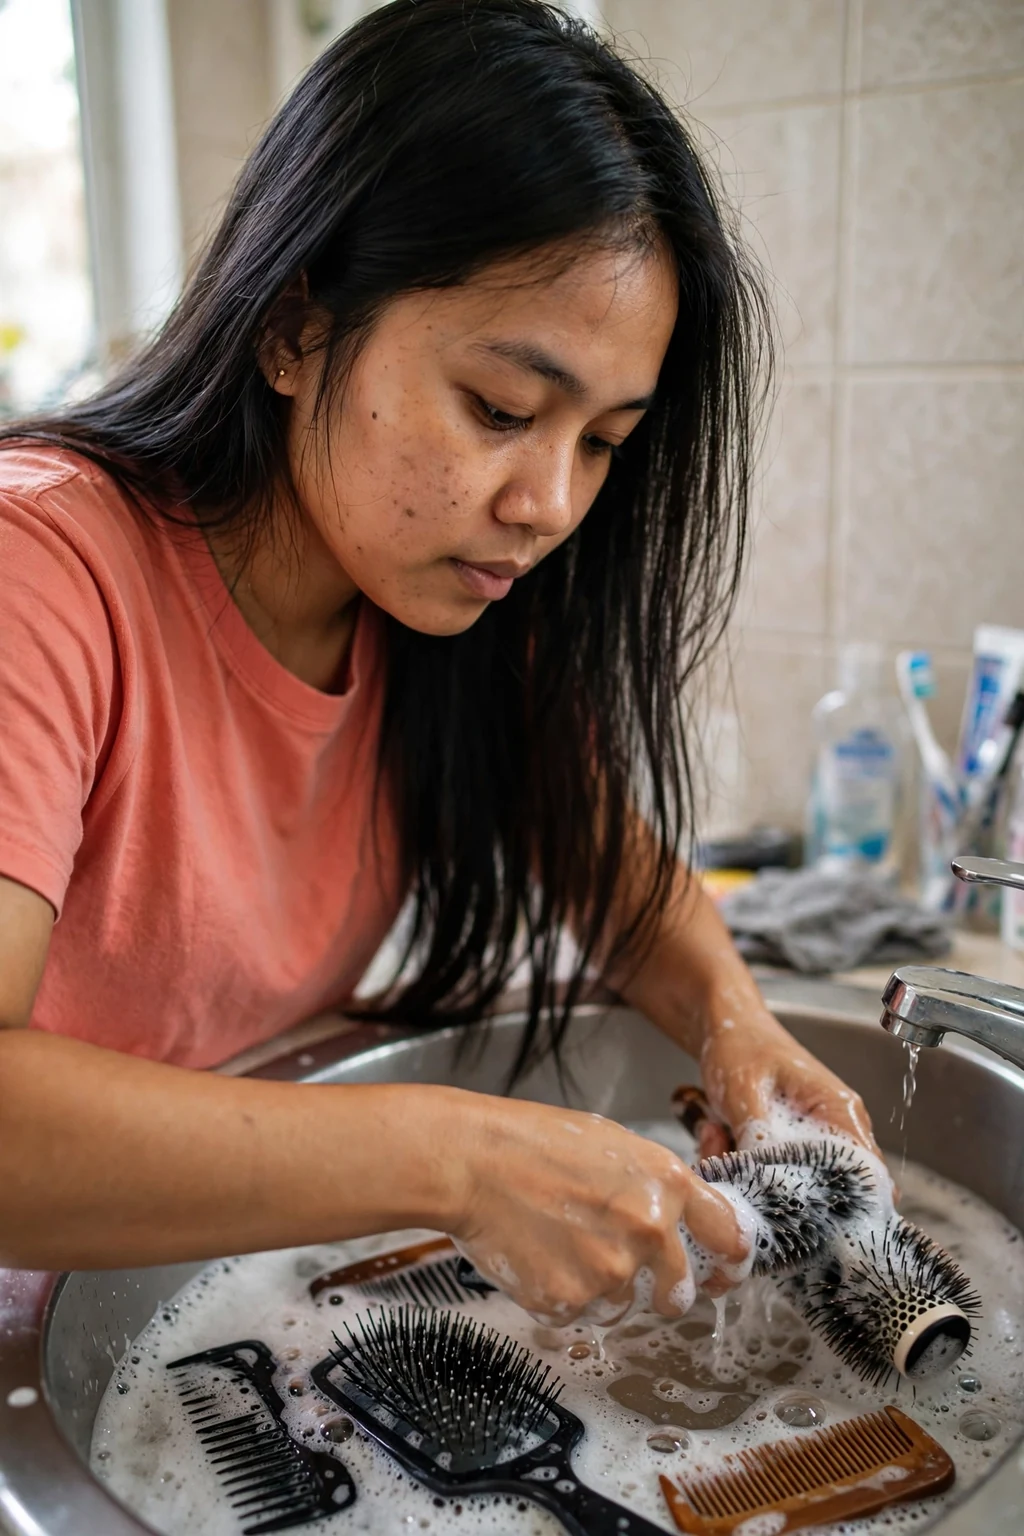
Cleaning your brushes and styling tools weekly is an overlooked hygiene step that keeps old oil, dust, shed hair, and product residue from being brushed straight back into freshly washed hair. A dirty brush redistributes sebum and styling buildup along the lengths, which makes clean hair look dull and greasy faster, and a clogged brush also snags more, causing unnecessary breakage. To clean, remove trapped hair with a comb or your fingers, then soak plastic brushes and combs in warm water with a drop of gentle shampoo for ten minutes, scrub the base with an old toothbrush, rinse, and leave them bristle-side down to dry. Wipe flat irons and curling wands with a damp cloth once cool, and clear lint from your dryer filter after every use. For boar-bristle brushes, avoid soaking the wooden base for long periods, since water can warp the wood and loosen the bristles, so a quick wash followed by thorough air-drying is the safest approach.
This habit suits everyone, but it is especially important if you use heavy oils, dry shampoo, or styling creams, which accumulate fast, or if you struggle with scalp congestion or dandruff. Clean tools also last longer, since residue corrodes plates and stiffens bristles over time. Make it part of your Sunday routine alongside your mask or wash day so it becomes automatic rather than a chore. If you share tools with family members, cleaning matters even more for scalp health. A five-minute weekly clean keeps your hair cleaner for longer, your tools working properly, and your whole routine performing the way it should. Wipe down your hair dryer nozzle and diffuser monthly as well, because dust and product film inside the attachments restrict airflow and force the motor to run hotter than necessary. Dry brushes completely before use, since damp bristles trap moisture and can develop a musty smell over time.
35. The Monthly Heat-Styling Rest Week
A monthly heat-styling rest week is a deliberate seven-day break from flat irons, curling wands, and high-heat blow-drying, giving your hair time to recover moisture and elasticity. Heat damage is cumulative: each pass of a hot tool drives water out of the strand, weakens the protein structure, and raises the cuticle, and even with protectant, daily heat eventually shows up as dryness, split ends, and loss of curl pattern. During the rest week, lean on heat-free styles such as braids, twists, buns, rollers, or simply air-drying with a leave-in conditioner, and use the time to do a deep mask or steam session instead. Schedule it for a quieter week if you can, so you are not tempted to reach for the iron before a big event. Use the rest week to try a new heat-free style you have been curious about, such as overnight braids or foam rollers, since discovering styles you enjoy makes future rest weeks feel like a treat rather than a restriction.
This break suits anyone who heat-styles more than three times a week, and it is transformative for curly and coily hair trying to regain its natural pattern, as well as for color-treated hair that is already fragile. One week a month is enough to notice softer, more responsive hair, and it also teaches you which heat-free styles you actually like, reducing your dependence on tools overall. If a full week feels impossible, start with three heat-free days and build up. Keep protectant in your routine for the weeks you do style, and lower your tool temperature to the minimum that works. Regular rest weeks are one of the simplest ways to keep hair strong for years. If you rely on heat for professional appearances, plan the rest week around days off or casual settings, and use a smoothing cream plus a neat bun to keep your look polished without any hot tools.
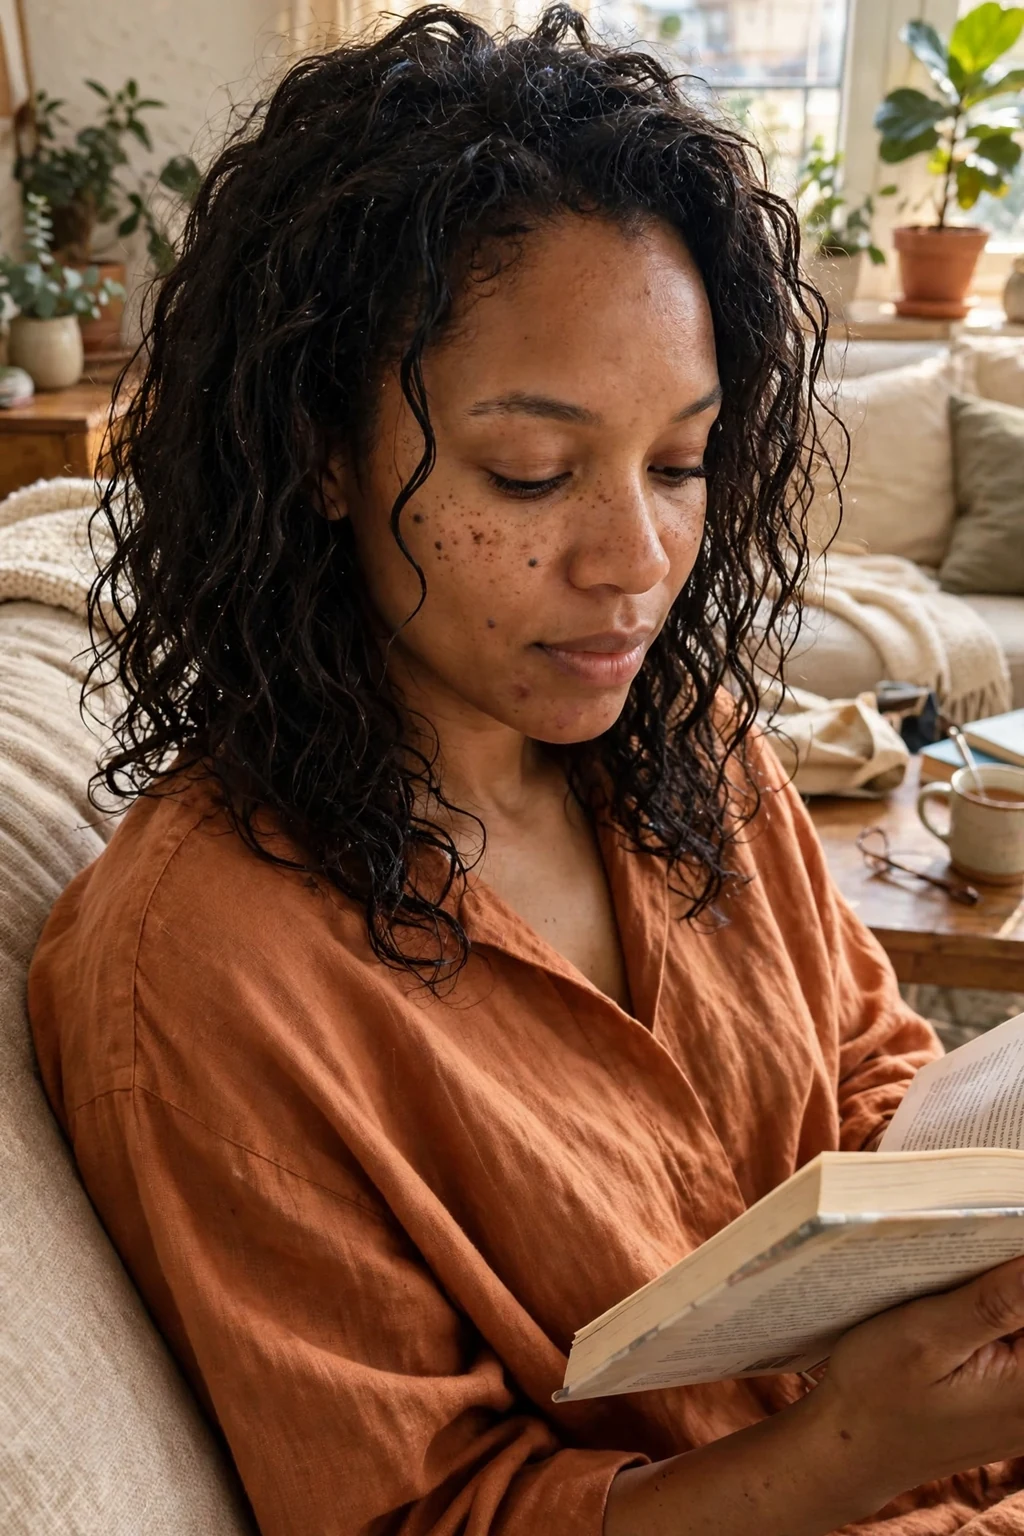
36. The Scalp Serum Night Ritual
A scalp serum night ritual applies a targeted treatment directly to the scalp before bed, when the skin is warm, undisturbed, and has hours to absorb active ingredients without interference from styling products. Scalp serums are lighter than hair oils and are formulated with ingredients like niacinamide, caffeine, peptides, or rosemary extract, which support circulation, calm irritation, or encourage fuller-looking growth depending on the formula. To apply, part your hair in rows with a comb, place a few drops along each parting, and massage gently with your fingertips for two minutes to boost blood flow and spread the product evenly. Leave it in overnight and wash or refresh as usual in the morning, following the product's recommended frequency. Apply the serum after your evening shower when the scalp is clean and slightly damp, since product absorbs more evenly on clean skin than over a day of sweat, oil, and styling residue.
This ritual suits people dealing with thinning, shedding, dryness, flaking, or an oily scalp, since the scalp is skin and benefits from skincare just like the face does. Choose one concern and one serum rather than layering several treatments, which can irritate the scalp and make results impossible to judge. Use it three to five nights a week for at least twelve weeks before deciding whether it works, because hair cycles change slowly. Avoid heavy oils on top of a serum, which can block absorption and trap buildup. With patience, a nightly scalp serum supports a healthier scalp environment, and healthy hair can only grow from a healthy scalp. Take a dated photo of your parting and hairline each month while using the serum, because gradual changes in density are hard to notice in the mirror but obvious when photos are compared side by side. Consistency matters more than quantity, so a small amount applied regularly beats occasional heavy applications.

37. The Hard-Water Shower Filter Fix
A hard-water shower filter fix tackles the mineral buildup that makes hair dull, stiff, and hard to manage in areas with mineral-rich tap water. Calcium and magnesium in hard water coat the hair shaft, block conditioner from absorbing, leave a chalky film, and can even shift hair color toward brassy or ashy tones over time. A shower filter, which screws onto your existing shower head or replaces it, uses carbon or vitamin C filtration to reduce chlorine and some minerals before they reach your hair. Installation takes minutes with no plumber needed, and most filters need a cartridge change every two to three months, which is worth diarizing so the filter keeps working. Check whether your filter is certified to reduce chlorine specifically, since some inexpensive filters only improve taste and do little for the chlorine that dries out hair and fades color. Most filters fit standard shower fittings, so installation rarely requires tools or professional help.
This fix suits anyone whose hair feels rough or coated despite good products, who notices white scale on taps and showerheads, or who has color that fades unusually fast. It is not a complete water softener, so if your water is extremely hard, pair the filter with a monthly clarifying wash to remove what remains. You should notice softer, shinier hair and better lather from your shampoo within a few washes. Renters love this solution because it is removable and inexpensive, and it benefits skin as well as hair. If your hair has never felt truly clean no matter what you buy, the water, not the shampoo, may be the problem. If you rent, keep the original shower head in a cupboard so you can refit it when you move out, and take your filter with you, since it is one of the most portable hair investments you can make.
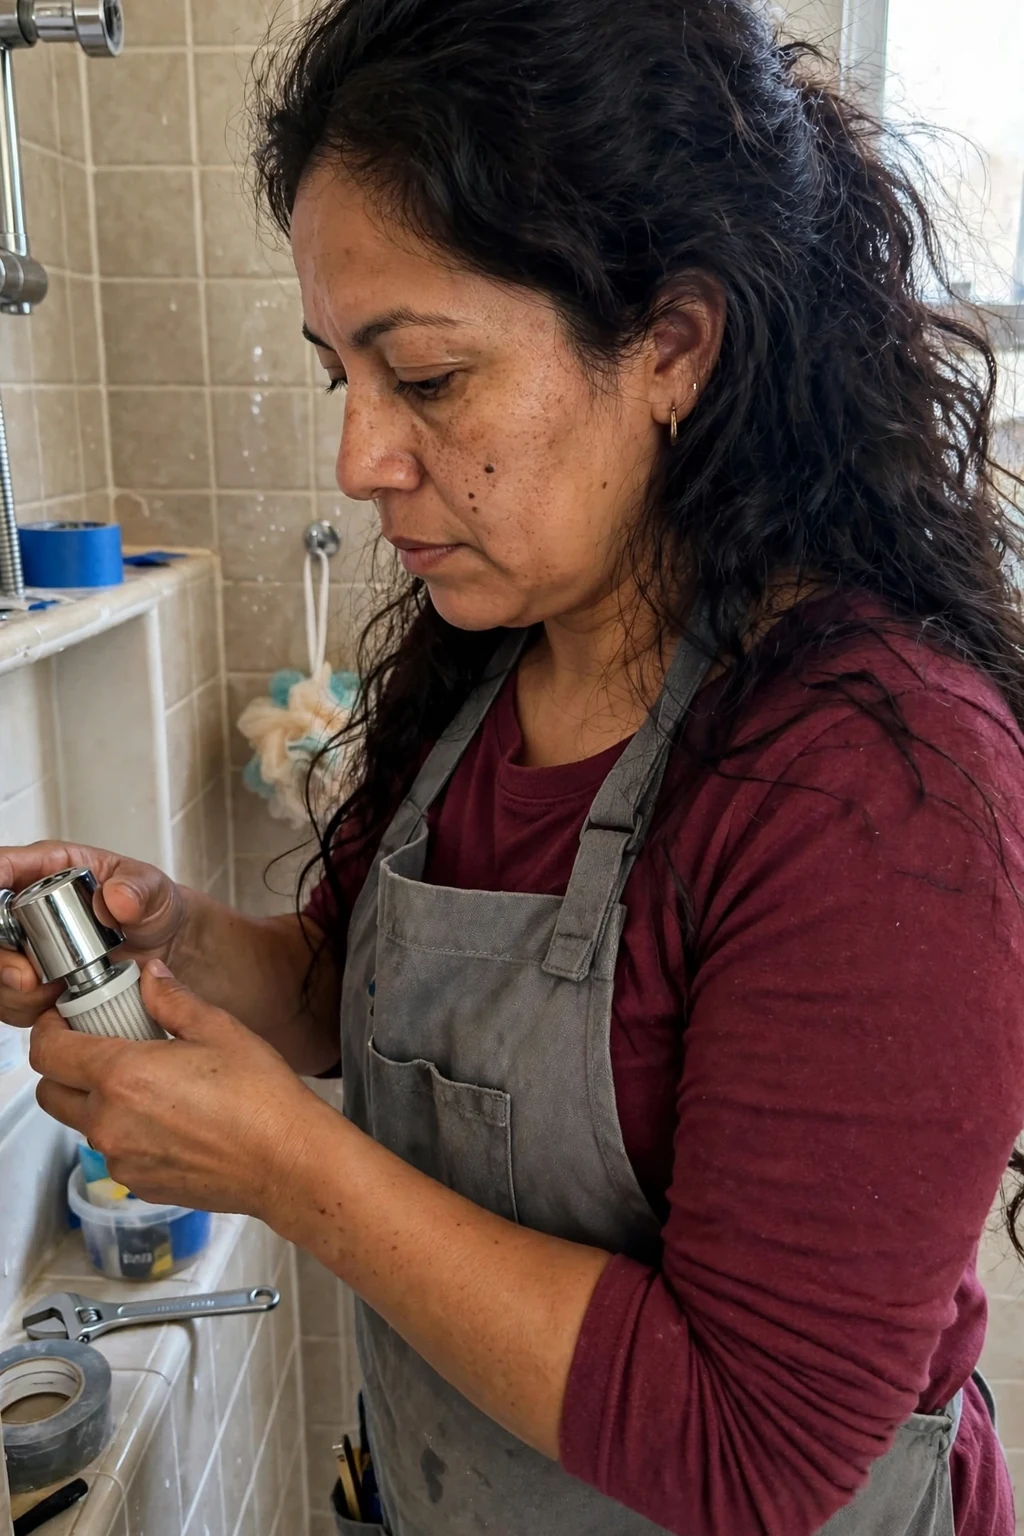
38. The Part-Line Sun Protection Habit
Part-line sun protection is the habit of shielding the exposed strip of scalp along your parting, which is one of the most sunburn-prone and most forgotten areas of the body. The scalp burns just like any other skin, and a burnt scalp peels, itches, and can even trigger temporary shedding, while ultraviolet light also degrades hair color and weakens the protein structure of the strands themselves. The simplest protection is a hat with a wide brim, but when you are not wearing one, apply a lightweight, non-greasy sunscreen or a dedicated scalp SPF spray directly along the parting and hairline before going outside. Reapply after swimming or heavy sweating, just as you would on your face. A parting that is always in the same place receives the most sun, so occasionally switching your part to the other side shares the exposure and gives the usual strip of scalp time to recover.
This habit suits everyone who spends time outdoors, and it matters most for people with fine or thinning hair, light-colored hair, or a wide parting that exposes more scalp. Choose a spray or powder sunscreen for the scalp so it does not leave hair greasy, and look for a formula that will not stain or lighten color-treated hair. Pair it with a UV-protectant leave-in for the lengths on beach and hiking days for full coverage. If your scalp does get burned, soothe it with aloe and skip heat styling until it heals. Protecting your parting takes ten seconds and prevents pain, peeling, and color damage all summer long. Children and teenagers with fine hair need this protection too, and a hat is usually the easiest option for them, since reapplying spray sunscreen to a moving child is rarely practical outdoors. Reapply sunscreen after swimming, sweating, or toweling the hair, just as you would for facial skin.
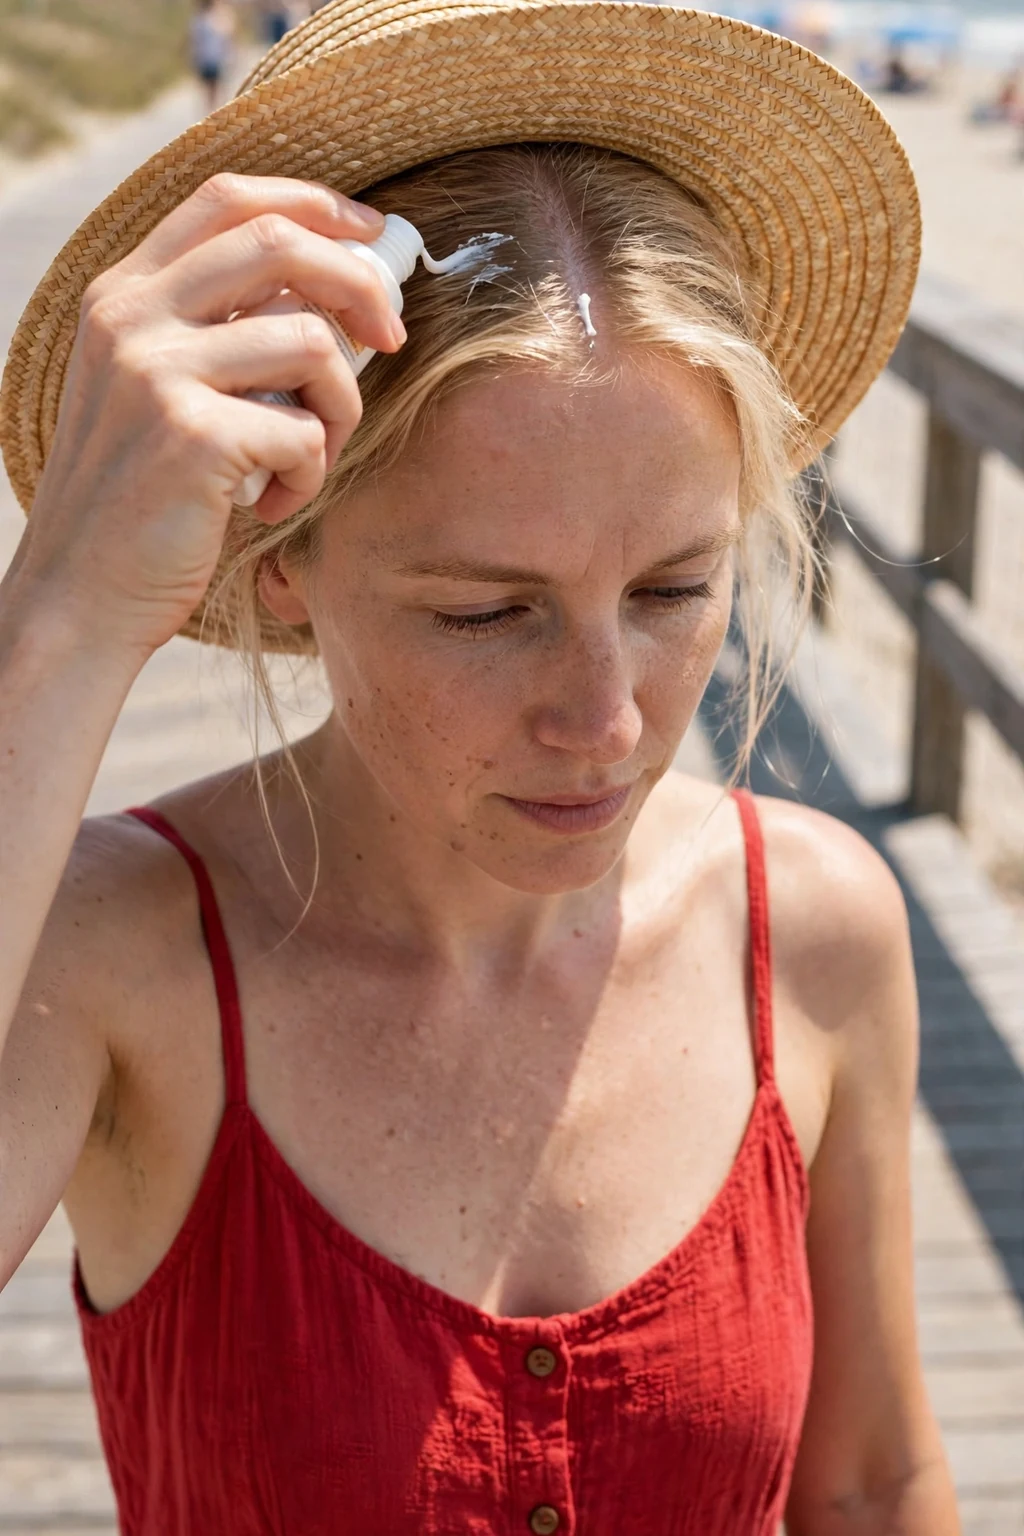
39. The Pineapple Method for Curly Nights
The pineapple method is a nighttime technique for curly and coily hair where you gather all your curls into a single high, loose ponytail on top of your head, resembling a pineapple, so the curls are not crushed flat while you sleep. Friction against a pillowcase is one of the biggest causes of frizz and lost curl definition, and sleeping with curls loose means waking up to flattened roots and tangled lengths. To pineapple, flip your head forward, gather the hair loosely at the very top of your head, and secure it with a silk scrunchie or a satin scarf, keeping the band loose enough that it does not dent the curls. In the morning, take it down, shake gently, and refresh with a little water or curl cream rather than restyling from scratch. Before pineappling, apply a pea-sized amount of leave-in conditioner to the ends, which are the most likely to dry out overnight, and smooth the canopy lightly so the curls settle without frizz.
This method suits medium to long curly, wavy, and coily hair best, and it works beautifully alongside a silk pillowcase or bonnet for extra protection. For shorter hair, try two smaller pineapples, one on each side, and for very long hair, a loose braid over the pineapple keeps the ends contained without tension. Avoid pulling the band tight, which causes breakage at the hairline and a visible dent. If your curls still fall flat, the issue is usually moisture, so add a light leave-in before pineappling. With this simple nightly habit, second and third-day curls stay defined, frizz stays low, and wash day stretches further. If your pineapple keeps slipping off during the night, a satin-lined cap worn over it holds everything in place without adding friction, and it also protects the curls from cotton pillowcases. Refresh flattened curls in the morning with a light water mist rather than a full wash and restyle.

40. The Hair Routine Journal
A hair routine journal is a simple log where you record what you use, when you wash, how your hair responds, and any changes you notice, turning guesswork into a routine that actually fits your hair. Most people cycle through products randomly and forget what worked, so they repeat the same mistakes and waste money on formulas their hair already rejected. Your journal does not need to be elaborate: note the wash day, the products used, the weather, and a quick rating for softness, frizz, scalp comfort, and style longevity. Over a month, patterns emerge, such as protein treatments helping in winter but stiffening hair in summer, or a particular oil causing buildup after three uses. Include the cost of each product in your journal as well, because knowing what you spend makes it easier to spot expensive products that perform no better than affordable alternatives you already own. Even a notes app on your phone works perfectly if you prefer digital records over paper notebooks.
This habit suits anyone who feels stuck with their hair, who is trying new treatments, recovering from damage, or growing their hair out and wants measurable progress. Photograph your hair in the same light once a month and stick the comparison in the journal so you can see length and thickness changes that are invisible day to day. Review the log every few weeks and drop what is not working instead of accumulating a shelf of half-used bottles. A journal also helps enormously at salon appointments, since you can show your stylist exactly what you have been doing. It costs nothing, takes two minutes a week, and transforms hair care from random trial into informed decisions. A journal is also the perfect place to record salon advice, color formulas, and trim dates, so you never have to rely on memory when a new stylist asks about your hair history. Review your journal monthly to catch patterns early, before small problems become visible damage.
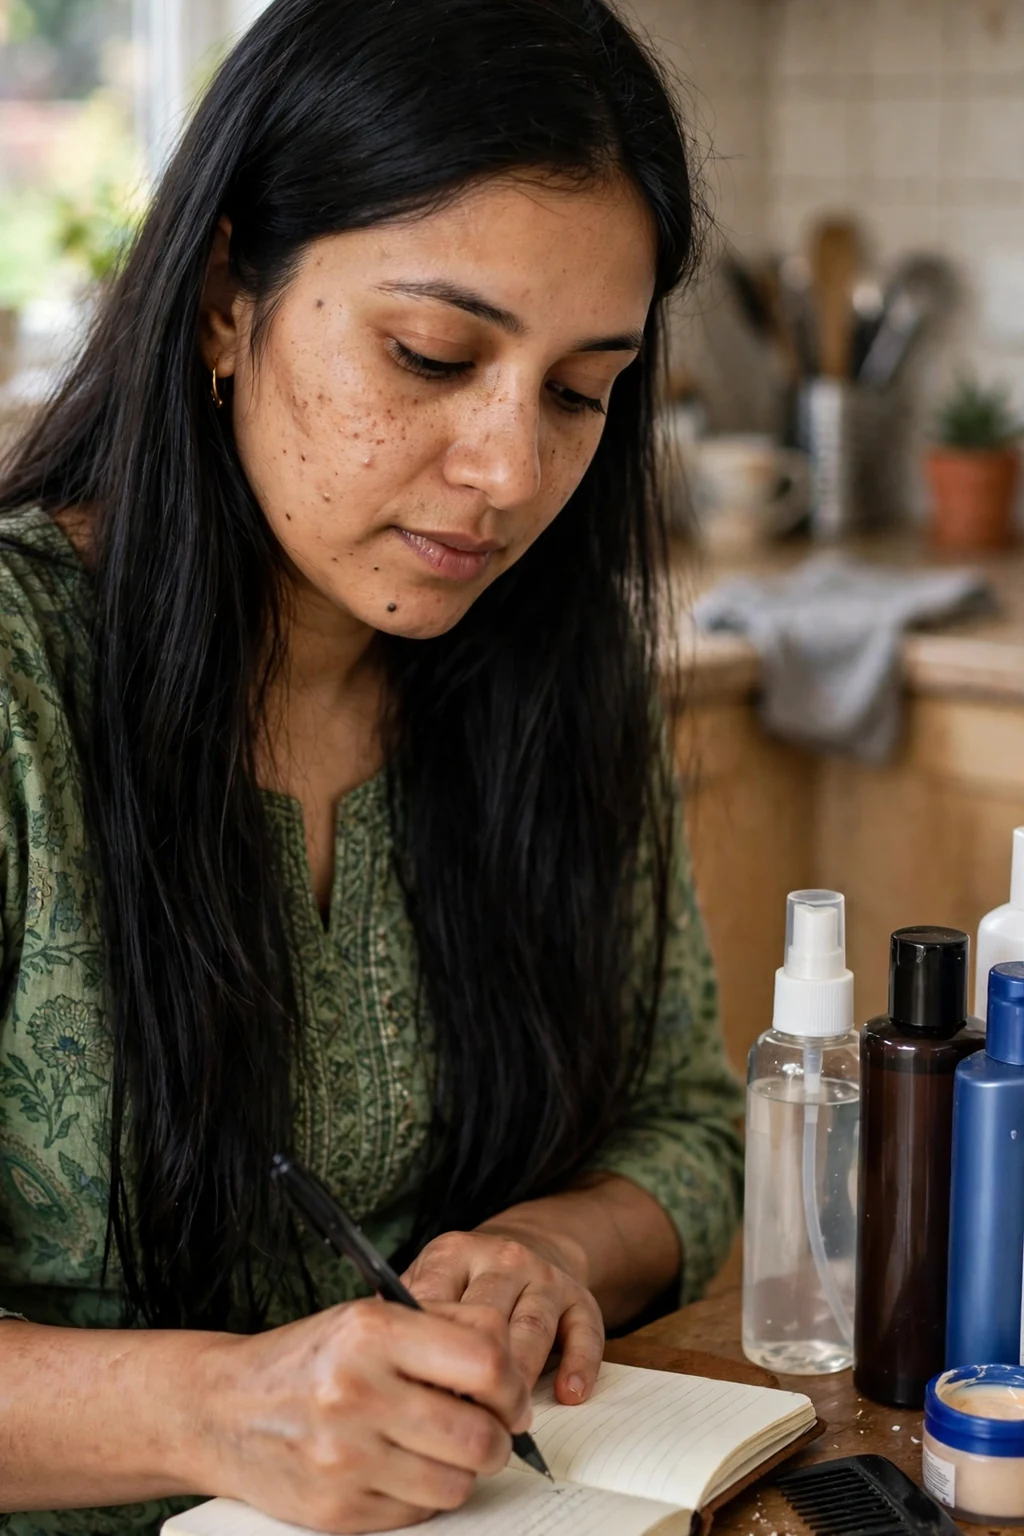
41. The Aloe Vera Scalp Soother
An aloe vera scalp soother uses the gel from the aloe plant, or a pure store-bought gel, to calm irritation, hydrate the scalp, and gently support a healthy environment for growth. Aloe contains enzymes, vitamins, and anti-inflammatory compounds that soothe itching and redness, while its slightly acidic pH helps restore the scalp's natural balance after harsh shampoos or chemical treatments. To use it, part your hair in sections, apply a thin layer of gel directly to the scalp, massage for two minutes, and leave it for twenty to thirty minutes before rinsing and conditioning as usual. Fresh gel from a leaf is ideal, but choose a store-bought gel that lists aloe as the first ingredient and contains no added alcohol or fragrance. If fresh aloe is unavailable, refrigerate your store-bought gel and apply it cool, since the cooling sensation itself helps calm itching and makes the treatment feel more soothing on irritated skin.
This treatment suits dry, itchy, flaky, or sun-exposed scalps, and it is gentle enough for sensitive skin and color-treated hair. Use it once a week, or twice a week during flare-ups, and always patch-test behind your ear first, since a small number of people react to aloe. Avoid leaving it on overnight, which can dry the scalp as the gel sets, and do not apply it over open sores or a severely inflamed scalp without advice from a dermatologist. Combined with gentle washing and regular scalp massage, aloe helps break the itch-scratch cycle that damages both scalp and hair. It is a natural, inexpensive step that brings genuine relief. Follow the aloe treatment with a fragrance-free moisturizer on the scalp only if your skin feels tight afterward, since some gels contain thickeners that can leave a slightly dry feeling once rinsed. Use the treatment consistently for several weeks before judging results, since scalp recovery takes time.
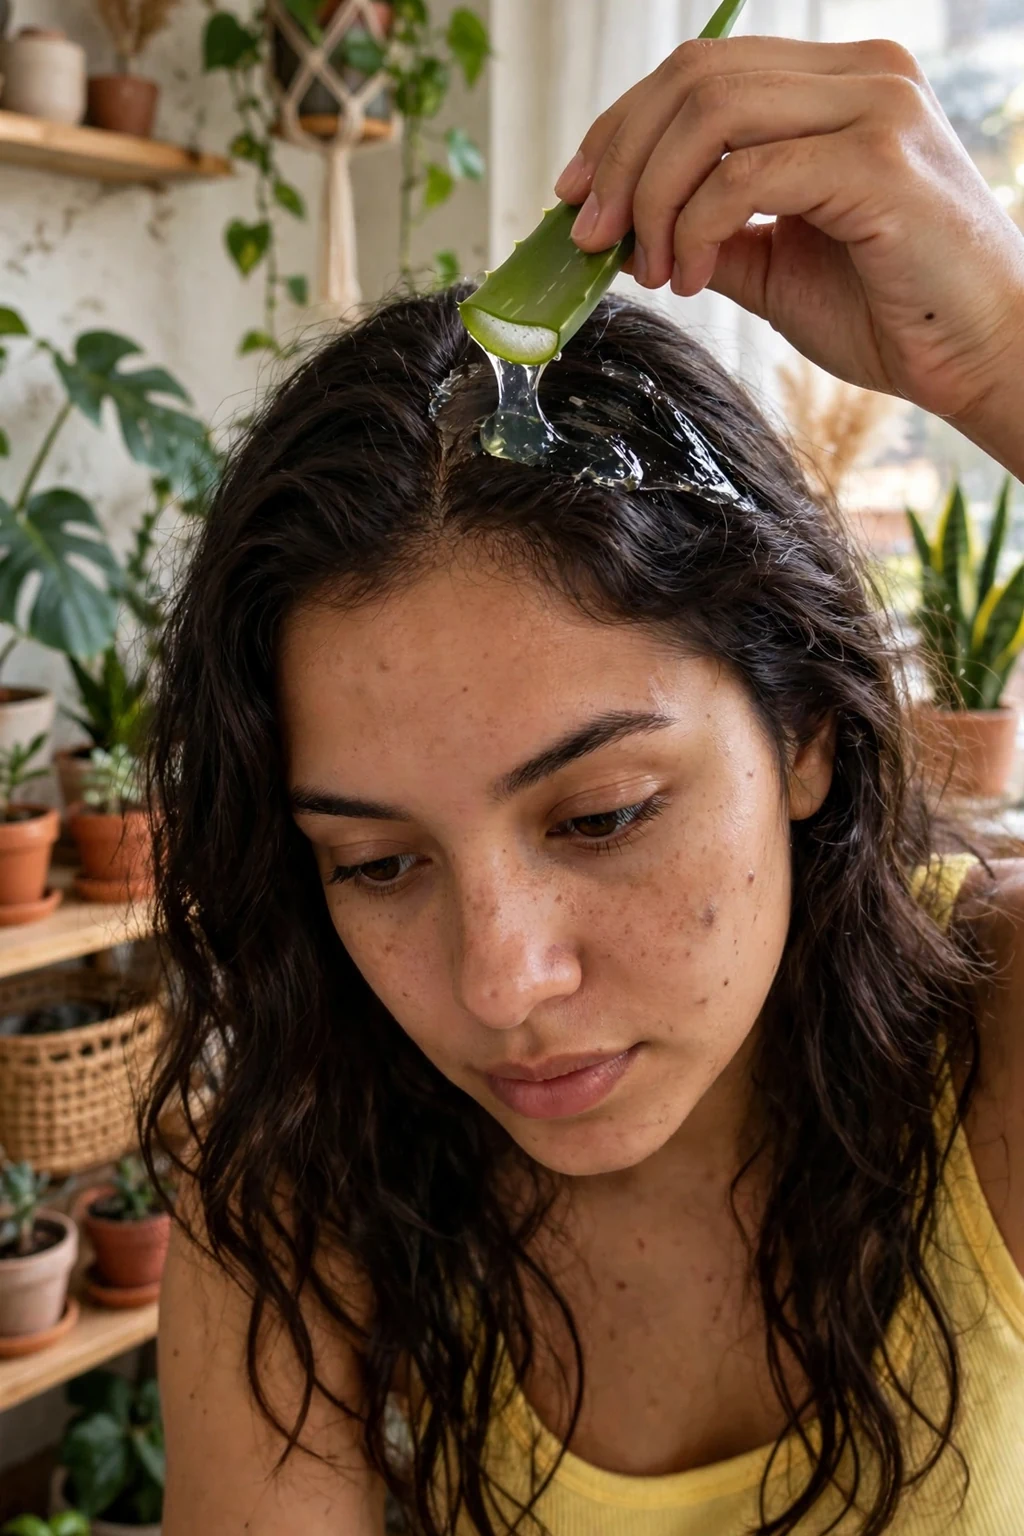
42. The Weekly Hot Towel Wrap Treatment
A weekly hot towel wrap treatment pairs a conditioning mask with sustained, gentle warmth from a heated towel, driving moisture deep into the hair shaft without any special equipment. Warmth opens the cuticle and increases the absorption of conditioning ingredients, which is why salon treatments always include a steamer or heated cap. At home, apply your chosen mask to damp hair, cover it with a shower cap, then wrap a towel that has been soaked in hot water and wrung out around your head, replacing it once it cools. Leave the wrap on for twenty minutes while you relax, then rinse with cool water and seal with a light leave-in to close the cuticle again. While the wrap is on, use the time to relax with a book or a face mask, which turns a functional hair treatment into a calming self-care ritual you will actually look forward to each week.
This treatment suits dry, damaged, coarse, or high-porosity hair that drinks up product yet still feels rough, and it is a wonderful ritual for a slow weekend evening. Do it once a week, or every two weeks for fine hair, and always test the towel temperature on your wrist first to avoid scalding your scalp or ears. Use a richer mask in winter and a lighter one in summer, and skip the wrap if your scalp is irritated or you have just had a chemical service. Over time, the wrap improves softness, elasticity, and shine far more than applying the same mask without heat. It turns a basic conditioning session into a genuinely restorative ritual. In summer, a lukewarm rather than hot towel still helps the mask absorb while feeling more comfortable, so adjust the temperature to the season instead of treating the ritual as fixed and unchangeable. Never microwave a towel to heat it, since hot spots can scald the scalp unexpectedly and unevenly.
43. The Low-Heat Diffuser Technique
The low-heat diffuser technique dries curly and wavy hair with a diffuser attachment on the lowest heat and airflow settings, protecting the curl pattern while cutting drying time dramatically. Air-drying can take hours and leave curls limp or frizzy, while a regular dryer nozzle blasts curls apart and creates a halo of frizz. A diffuser spreads the airflow over a wide area, so curls dry in their natural clumps without being blown around. To use it, apply your leave-in and curl cream to soaking-wet hair, then cup sections of curls into the diffuser bowl, hold it against the scalp for thirty seconds, and move slowly around the head without touching the curls with your hands. Finish with a cool shot to set the shape. Dry your hair to about eighty percent with the diffuser and let the last twenty percent air-dry, since this reduces total heat exposure while still giving you the definition and volume that diffusing provides.
This technique suits wavy, curly, and coily hair of all lengths, and it is especially helpful in cold or humid weather when air-drying is impractical. Keep the heat on low or medium at most, and never use the highest setting, which defeats the purpose of diffusing gently. Hover-diffuse the roots first for volume, then pixie-diffuse the lengths for definition, and avoid flipping your head excessively, which tangles curls. If your curls feel dry afterward, your products need more moisture rather than more heat. Mastering the low-heat diffuser gives you faster drying, better definition, and far less frizz than either air-drying or a standard blow-dry. Clean the diffuser attachment regularly, because lint and product buildup inside the bowl restrict airflow and force you to use higher heat settings to achieve the same drying speed. Finish with a cool air shot to close the cuticle and lock in the curl shape you created.
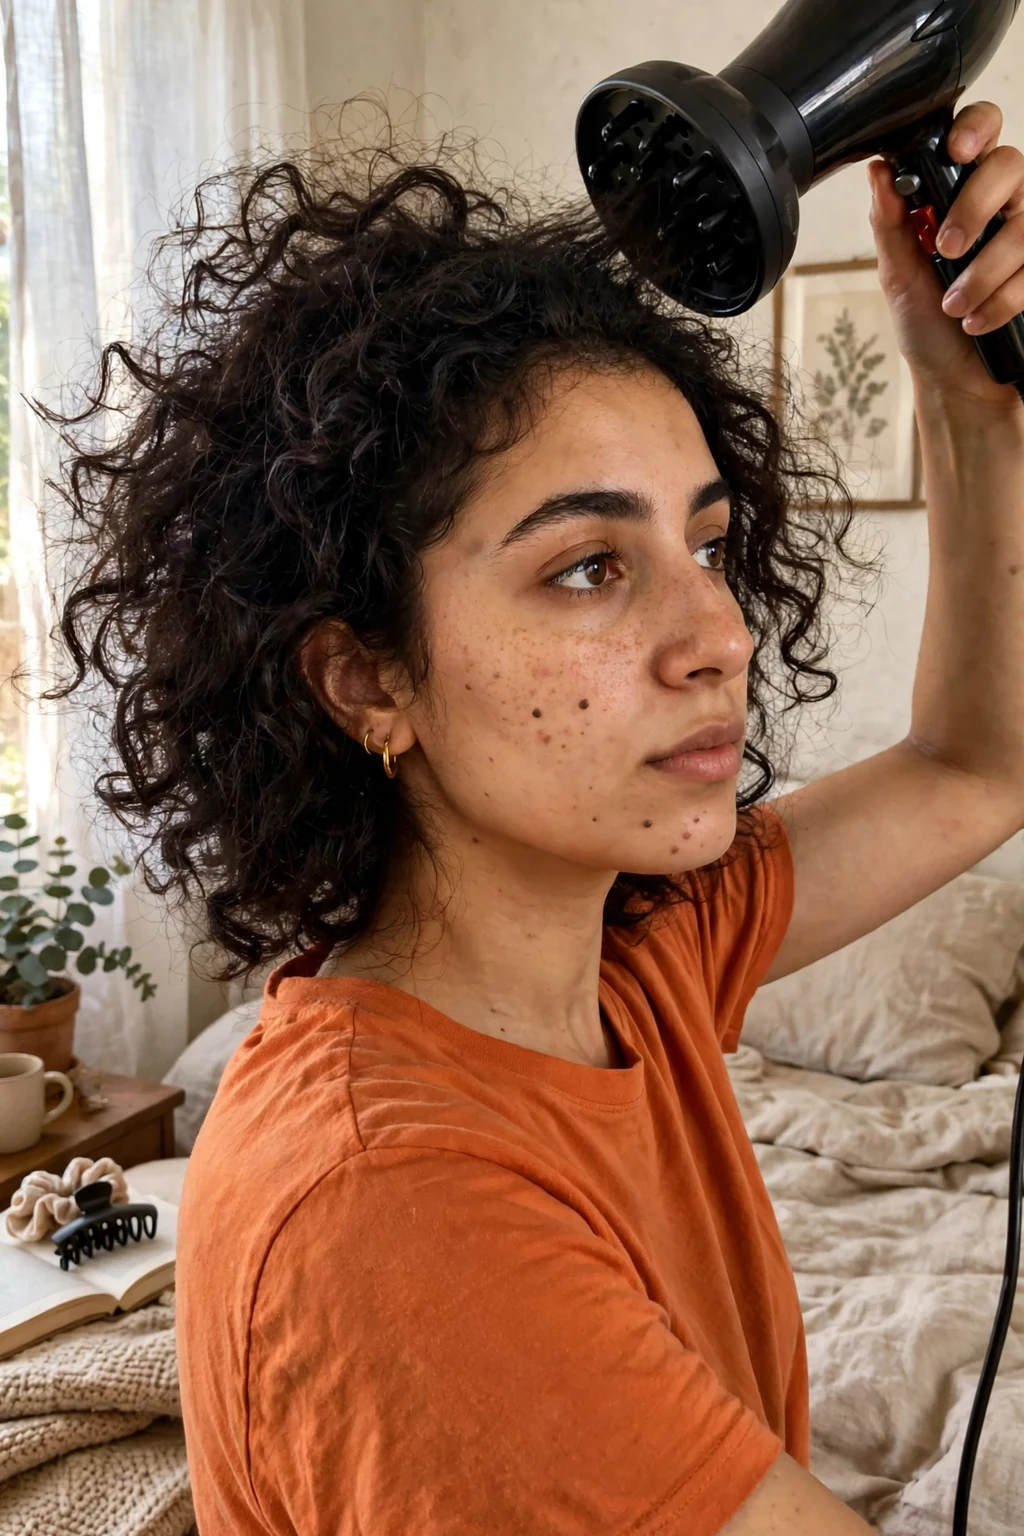
44. The Consistent Sleep Schedule for Hair Health
A consistent sleep schedule supports hair health because hair growth, repair, and hormone regulation all follow the body's circadian rhythm, and chronic sleep deprivation disrupts the cycle that keeps follicles in their growth phase. When sleep is short or irregular, stress hormones like cortisol rise, which can push more follicles into the shedding phase and leave hair looking thinner and duller over time. The habit is straightforward: aim for seven to nine hours nightly, go to bed and wake up at roughly the same times even on weekends, and build a wind-down routine that includes dimming lights, putting screens away, and brushing your hair gently before bed. Good sleep also supports the skin and scalp, which in turn supports the follicles. A short walk outside in morning daylight also helps regulate your body clock, which improves sleep quality at night and, indirectly, supports the hormonal balance that healthy hair growth depends on.
This habit suits everyone, but it matters most for people noticing increased shedding, slow growth, or stress-related hair changes, and for anyone whose routine is otherwise perfect yet results are disappointing. Pair the schedule with silk bedding and a loose night braid or bonnet so your hair is protected while you sleep, and keep the bedroom cool and dark for deeper rest. Avoid caffeine late in the day and heavy meals close to bedtime, which fragment sleep even when total hours look adequate. Results take weeks rather than days, since hair cycles are slow, but consistent sleep is one of the few hair habits that improves your whole health at the same time. If stress is disrupting your sleep, simple practices like journaling worries before bed or gentle stretching can calm the mind enough to fall asleep faster and stay asleep longer. Track your sleep for a week if shedding increases, since the pattern often reveals the underlying cause.
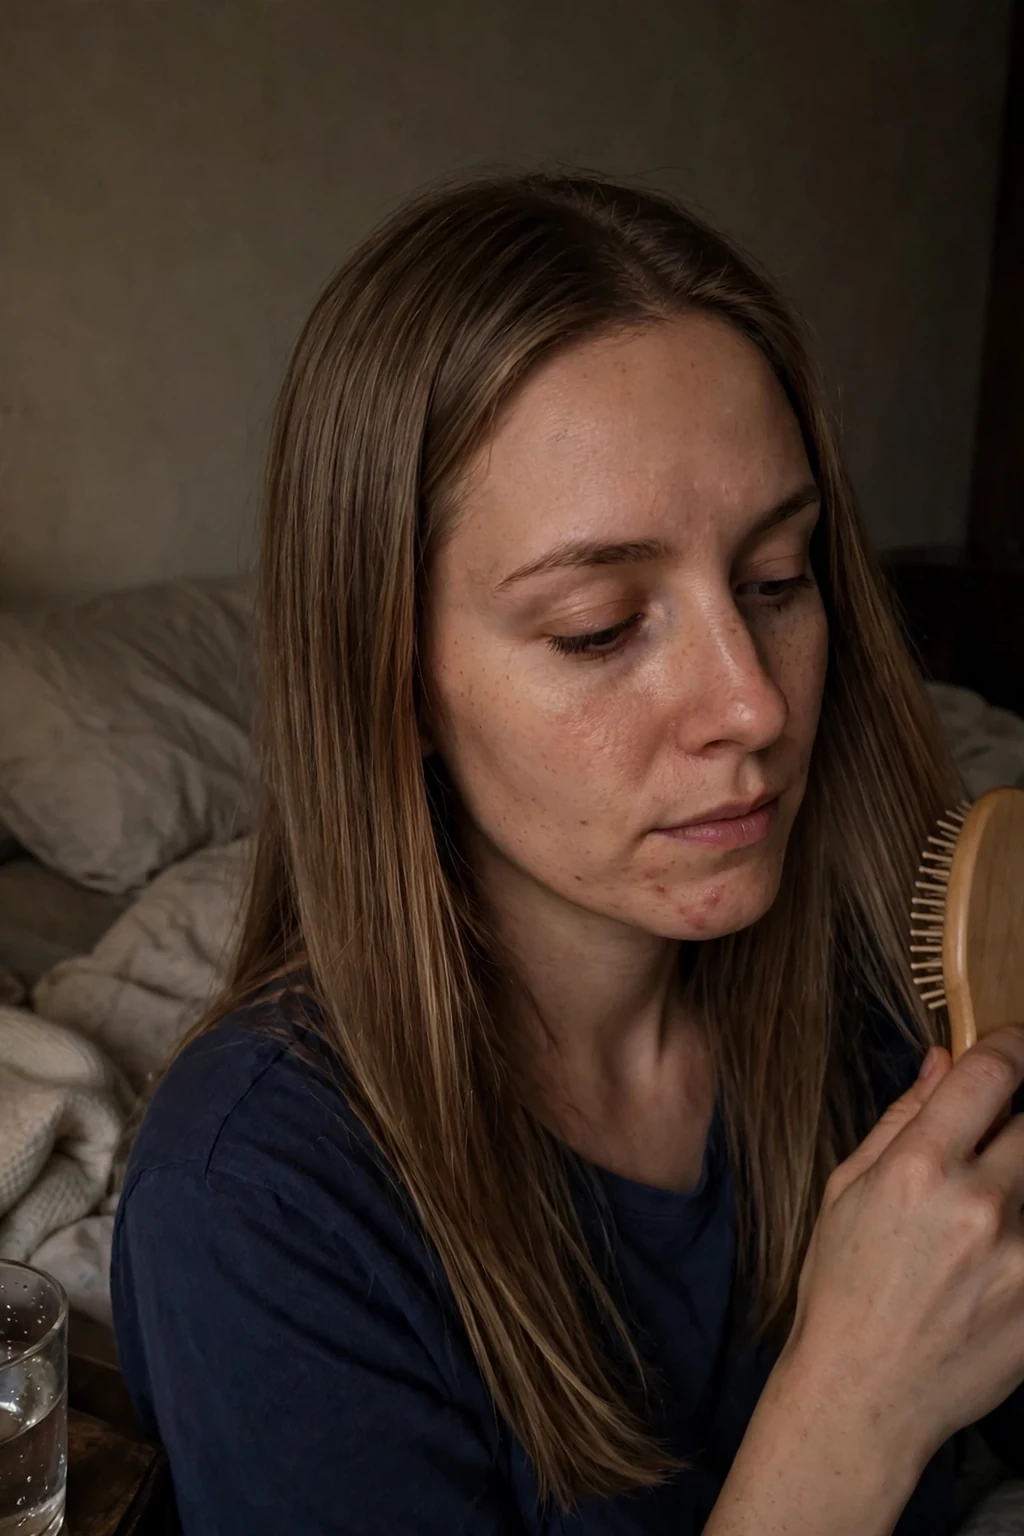
45. The Salon Consultation Check-In
A salon consultation check-in is a dedicated appointment, separate from a cut or color service, where you discuss your hair goals, routine, and concerns with a professional who can see and touch your hair. Many people only talk to their stylist while a service is already underway, when there is little time to assess the hair properly or plan changes. In a consultation, bring photos of styles you like, a list of products you use, and honest notes about what frustrates you, from frizz to thinning to color fading. A good stylist will examine your scalp, check your ends, assess your texture and density, and suggest realistic adjustments to your cut, color schedule, and home routine. During the consultation, ask your stylist to show you how to style your cut at home, since a haircut you cannot recreate yourself quickly becomes frustrating no matter how good it looks in the salon chair.
This check-in suits everyone, but it is especially valuable when you are growing your hair out, changing color, recovering from damage, or noticing shedding that home care has not fixed. Book one every six months, or before any major change, and treat it as a planning session rather than a sales pitch: you are not obliged to buy every product recommended. If a stylist dismisses your concerns or pushes a service you did not ask for, that is useful information too, and a second opinion is always worth it. A regular consultation keeps your routine honest, catches problems early, and ensures your home care and salon care work together instead of pulling in opposite directions. Bring your journal and your current products to the appointment, because seeing what you actually use helps the stylist give advice that fits your real routine rather than an idealized one. Honest feedback helps your stylist tailor advice, so mention products that disappointed you as well.

46. The Ends-Sealing Oil Ritual
The ends-sealing oil ritual is a daily finishing step where a single drop of lightweight oil is smoothed over only the last few inches of your hair to lock in moisture and protect the oldest, most fragile part of every strand. The ends are the oldest hair on your head, having survived years of washing, brushing, heat, and weather, so they lose moisture fastest and split first. Unlike a full oil treatment, this ritual uses almost nothing: warm one drop of argan, jojoba, or grapeseed oil between your palms, then glide it over the ends only, working upward no further than the bottom third of your hair. Done on damp hair after washing or on dry hair between washes, it seals the cuticle and reduces friction between strands. For very thick or coarse hair, a second drop applied to the mid-lengths can help, but always start with one drop and add more only if the ends still feel rough after a few minutes.
This ritual suits long, dry, fine, or damaged hair best, and it is a lifeline for anyone growing their hair out, since protected ends mean length is retained rather than broken off. Use it daily on the ends, but keep oil away from the roots, where it causes greasiness and weighs hair down, and adjust the amount to your thickness: one drop for fine hair, two or three for thick hair. If your ends still feel rough, they may need dusting or a trim, since no oil can glue a split back together permanently. Combined with regular trims and gentle detangling, ends-sealing keeps the hemline looking thick and healthy for months. Store your sealing oil away from heat and sunlight, since oxidized oil smells unpleasant and loses its conditioning benefits, and replace any bottle that smells sharp or rancid rather than continuing to use it. Apply the oil with clean hands to avoid transferring dirt or bacteria onto freshly washed ends.
47. The Six-Month Routine Audit
A six-month routine audit is a scheduled review where you empty your hair care shelf, check what you actually use, and rebuild your routine around what your hair needs now rather than what it needed half a year ago. Hair changes with the seasons, with age, with color services, and with lifestyle shifts, yet most people keep buying the same products out of habit long after they stop working. For the audit, gather every product, check expiry dates and smells, discard anything separated, rancid, or unused for months, and sort the rest into daily staples, weekly treatments, and occasional extras. Then compare that shelf against your current concerns: is your hair drier, oilier, thinner, or a different color than it was six months ago? Check the packaging of products you keep, since cracked caps and pumps let air and bacteria in, which shortens shelf life and can irritate the scalp even if the product itself is still in date.
This audit suits everyone, but it is most valuable for people with a crowded bathroom shelf, a changed routine after a move, a new color, or a health change, and for anyone who feels their products have mysteriously stopped working. Do it at the change of seasons, ideally alongside your seasonal routine reset, and use your hair journal to guide decisions about what to keep and what to replace. Replace one product at a time afterward so you can judge each change fairly, and set a reminder for the next audit so it actually happens. A regular audit saves money, reduces clutter, and keeps your routine evolving with your hair instead of lagging behind it. After the audit, write a short shopping list of genuine replacements rather than buying impulsively, because a focused list prevents the shelf from filling up again within a few weeks. Set a phone reminder for the next audit so the habit survives busy periods and seasonal changes.
How to Build Your Own Best Hair Care Routine
Start with the foundations and build slowly, rather than trying all forty-seven steps at once. Begin with gentle washing, lukewarm water, leave-in conditioner, careful detangling, and heat protection, then add one new habit each week, such as a weekly mask, a silk pillowcase, or a scalp massage, until the routine feels natural. Pay attention to how your hair responds, and keep the steps that make a visible difference while dropping or adjusting those that do not suit your texture, lifestyle, or budget. A routine you actually enjoy and maintain will always beat a perfect routine you abandon after two weeks.
Remember that consistency matters far more than expensive products, and that healthy hair is built over months, not days. Trim regularly, protect your hair from heat and sun, sleep on silk, and revisit your routine each season as your hair and life change. Be patient with new growth and new habits, celebrate small improvements like less frizz or fewer tangles, and ask your stylist for advice when you feel stuck. With these forty-seven steps as your guide, you can create a hair care routine that is simple, personal, and genuinely effective for years to come.
Conclusion
From gentle washing and weekly masks to heat protection, scalp care, and silk pillowcases, these 47 best hair care routine steps cover everything healthy hair needs. Start with the foundations, add habits gradually, stay consistent, and enjoy hair that is stronger, shinier, and easier to love every day.